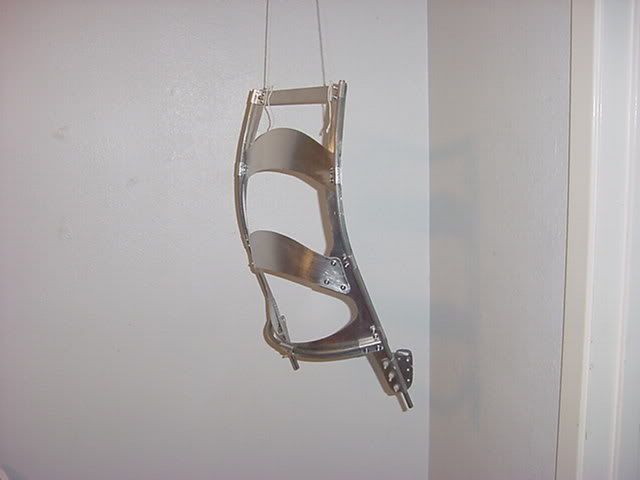
I started making another SUL External Pack Frame on New Years Day. My goal is a frame similar to the modified Harrier Frame I have been working on but that weighs closer to one pound or less. The old frame was made to carry 40 to 60 pounds. The new frame may carry the same amount but I hope it is not by me. For a normal 3 to 5 day resupply schedule I don't think I would ever need to carry more than 15 to 20 pounds. There are times when I might want to carry up to 10 days worth of food. This frame should do that easy.
I was talking to Grant at Gossamer Gear the last week of 2008. I had read about the new pack they are coming out with that will have bent aluminum stays. I was curious about how they were bending the aluminum tubing. I told him I had never had much luck at bending aluminum tubing. Grant is currently bending the stays. He is using 1/4" 6061-T6 tubing. He talked me through how he was doing it. I decide to give it a try.
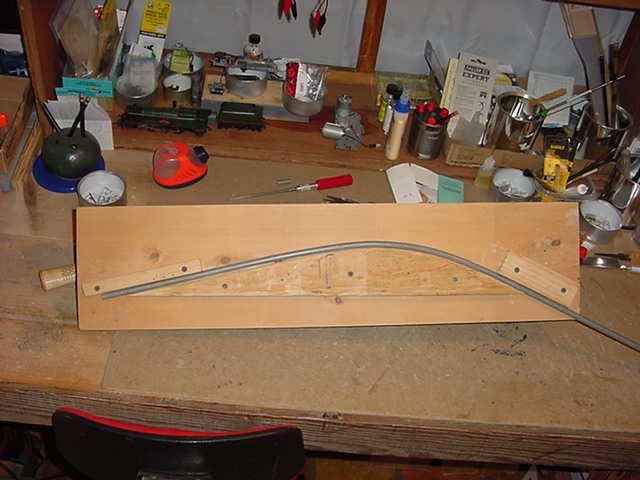
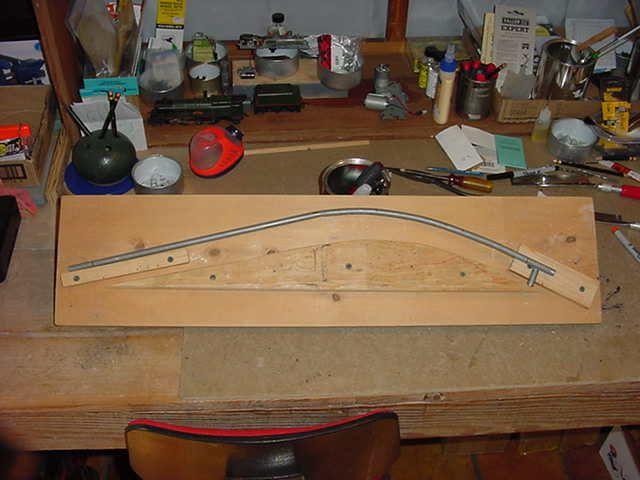
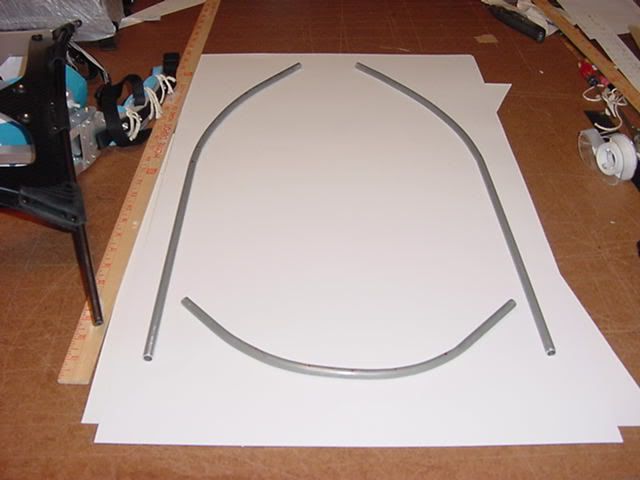
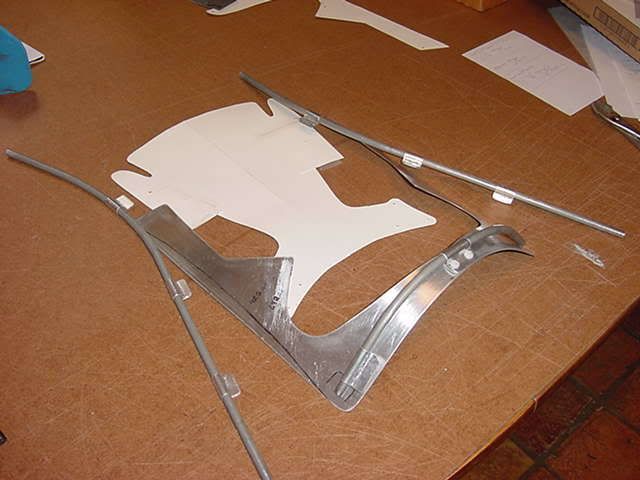
I bought some 3/8" (GG is using 1/4") 6061-T6 aluminum tubing and have bent my first two tubes. I am happy so far with how they turned out. The bending process is a bit slow as I needed to try and only bend a little at a time. The jig I made only helped get me started. The rest of the bending was more or less bent "free hand". I may have spent about 45 minutes on the two tubes. The second one went faster as my technique improved. The tubing I am using weighs about 1.4 grams per inch. The total weigh of the tubes that I bent weigh 32.7 grams or 1.15 ounces each. The bent tubes are 24.5 inches long. The actual length might change a bit.
To answer one question before it is asked. The 3/8" aluminum tubing I used weighs 1.4 gram per inch vs the 1/4" at 1.1 gram per inch. I would only have saved about 0.4 ounce if I had gone with the 1/4" tubing.
1.
2.
3.
4.
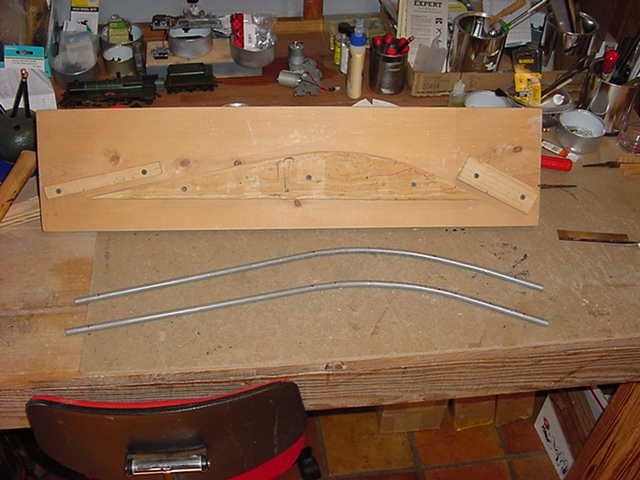
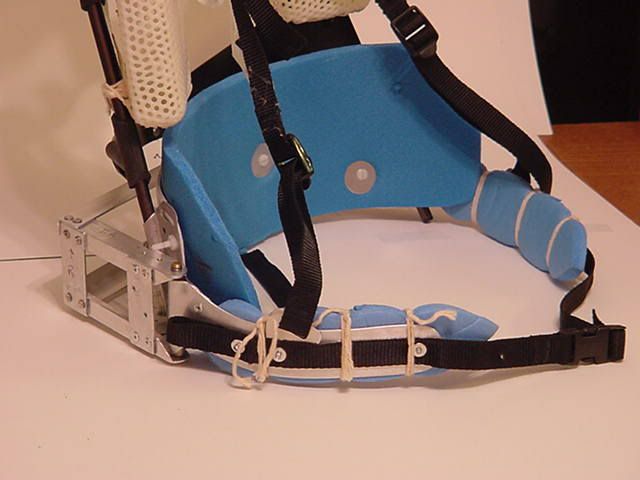
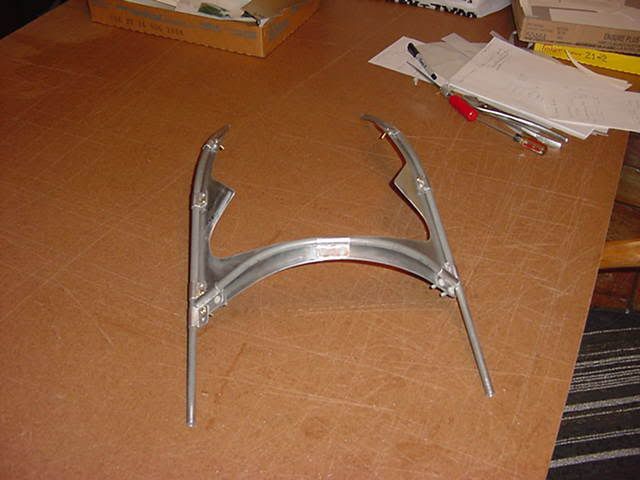
I have made one more piece and this should be all the aluminum tubing I have to bend for this frame. This piece is more or less a half circle and will be used near the hip belt area. It weighs about 18 grams or 0.63 of an ounce and was all bent "free hand". It was much harder then the other two pieces to bend.
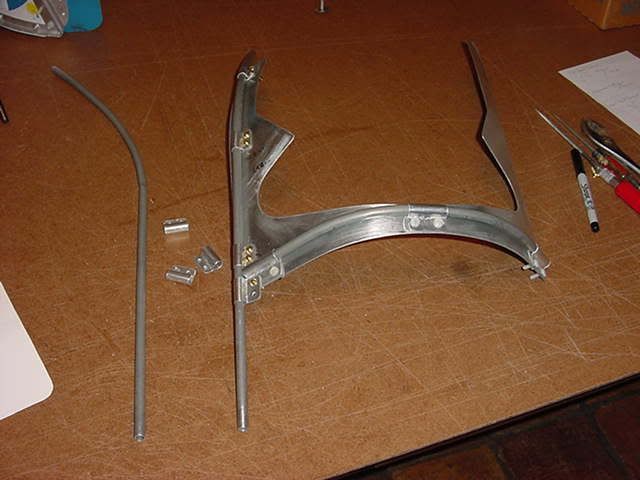
This first part has gone much faster than It thought it would. Now I need to take a bit of time and plan out the rest of the frame.
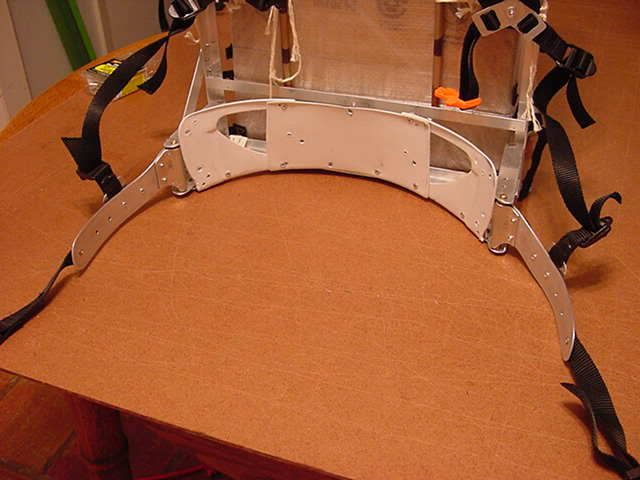
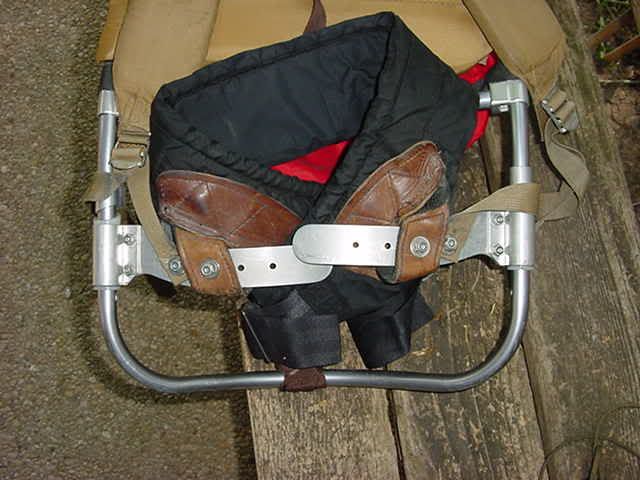
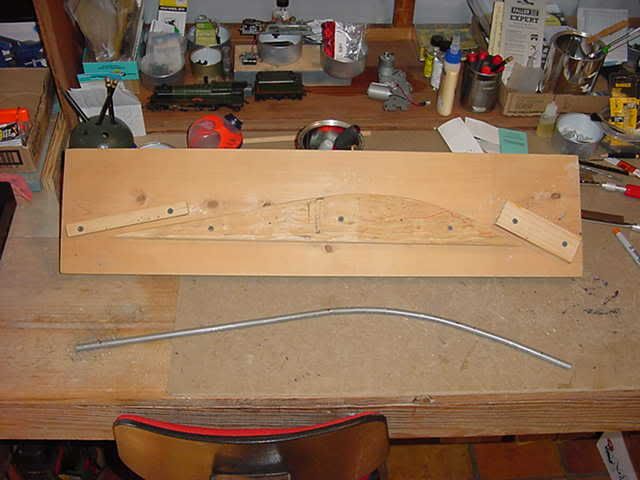
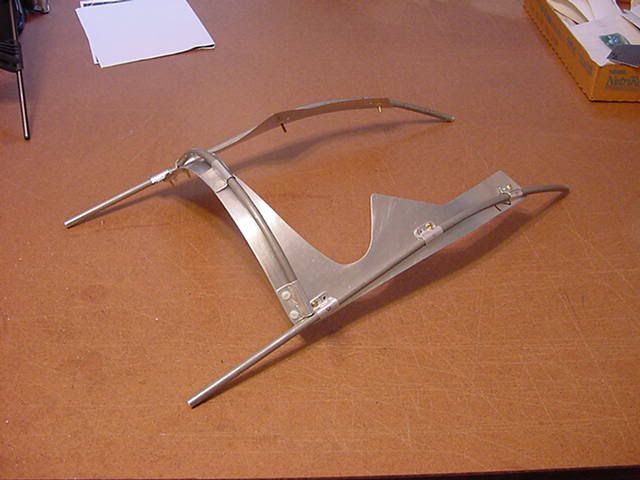
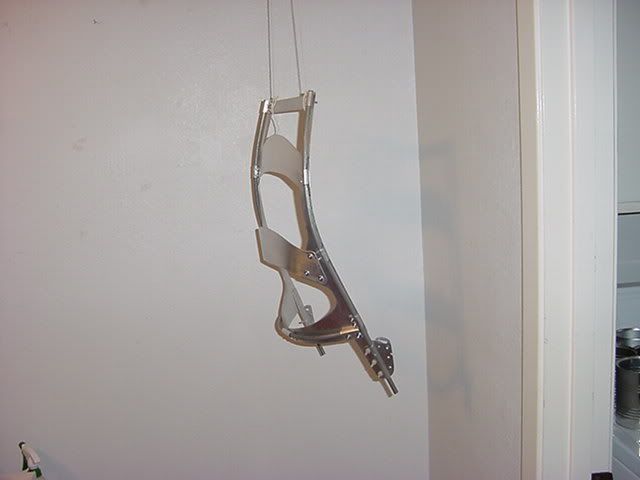
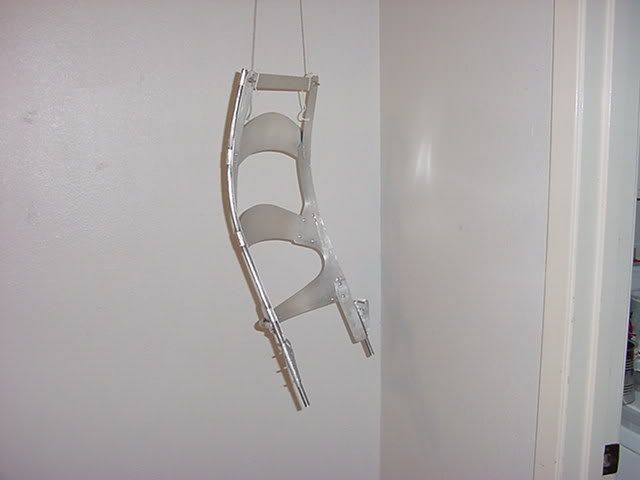
These are the two frame sections of the of the modified Harrier Frame. I am using the basic design of the modified Harrier Frame for the new frame but trying to reduce the weigh.
The top part weighs 469.2 grams or 16.5 ounces.
6.
7.
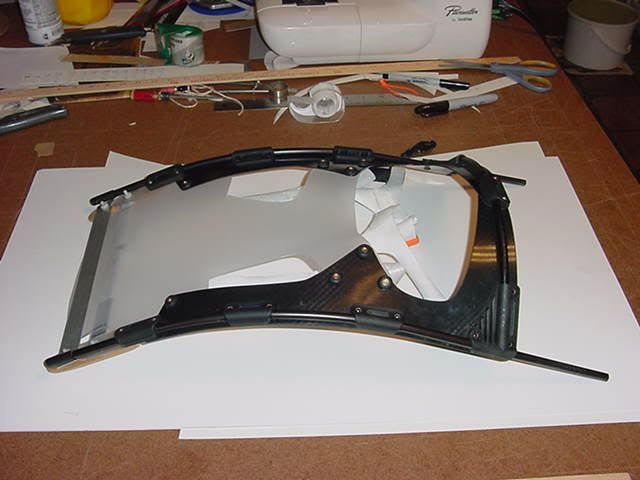
The bottom part weighs 440 grams or 15.52 ounces.
8.

==
Next group of pictures – 12 Jan 2009
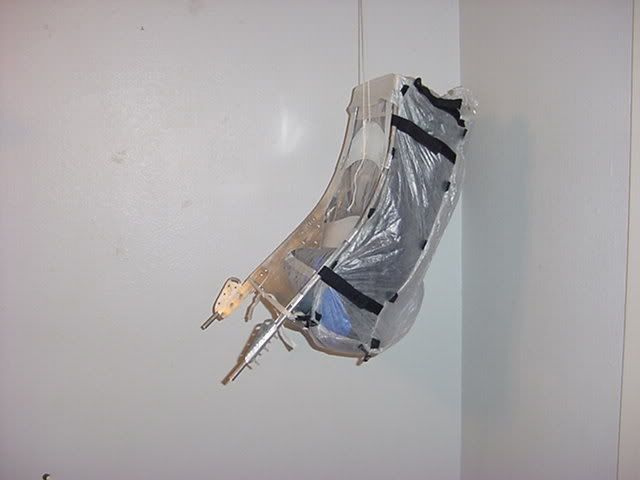
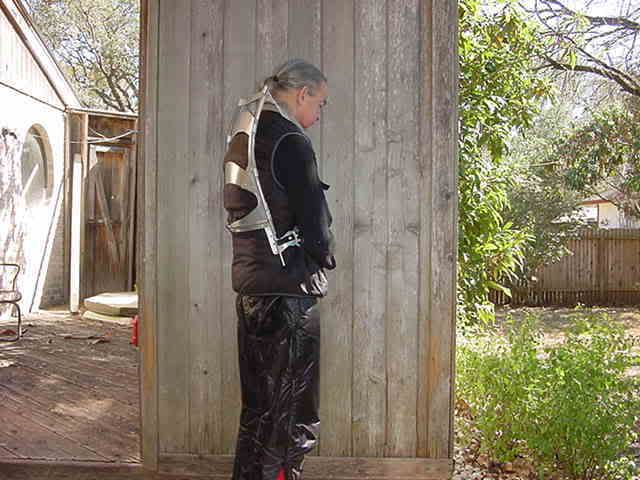
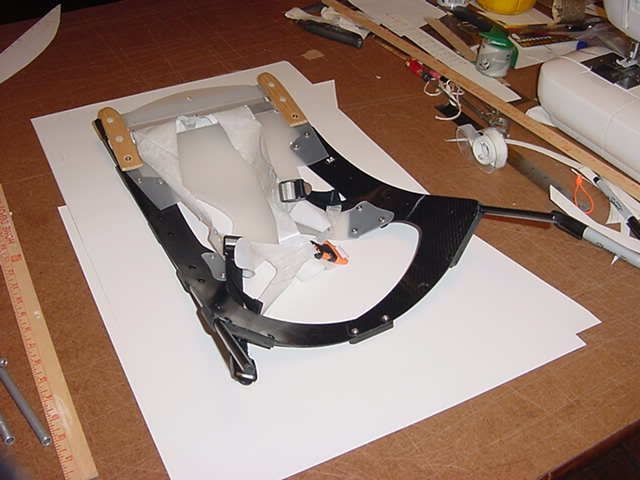
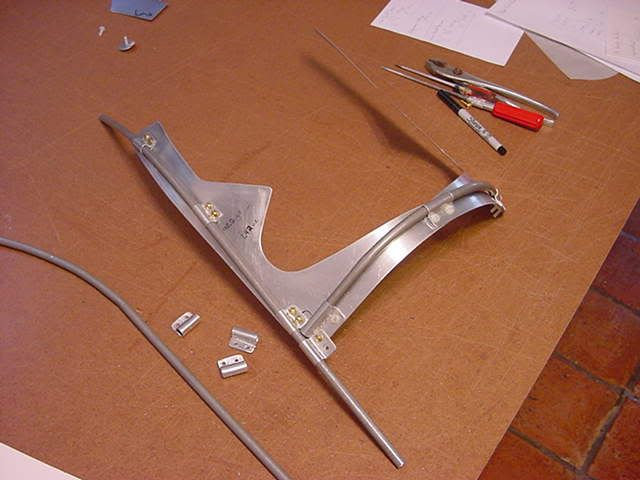
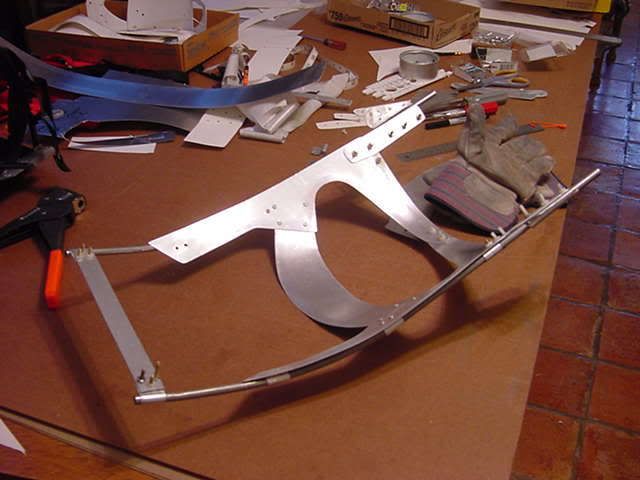
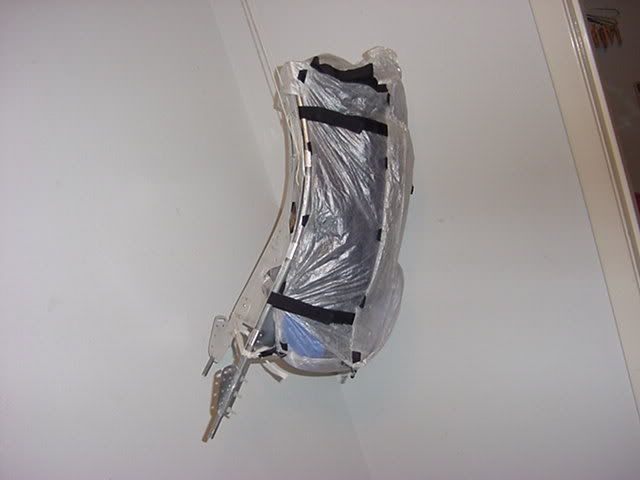
I have continued working on my new External Frame and it is ready for the Hip Belt, Shoulder Straps and Pack Bag. This frame is the first of my bent tubing frames and each next version should get a bit lighter. I would like to get the total weight of the External Frame, Bag, Shoulder Straps, Hip Belt etc down to 16 ounces or less.
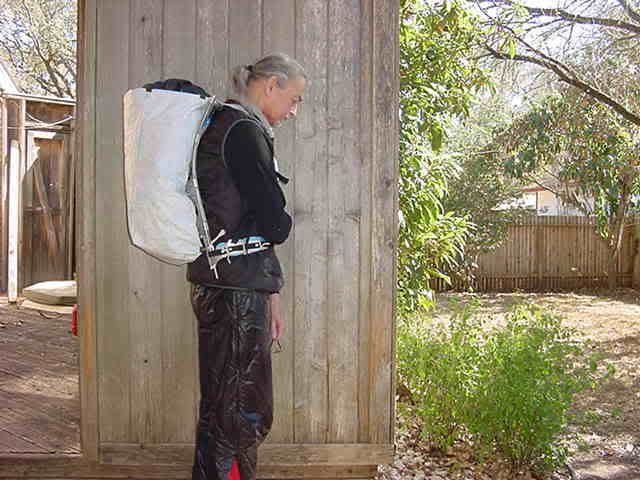
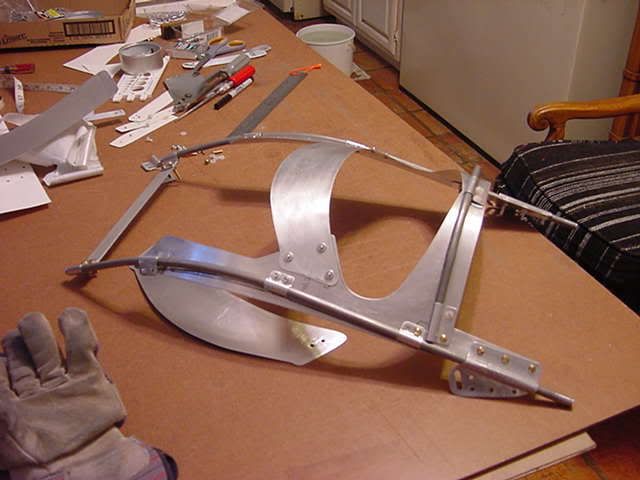
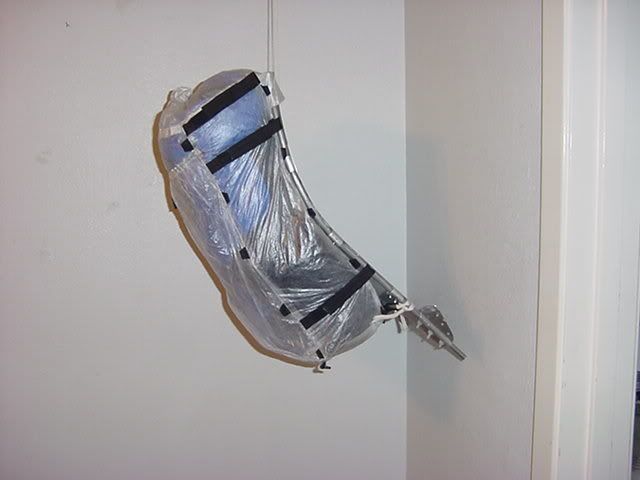
The finished Frame weight is 12.5 ounces. A have put the Cuben Pack Bag on the frame for something to carry. The Cuben Bag was the one I made as a Winter Bag and has a few extra features that a normal bag would not have. That may add as much as one ounce extra weight. With the 2.5 ounce Cuben Bag the current total weight is 15 ounces. My guess is that the finished ready to carry setup will be about 20 ounces.
I will admit that I got a bit caught up in the Frame Design but decide to just go along with it on this one.
9.
10.
11.
12.
13.
14.
15.
16.
17.
18.
==
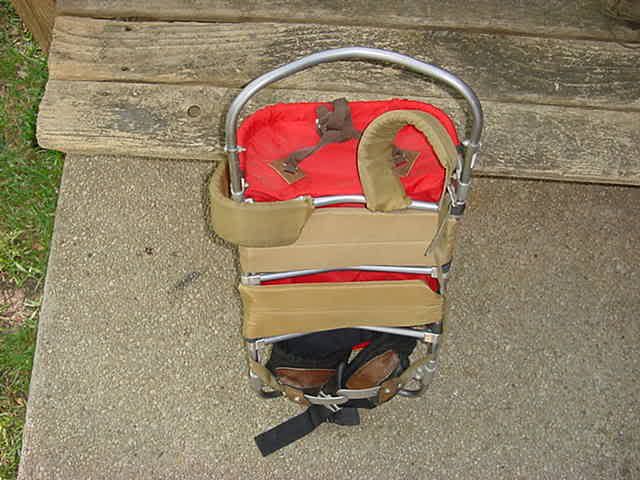
New External Frame With a Cuben Pack Bag.
The Cuben Pack Bag weighs 2.5 ounces . This frame / bag combination is just a test so I have a bag to put stuff in when I start carrying the frame to see how it works.
19.
20.
21.