Eliza,
Complicating matters, there are 2 kinds of catenary cut, the basic flat tarp with the ridgeline cut to a catenary, and the radical catenary tarp – so called parawing or hyperbolic parabaloid, in which the ridge is on the diagonal, but is still aligned square to the weave of the fabric. Each as advantages and disadvantages.
The purpose of the catenary cut is 1) to pull out the wrinkles that form because square-woven fabric stretches on the bias and 2) to compensate for the natural sag in all suspended lines. Properly speaking, that natural sag is the catenary. Despite our use of the term, tent makers do not usually calculate and compensate for the catenary. It is a very messy formula. They address the bias sag first and let the catenary take care of itself.
Flat tarps sag. One or two pull-outs on the side panels will take out the sag, AND give more room under the tarp at the same time. This is the strategy used in Ray Jardine’s tarps. See BEYOND BACKPACKING for details. The pullouts protect the tarp against side winds. In a Jardine tarp, I have sat out blows that put down all other tents in the vicinity. Tarps with side pullouts are a little more trouble to erect and require 2 more stakes.
Catenary tarps are supposed to set up tautly without additional pullouts on the sides. They do that at a cost — the catenary cut reduces the head space under the tarp, all other things being equal. The taut fabric sheds wind and distributes the stress better than a flat tarp that is erected WITHOUT properly tensioned pullouts. But not better than a tarp with one or 2 pullouts.
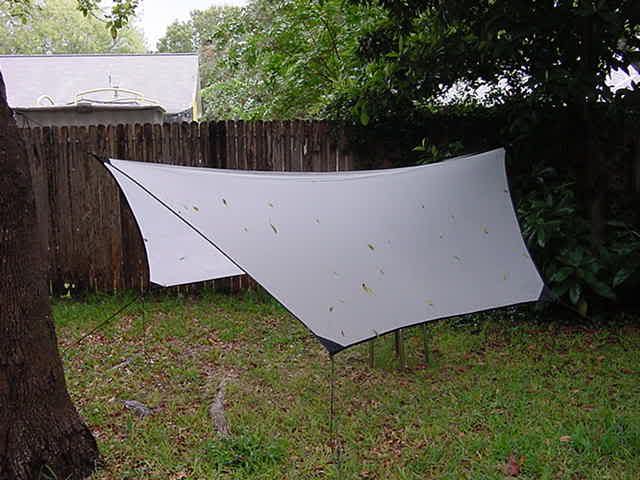
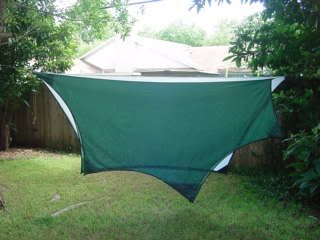
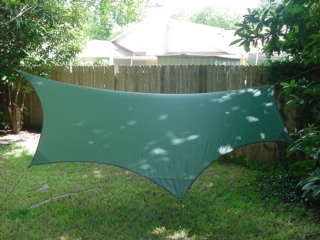
The radical catenary tarps take the catenary cut as far as it can go. They have lots less space underneath than either the flat or the catenary cut tarp. However, they are VERY strong because the cat cut distributes stress over the entire surface of the tarp. They are great for hammocks since their diamond shape fits the shape of a hammock, and they give a tight, wind-shedding setup. In the 8X10, 10X10 or 12X10 diagonal size, you can make them by piecing 8, 10 or 12 feet of 60-inch fabric. Wider than 10 feet, they tend to waste a lot of fabric because they are cut on the bias. Remember, because they are measured on the diagonal, a 10X10 parawing is only 7 feet (finished size) on the sides.
Regardless of what type of tarp I make, I use some catenary to compensate for my inneptitude in sewing long, straight seams. If I boggle a seam, a little catenary will pull the wrinkle out. Mostly.
The easy, foolproof, technically accurate way to make the proper catenary for any particular fabric on any seam is to lay the fabric flat and stretch it along the edge to be seamed. For example, for a 2-panel tarp, stretch one panel of a tarp along the edge that will be the ridge seam; a wrinkle will form, higher in the center and tapering to nothing at the ends from which the stretch originates. Mark along the base of the wrinkle (on the panel side – away from the edge)from end to end, then fold the fabric double along the ridge and use pins or bright light locate the lines so you can adjust the two folded-together segments of the line until they are symetrical. This isn’t as hard as it sounds. Practice on some scrap; you will see immediately how it works. Cut the extra fabric away and use it as a pattern to mark and cut the catenary for the other panel.
You can also put a little curve in the side and end hems – if you can afford to give up some surface area.
Catenary cut will not keep a tarp from starting to sag as the nylon absorbs moisture overnight. Elastic tensioners at all pullouts will take care of that. The easy way is to make bungie loops. Just pull the guts out of some parachute cord, cut it into 5-6 inch lengths. Cut 6 inch pieces of round elastic (3/32 is a good size)and slip 1/2 inch of elastic into each end of empty casing to make a loop. Bar tack the elastic in the casing with your sewing machine. As dab of Superglue will stop any raveling.