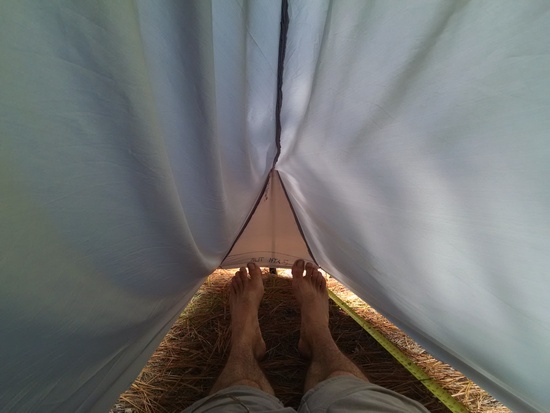
As mentioned, I shrank the dimensions (except for length) and made a full-scale mock up to get a feel for the size of the inside-out bug bivy or "bug out bivy" when closed up tight with tarp overhead. First thing I realized is the wasted space below my feet (too long!) Otherwise it felt good…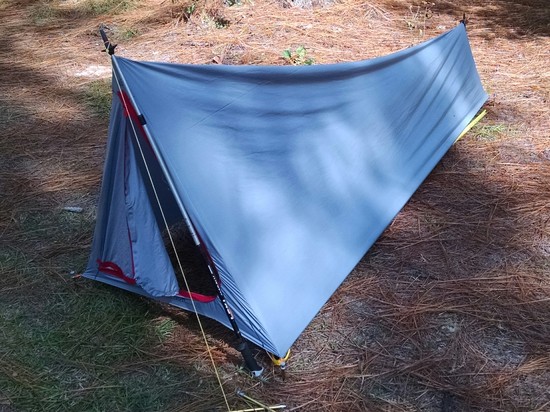
 So, shrinking the finished length to 84", I realized I could also substantially shrink the material list to 3 yards Membrane silpoly, 3 yards NS50, 2 yards PU4000 and 11 ft #3 zipper. Here's the hypothetical pattern sheets on how I plan to do this: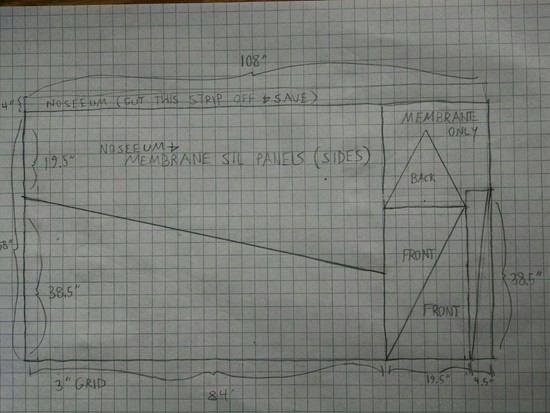
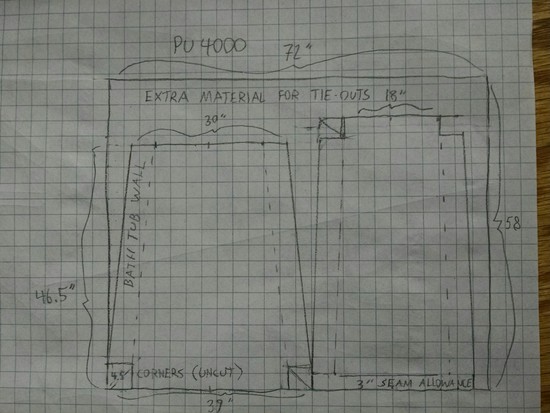 Projected weight sans stakes and poles (which I seldom carry and use sticks anyway is 12.4 oz. Given this weight and further thinking on a removable tarp idea, I don't think it's necessary to have that feature and I'd rather avoid the fuss in set up so will plan to sew the tarp and noseeum down the entire ridgeline and have zippers on the hypotenuse of front door to zip and roll back tarp from inside to the extent illustrated in my first drawing. Oh yeah, material cost dropped to $56.60 sans shipping in the process too…
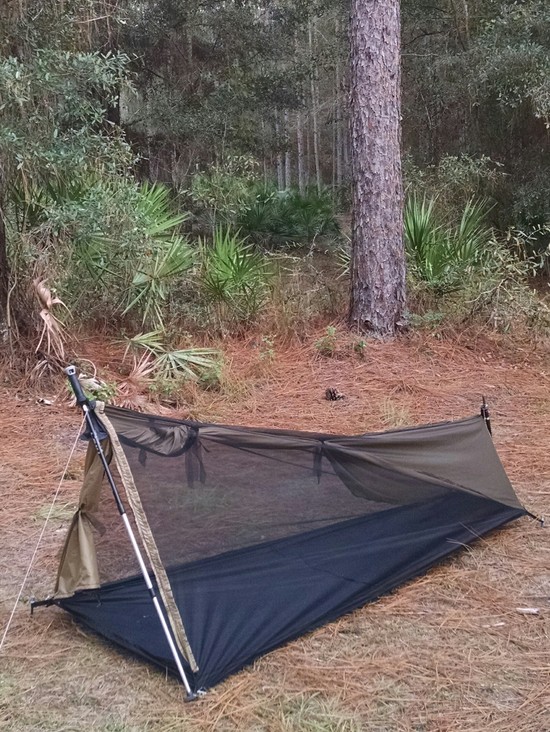
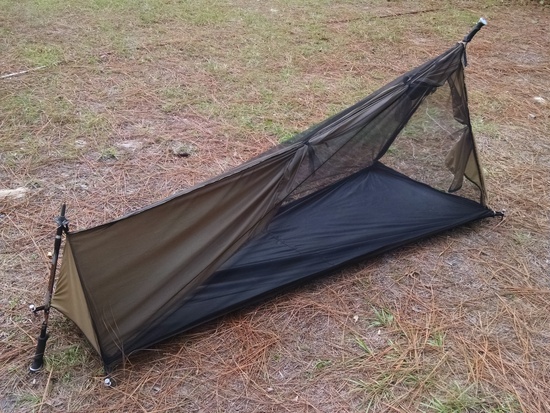
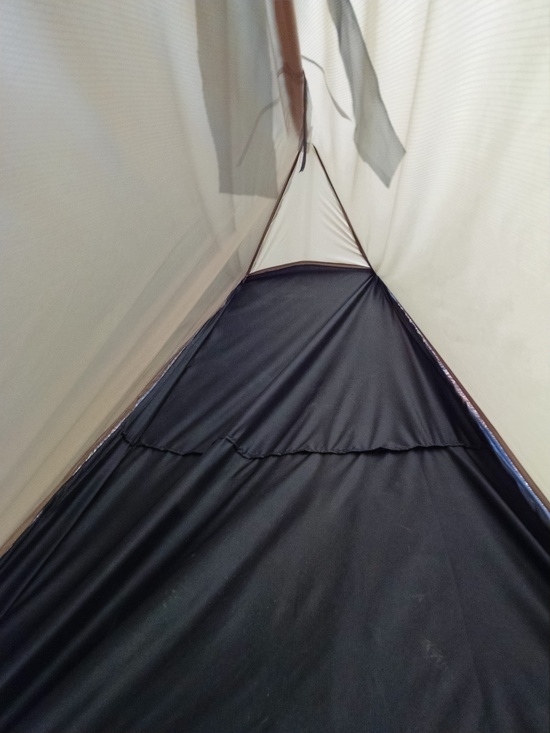
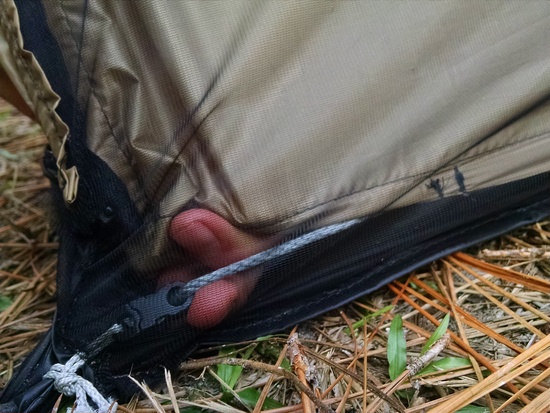 If one were willing to pay 3x as much in materials and use lightest materials, such shelter could get below 8 oz. This was a good compromise for a prototype. Not sure how happy I am with it, but definitely more hospitable than a bivy…
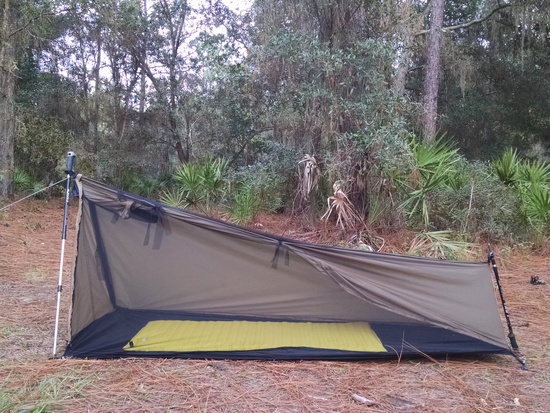 You're right that it's small! A small footprint can be nice though. I'll have to see how functional this thing will be for fast and light trips…
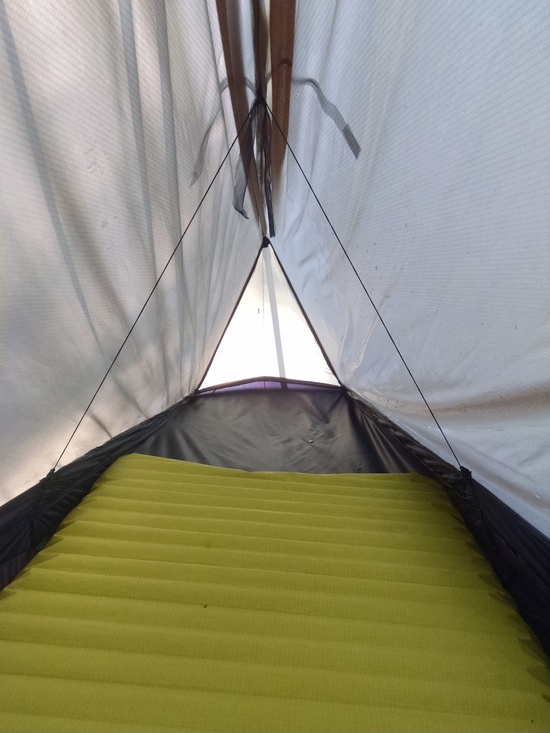 Now I'm pretty happy with this, it brought the weight up to 13.7 oz. sans stakes. With 6 easton stakes (repurposed from TT contrail), weight is 15.5 oz. Good entry level weight for <$60, although that could be halved if one were willing to spend $15-20/oz. to do so… Still need to seam seal, will do that soon. Then a proper hose test, then onto the trail.