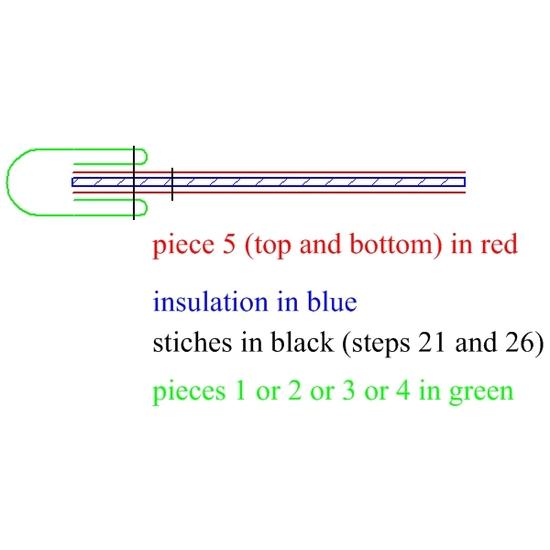
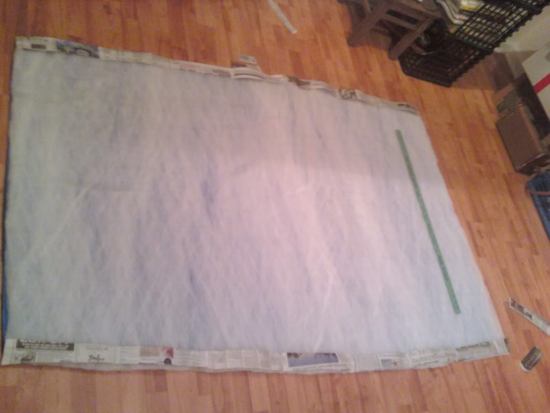
Step 21 is just to sew a stitch one inch from each end of the quilt to keep the insulation from moving. A topstitch is just a stitch trough two or more layers of fabric. The one inch of fabric outside the stitch line is called the seam allowance. Step 22 is to trim half of the one inch seam allowance leaving 1/2" outside of the stitch line. I normally leave a 1/2" seam allowance and wouldn't trim it, but the Apex is kind of squirmy when you sew through it, so I think that the wide seam allowance is to try to keep it from bunching. I think that pinning or basting the quilt every three to six inches would be a good idea. Apex wants to slide between the top and bottom fabrics.
Steps 23 and 24 are less clear, but pieces 1, 2 3 and 4 are used to create the drawcord channels for the head and foot ends of the quilt. Pieces 1 and 2 are used to make a drawcord channel for the foot of the quilt, but are not sewn together. Each end gets a 1/2" rolled hem. Google "Rolled Hem". I think that it's a single rolled hem, but see no reason not to use a double rolled hem as long as the finished pieces are 1" shorter than the raw cut pieces. Piece 1 should be 19-1/2" finished length and Piece 2 should be 19" finished length. The finished width of the foot should be 38", so piece 1 and 2 together would be 38-1/2", but with a 1/2" overlap in the center would be 38", the width of the foot of the quilt.
Step 24 is to make a rolled hem on the long edges of piece 1 and 2. If you make a 1/2" rolled hem on both long edges, you will have two pieces 2" wide. Fold these pieces in the center to make a sort of double fold binding. You attach these pieces to the foot of the quilt to make the drawcord channel. There are several ways to sew this to the foot of the quilt. In this case, I think that the simplest way is what he intends to do. This is just to pin both the top and bottom of the drawcord channel over the foot of the quilt and sew through the whole mess. Don't sew the binding tight to the foot of the quilt or there won't be enough room for the drawcord. Leave about 1/2" loose. Confusing? Absolutely. Without pictures, it's really tough to figure out what the author actually intended.
Step 27 is the same as the previous on the head of the quilt, but the opening is not in the center of the drawcord channel. The intention is to sew the ends of the drawcord at the ends of the drawcord channel and to place a loop with a cordlock at the opening in the middle (or one side) of the drawcord channel. It doesn;t have to be this way, but it will work. The drawcord specified is 3/32" shock cord. Be sure to leave some extra for the loop at the cordlock and I would double the ends over before sewing them to the ends of the drawcord channels. I think that I understand how this is supposed to work, but the pictures don't show it very well