Topic
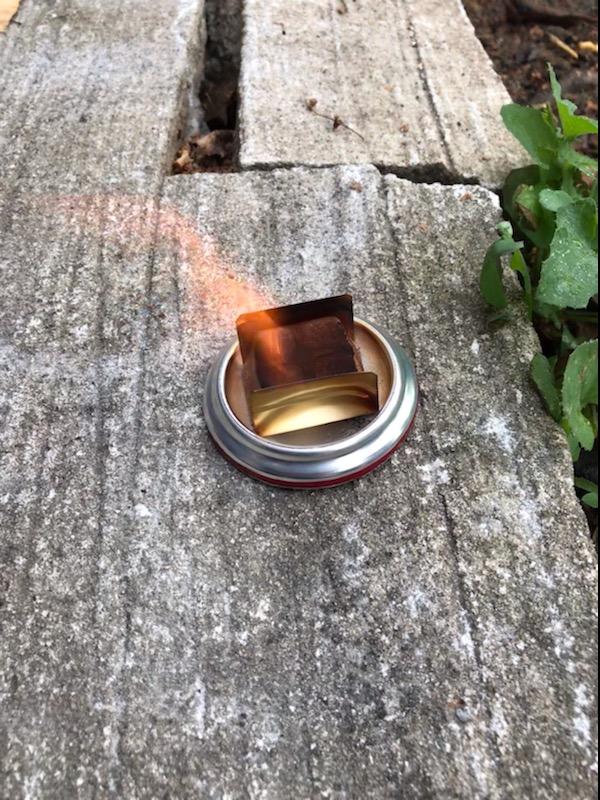
Practically free & effortless dripless Esbit burner
Forum Posting
A Membership is required to post in the forums. Login or become a member to post in the member forums!
Home › Forums › Gear Forums › Make Your Own Gear › Practically free & effortless dripless Esbit burner
- This topic has 12 replies, 6 voices, and was last updated 2 years, 11 months ago by
 Matthew / BPL.
-
AuthorPosts
-
Jan 24, 2022 at 10:02 pm #3738048
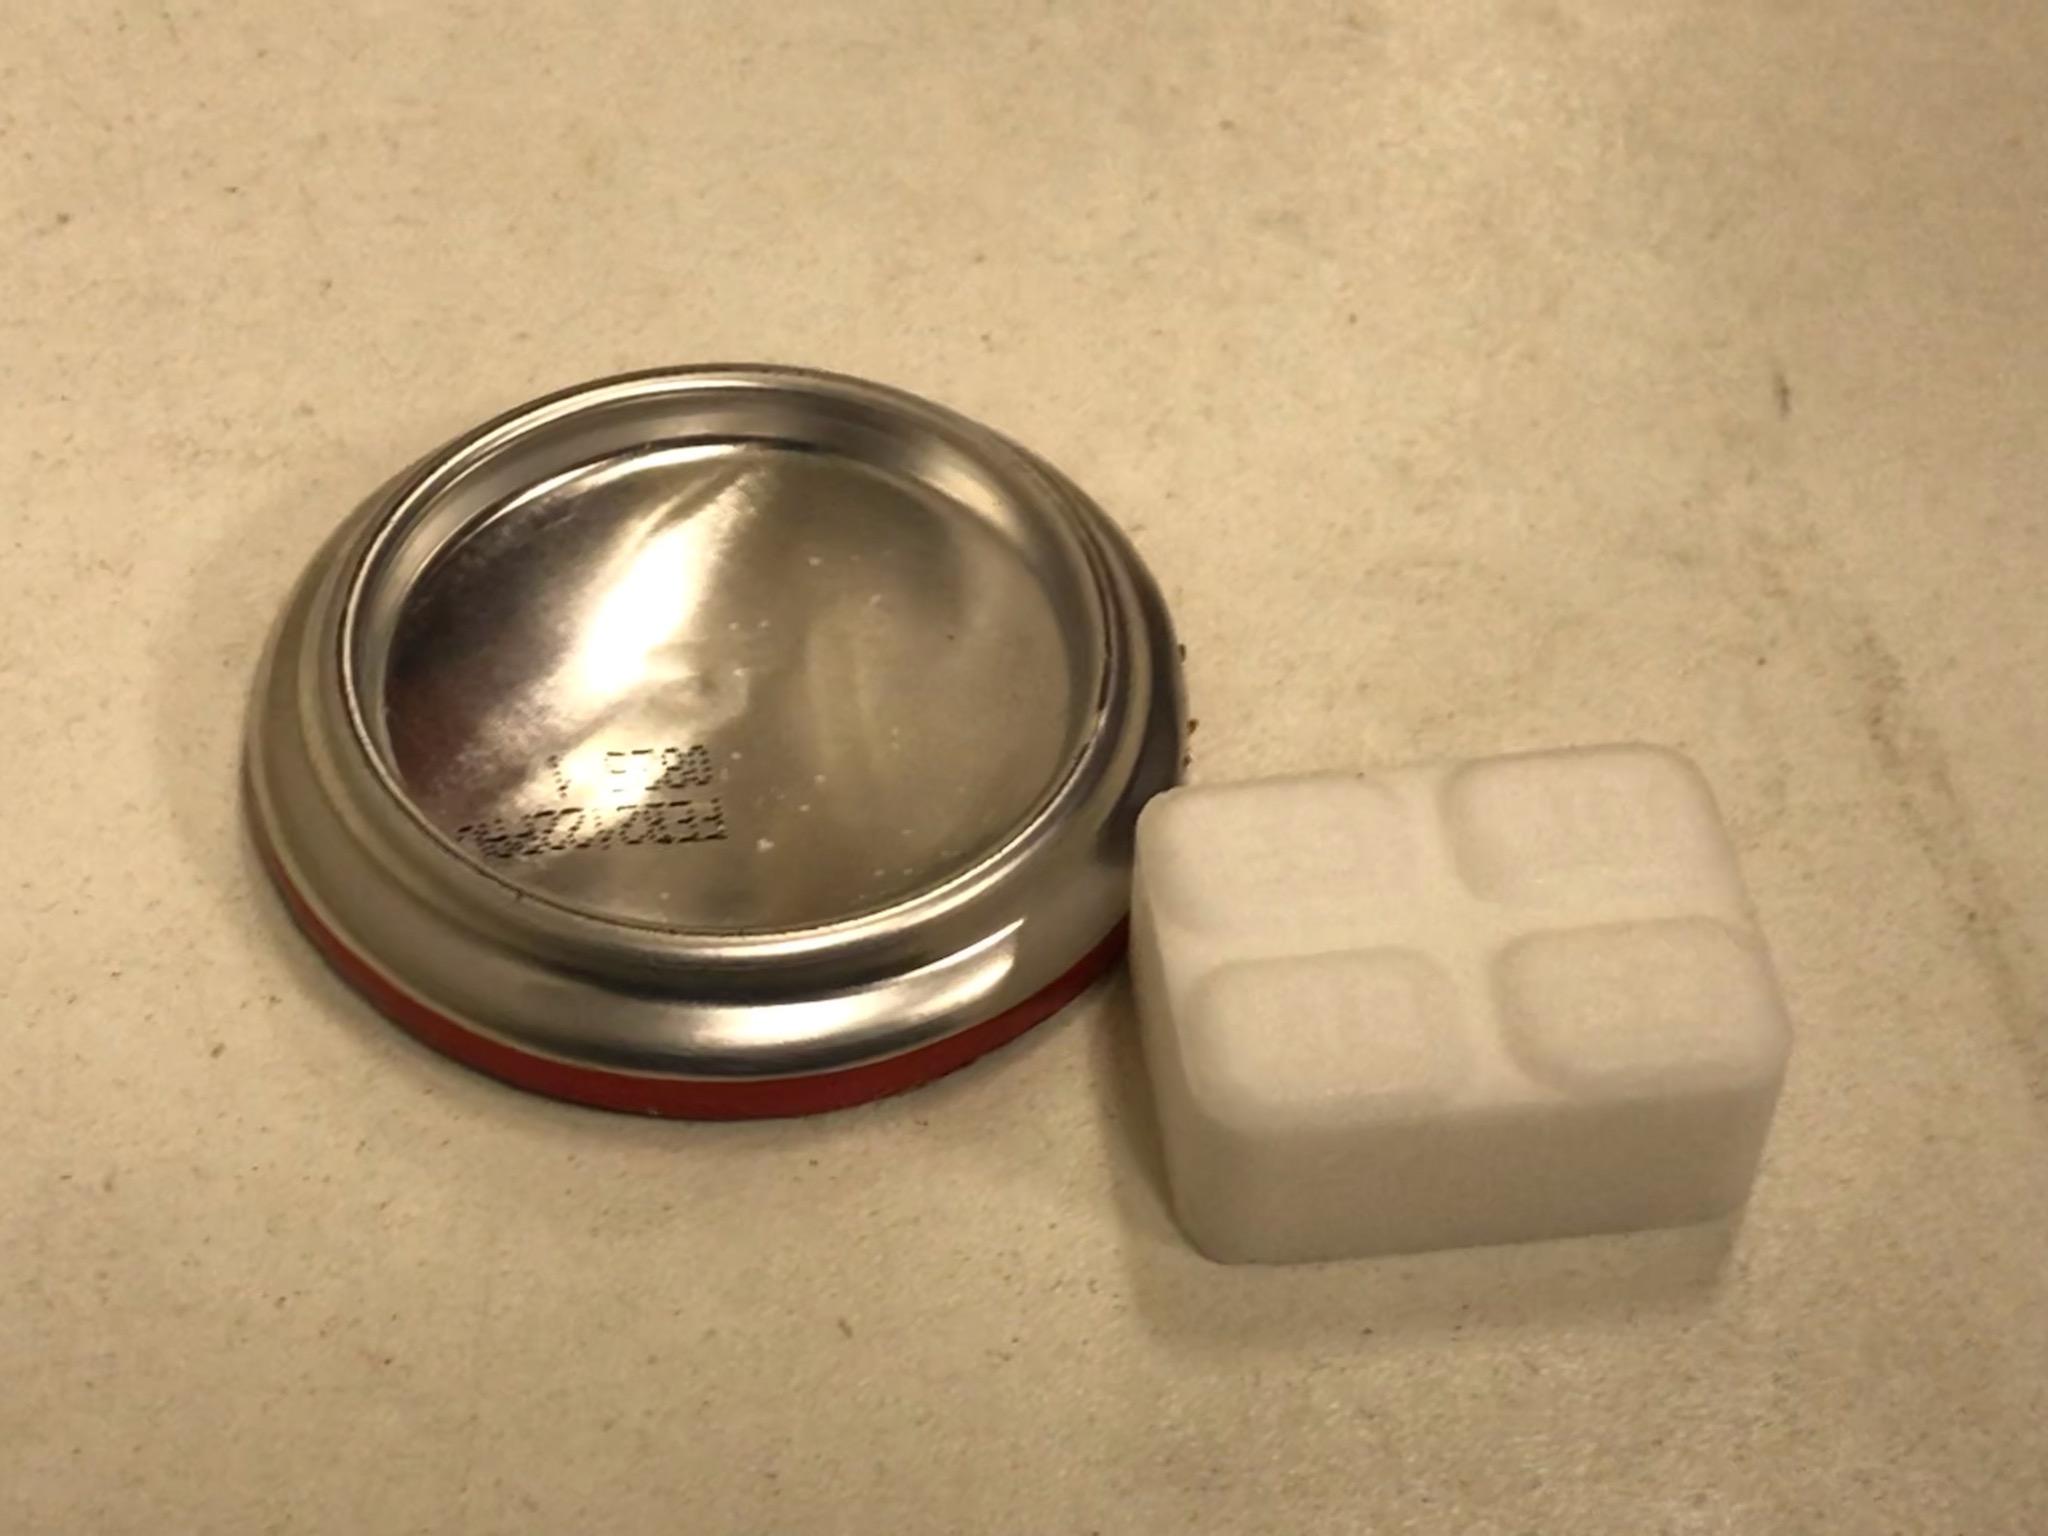
Bottom of an aluminum beverage can. Cut off at least 3/16 – 1/4” from bottom of can, so it will rest on the perimeter instead of the bowl in the center, or higher if that works better with your set up.

 Jan 24, 2022 at 11:38 pm #3738051
— Rex
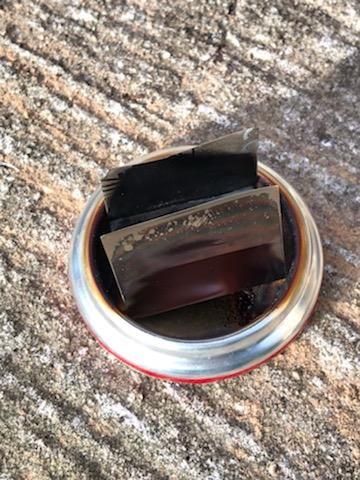
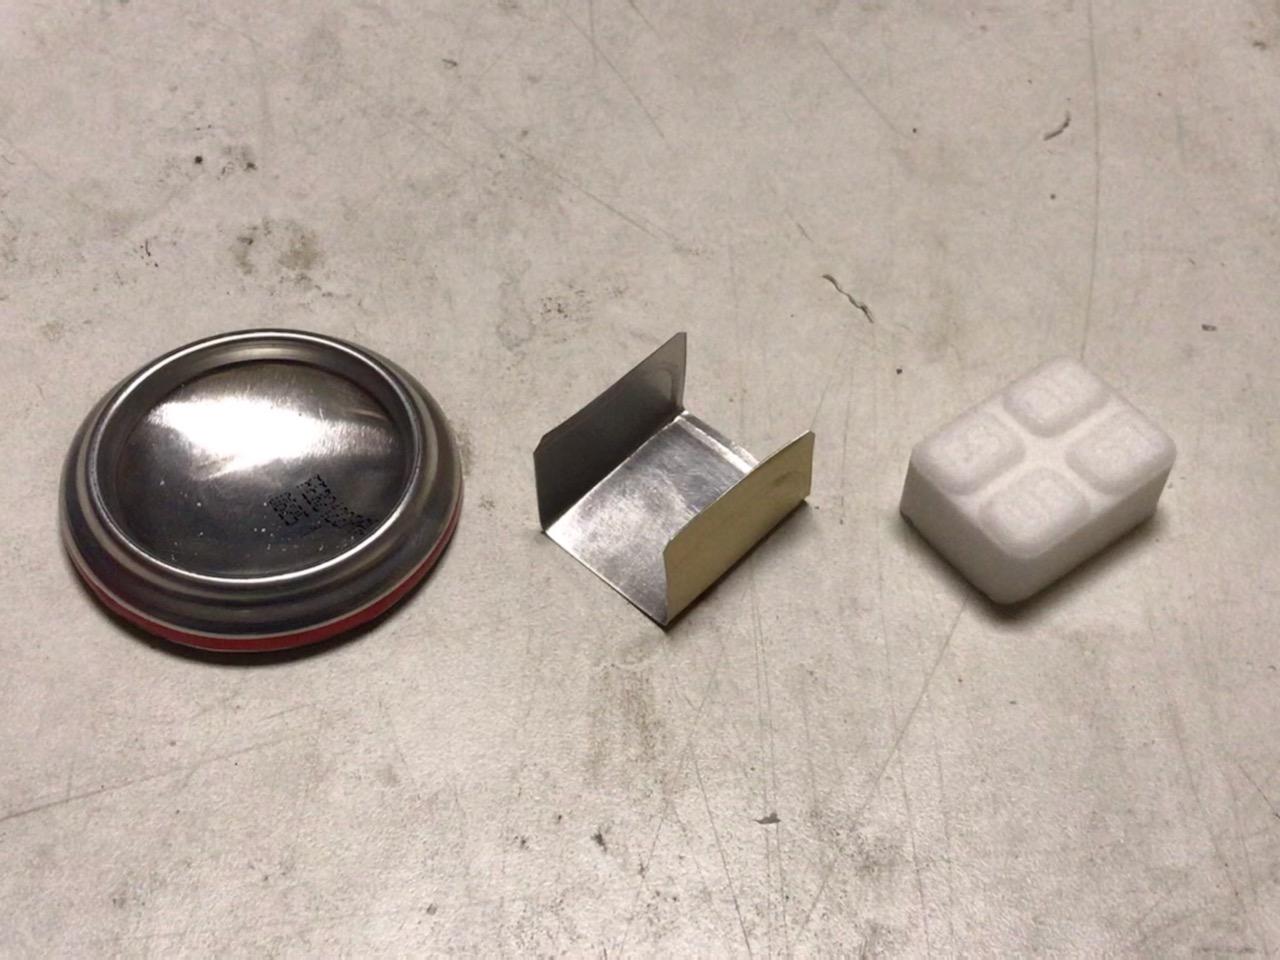
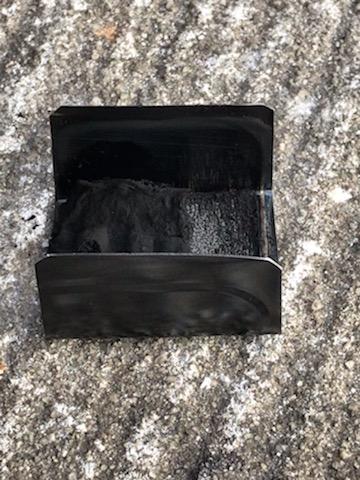
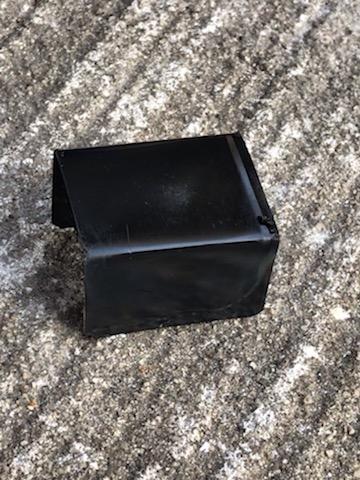
Jan 25, 2022 at 5:41 am #3738054I’ve done that before and liked it but I have drunk the kool aid and try to slow down the burn with a U-shaped piece of foil (basically a DIY Gram Cracker). Do you have any cool ways to slow down the burn?
Jan 25, 2022 at 6:16 am #3738055I like the drinks can burner. Simple and effective. .
The first Split cone I made for my MSR kettle in 2010, was originally specced for a taller stove than the Starlyte which I used it with. So I glued a drink can base to the underside of the Starlyte with JB weld to raise it up. With it inverted , it was the perfect height for using Esbit in the cone too. Duo use stove.
Jan 25, 2022 at 10:23 am #3738094U shaped wings made from the soda can that I cut the burner from, and from a slightly thicker sardine can. Both worked great and did not appear damaged after the burns.


 Jan 25, 2022 at 11:46 am #3738097
@ David @ Matthew – here is an idea/concept for you. Now, it has not been tested out, but I suspect it has a high likelihood of working fine.
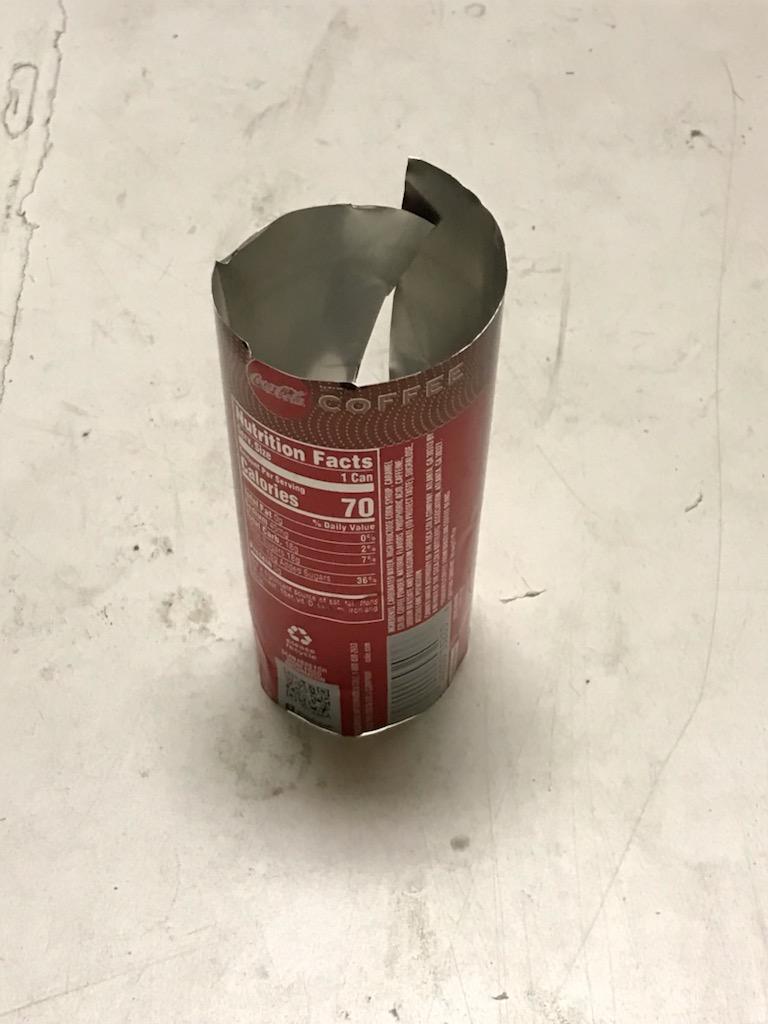
Use David’s original posting for regular heating. Take the top part of a soda can and file the rim until the pop-top section can be removed. Cut the top section approximately 1″ tall and clean up all of the edges. Slide this section over the top of the Esbit holder and it should be able to simmer just fine.

In the attached picture, you can see this next to our Epicurean Stove. The top, opening diameter is the same. There are years of history with the Epicurean so I am 100% confident that there is a viable design center there. Keep in mind that the top of the Esbit to the top of the can is shorter than the Epicurean. By adjusting the height, you should be able to get similar results: ~ up to 45-60 minute burn tomes.
Now as is, the two parts will stick together. What you can do is expand the top section by repeatedly inserting an un-opened can into the upper section to flare the diameter out. This way you can have a high speed burn as well a long simmer time. With soda cans being basically free as well a Covid isolation, this is a good project for someone to optimize. My 2 cents.
Jan 25, 2022 at 5:51 pm #3738117Cool idea Jon, I’ll have to give that a try.
I need to find a friend who actually drinks sodas and get my cans from them, instead of buying it and dumping it out like I’ve been doing.
Jan 26, 2022 at 5:26 am #3738145Nice! Lots of good ideas here. David’s idea is practical and easy but Jon’s is more aesthetically appealing to me. Jon, how far above the top of the Esbit should the rim of the simmer ring be? I know there isn’t one “right” answer but I’d be curious to hear a starting point if you are willing to share.
Edit: I had always assumed that one had to closely cover the sides of Esbit to slow it down (like TD does) but it makes sense that a ring can slow it down too. Thanks for that insight, Jon. Also, I should have known that already. I have an Epicurean Stove somewhere in a gearbox over here.
Jan 26, 2022 at 7:31 am #3738151Good idea!
Jan 26, 2022 at 8:53 am #3738156A good starting point is 0.500″ between the top of the Esbit and the top of the stove. What makes it a bit complex is that the Esbit sits in a concave cup. Additionally, I would recommend a 0.75″ top of stove to bottom of your pot/mug. Material and material thickness will also impact the burn rate.
That being said, people have been dry baking by wrapping Esbit in a bit of tin foil so there is some latitude here. I use precise dimensions for consistency and predictability. My 2 cents.
Jan 26, 2022 at 10:22 am #3738169Thanks, Jon.
Additionally, I would recommend a 0.75″ top of stove to bottom of your pot/mug.
I’m assuming you are defining the top of the stove as the top of of the simmer ring. Do I have that correct?
Jan 26, 2022 at 10:42 am #3738171That is correct, the 0.75″ is from the top of the simmer ring. BTW, below is an older version of the Epicurean: they look very similar to what I am proposing. The design evolved to improve manufacturability, lower cost and ease of use. That being said, the performance is identical to what we offer today. Best regards.
 Jan 26, 2022 at 1:10 pm #3738183
Oh wow. I love the adjustment on the top one although I appreciate the simplicity of your current iteration.
Thank you for confirming that I understood correctly
-
AuthorPosts
- You must be logged in to reply to this topic.
Forum Posting
A Membership is required to post in the forums. Login or become a member to post in the member forums!
Our Community Posts are Moderated
Backpacking Light community posts are moderated and here to foster helpful and positive discussions about lightweight backpacking. Please be mindful of our values and boundaries and review our Community Guidelines prior to posting.
Get the Newsletter
Gear Research & Discovery Tools
- Browse our curated Gear Shop
- See the latest Gear Deals and Sales
- Our Recommendations
- Search for Gear on Sale with the Gear Finder
- Used Gear Swap
- Member Gear Reviews and BPL Gear Review Articles
- Browse by Gear Type or Brand.

