Topic
MYOG Tent Planning
Forum Posting
A Membership is required to post in the forums. Login or become a member to post in the member forums!
Home › Forums › Gear Forums › Make Your Own Gear › MYOG Tent Planning
- This topic has 34 replies, 9 voices, and was last updated 8 years, 6 months ago by
 Hoosier T.
-
AuthorPosts
-
Jun 22, 2016 at 10:42 am #3410164
That’s why I like to use a french seam with the remaining flap folded and sewn. It ends up looking like a flat felled seam but I think it’s easier and cleaner looking. No idea on the strength comparison but the flat tarp I made used it for the ridgeline and it is rock solid.
Jun 22, 2016 at 10:55 am #3410166That’s a really great idea, too bad I didn’t think of that before! I’m sure it is just as strong or stronger, as the 1st and 3rd seams result in the same basic seam placement as a flat felled seam, only the 3rd seam goes through more layers of fabric. Overall, sounds like a great approach to me. Too bad I’ve already finished all the big seams, haha!
Jun 22, 2016 at 10:57 am #3410167Also, since you have already sewn the ends to the main body, how do you plan to attach the noseeum end panels where to the tarp? You’re obviously going to roll the side panels together but your ends are already hemmed. Just curious for planning purposes.
Jun 22, 2016 at 11:05 am #3410172The perimeter has not been hemmed yet, so I plan to roll the noseeum into the head and foot ends of both the canopy and floor. For the sides, I will hem the floor first, then install the zipper, connecting the noseeum to the floor for a good portion of the middle, and then the noseeum will be sewn directly to the rest of the side floor edge. Since I plan to angle the noseeum attachment away from the peak towards the top, to leave room for the trekking pole pocket, I decided to just sew it directly to the canopy, probably close to one of the last steps in the whole project.
Jun 22, 2016 at 11:07 am #3410174Oh yea, I forgot about the decision to pull the netting back from the peak. Did you end up using membrane silpoly? I was thinking on this…Since silicone bonds so well, I wonder if sewing the netting to a 1″ or 1.5″ wide strip of the same silpoly then bonding it to the canopy would work well. Something I’m definitely considering.
Jun 22, 2016 at 11:16 am #3410176Yes, I used Membrane Silpoly for the canopy. It seems like great stuff. That’s an interesting idea for how to attach the netting, one less seam through the canopy would be nice. Might be a little tricky to execute. When you used silicone to attach the reinforcement patches to your tarp, did you weight it while it cured? Any idea how long it took for it to be fully cured?
Jun 22, 2016 at 11:21 am #3410177I agree, I really like working with it. Yes, I bonded mine with silicone. I think they were dry at 24 hours when I took the weight off but left them uncovered for another 24. I don’t think it would be too tricky other than sewing to such a small piece but the ends would only be tough. Once you get going I think it would be doable. For this application I would probably just buy a cheap 1 x 3 piece of lumber from Lowe’s and put some milk jugs on top of it. Obviously this is all in theory though…
Jul 14, 2016 at 8:59 pm #3414348Hey Lydia, wanted to see if you ever finished your tent and how it turned out?
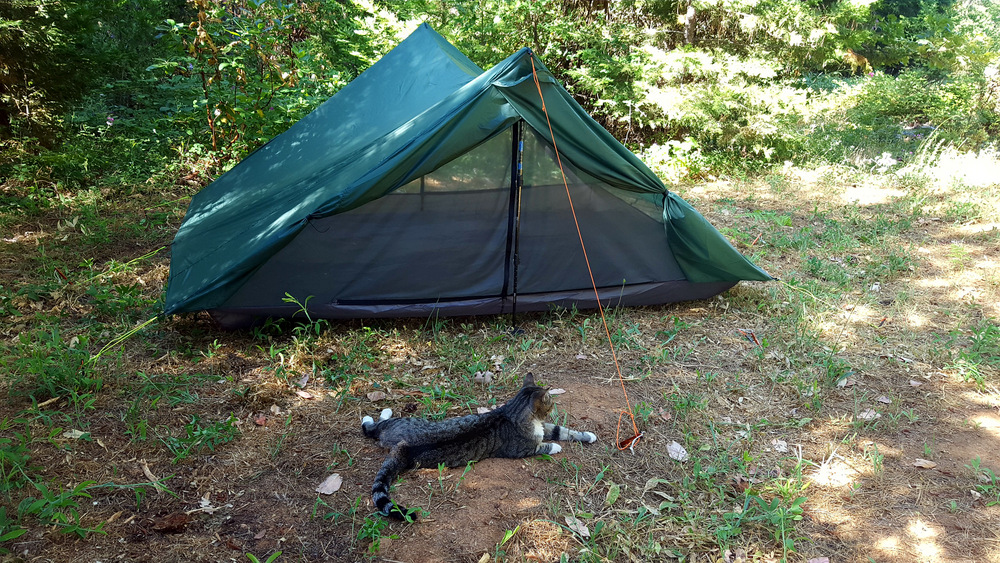
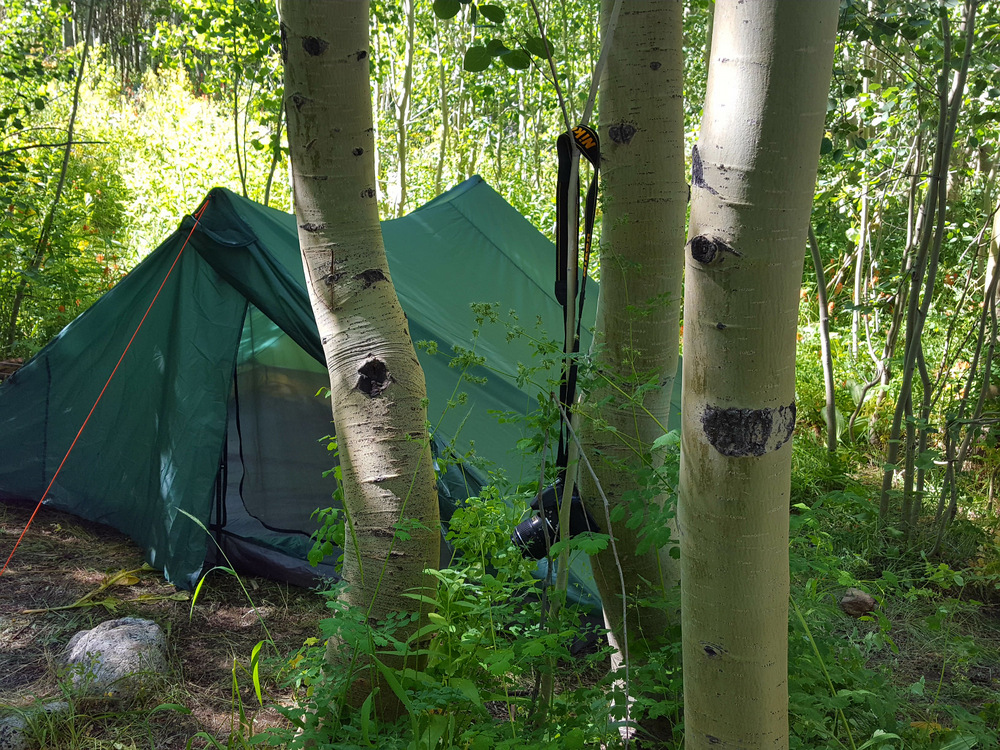
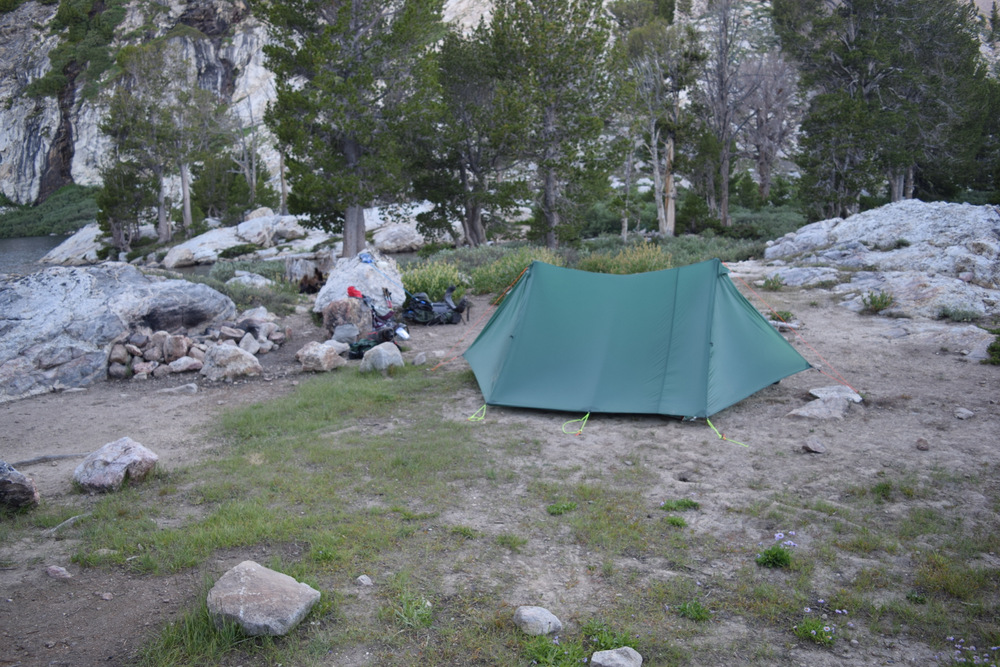
Aug 2, 2016 at 1:35 am #3417790Hi Hoosier, sorry it took so long to get back to you! Yes, I did build my tent, and it survived its first trip. :)
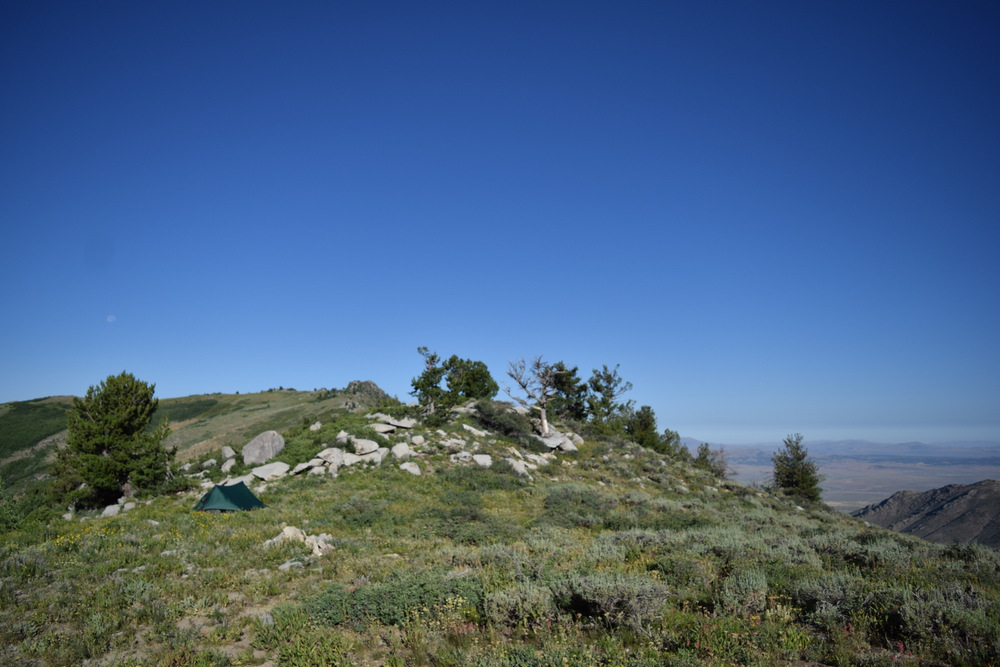
I actually finished it at the end of June, and was supposed to be taking a trip over the 4th of July weekend, but a forest fire threatened our home, so I ended up postponing the trip until 7/21-7/25.
I still need to add reinforcements and tie-outs to the main canopy walls. Time had run out before the original trip dates, and then in between life got in the way and I just didn’t get it done.
Overall I’m pretty happy with it.
Set up at home for seam sealing: (I used weed eater line to stiffen the vent openings, but it wants to curl. I added a little loop that goes around the guyline, and should probably remove the weed eater line.)


Miscalculated the yardage and had to piece together one of the vestibule flaps:

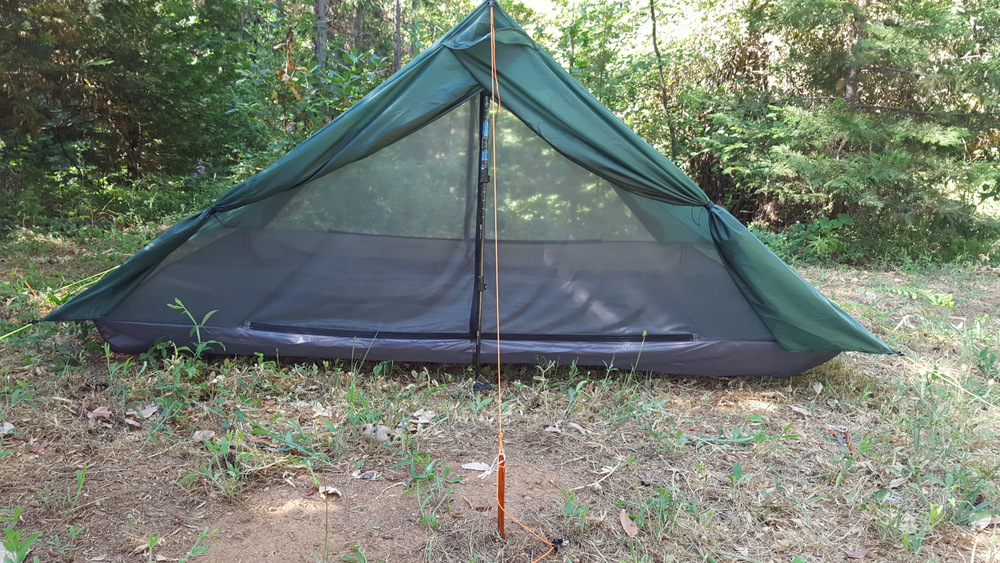
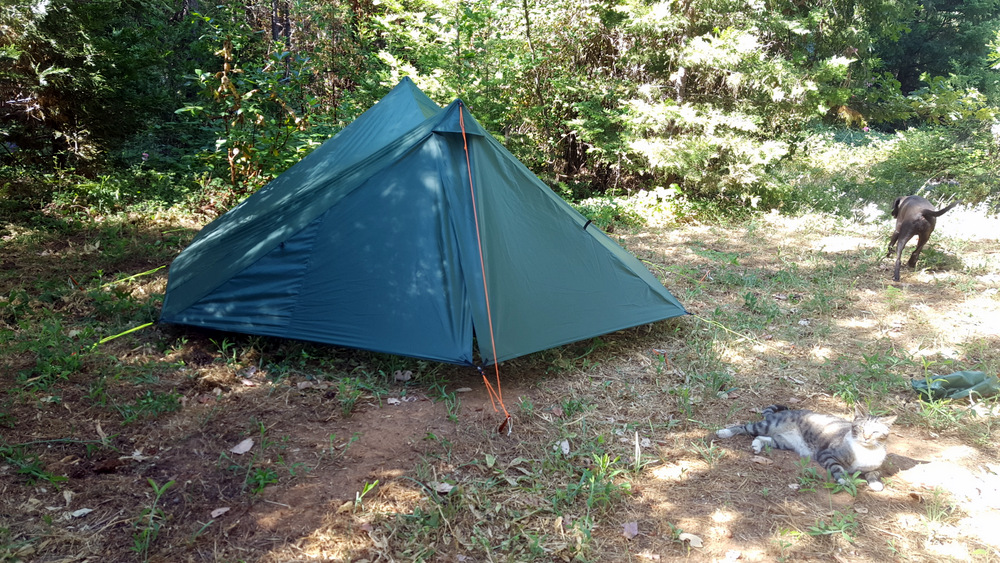
And here are a few pictures of it in the field:


A few things I learned:
- I should have made the bottom portion of the zipper longer (not sure what I was thinking, but it would be so better if it opened the full width of the bottom.
- Shouldn’t have made the vestibules quite so big, it’s hard to reach them to clip/unclip them without crawling halfway out of the tent.
- The apex vent is probably completely unnecessary for camping out here in the west. The summers are so dry, condensation will likely rarely be an issue.
- Having vestibules that zip instead of overlap would be better for windy situations. The first night we set it up with the overlap facing into the wind… we were too tired to flip the tent around, so we just rolled up the vestibule doors so they wouldn’t catch the wind.
I’m sure there’s more, but that’s all I can think of right now. I’d be happy to try to answer any questions anyone has. :)
Aug 2, 2016 at 6:12 am #3417805Wow, beautiful shelter! The people on here truly amaze me at what they can do.
-
AuthorPosts
- You must be logged in to reply to this topic.
Forum Posting
A Membership is required to post in the forums. Login or become a member to post in the member forums!
HAPPENING RIGHT NOW (February 11-21, 2025) - Shop Hyperlite Mountain Gear's Biggest Sale of the Year:
Our Community Posts are Moderated
Backpacking Light community posts are moderated and here to foster helpful and positive discussions about lightweight backpacking. Please be mindful of our values and boundaries and review our Community Guidelines prior to posting.
Get the Newsletter
Gear Research & Discovery Tools
- Browse our curated Gear Shop
- See the latest Gear Deals and Sales
- Our Recommendations
- Search for Gear on Sale with the Gear Finder
- Used Gear Swap
- Member Gear Reviews and BPL Gear Review Articles
- Browse by Gear Type or Brand.

