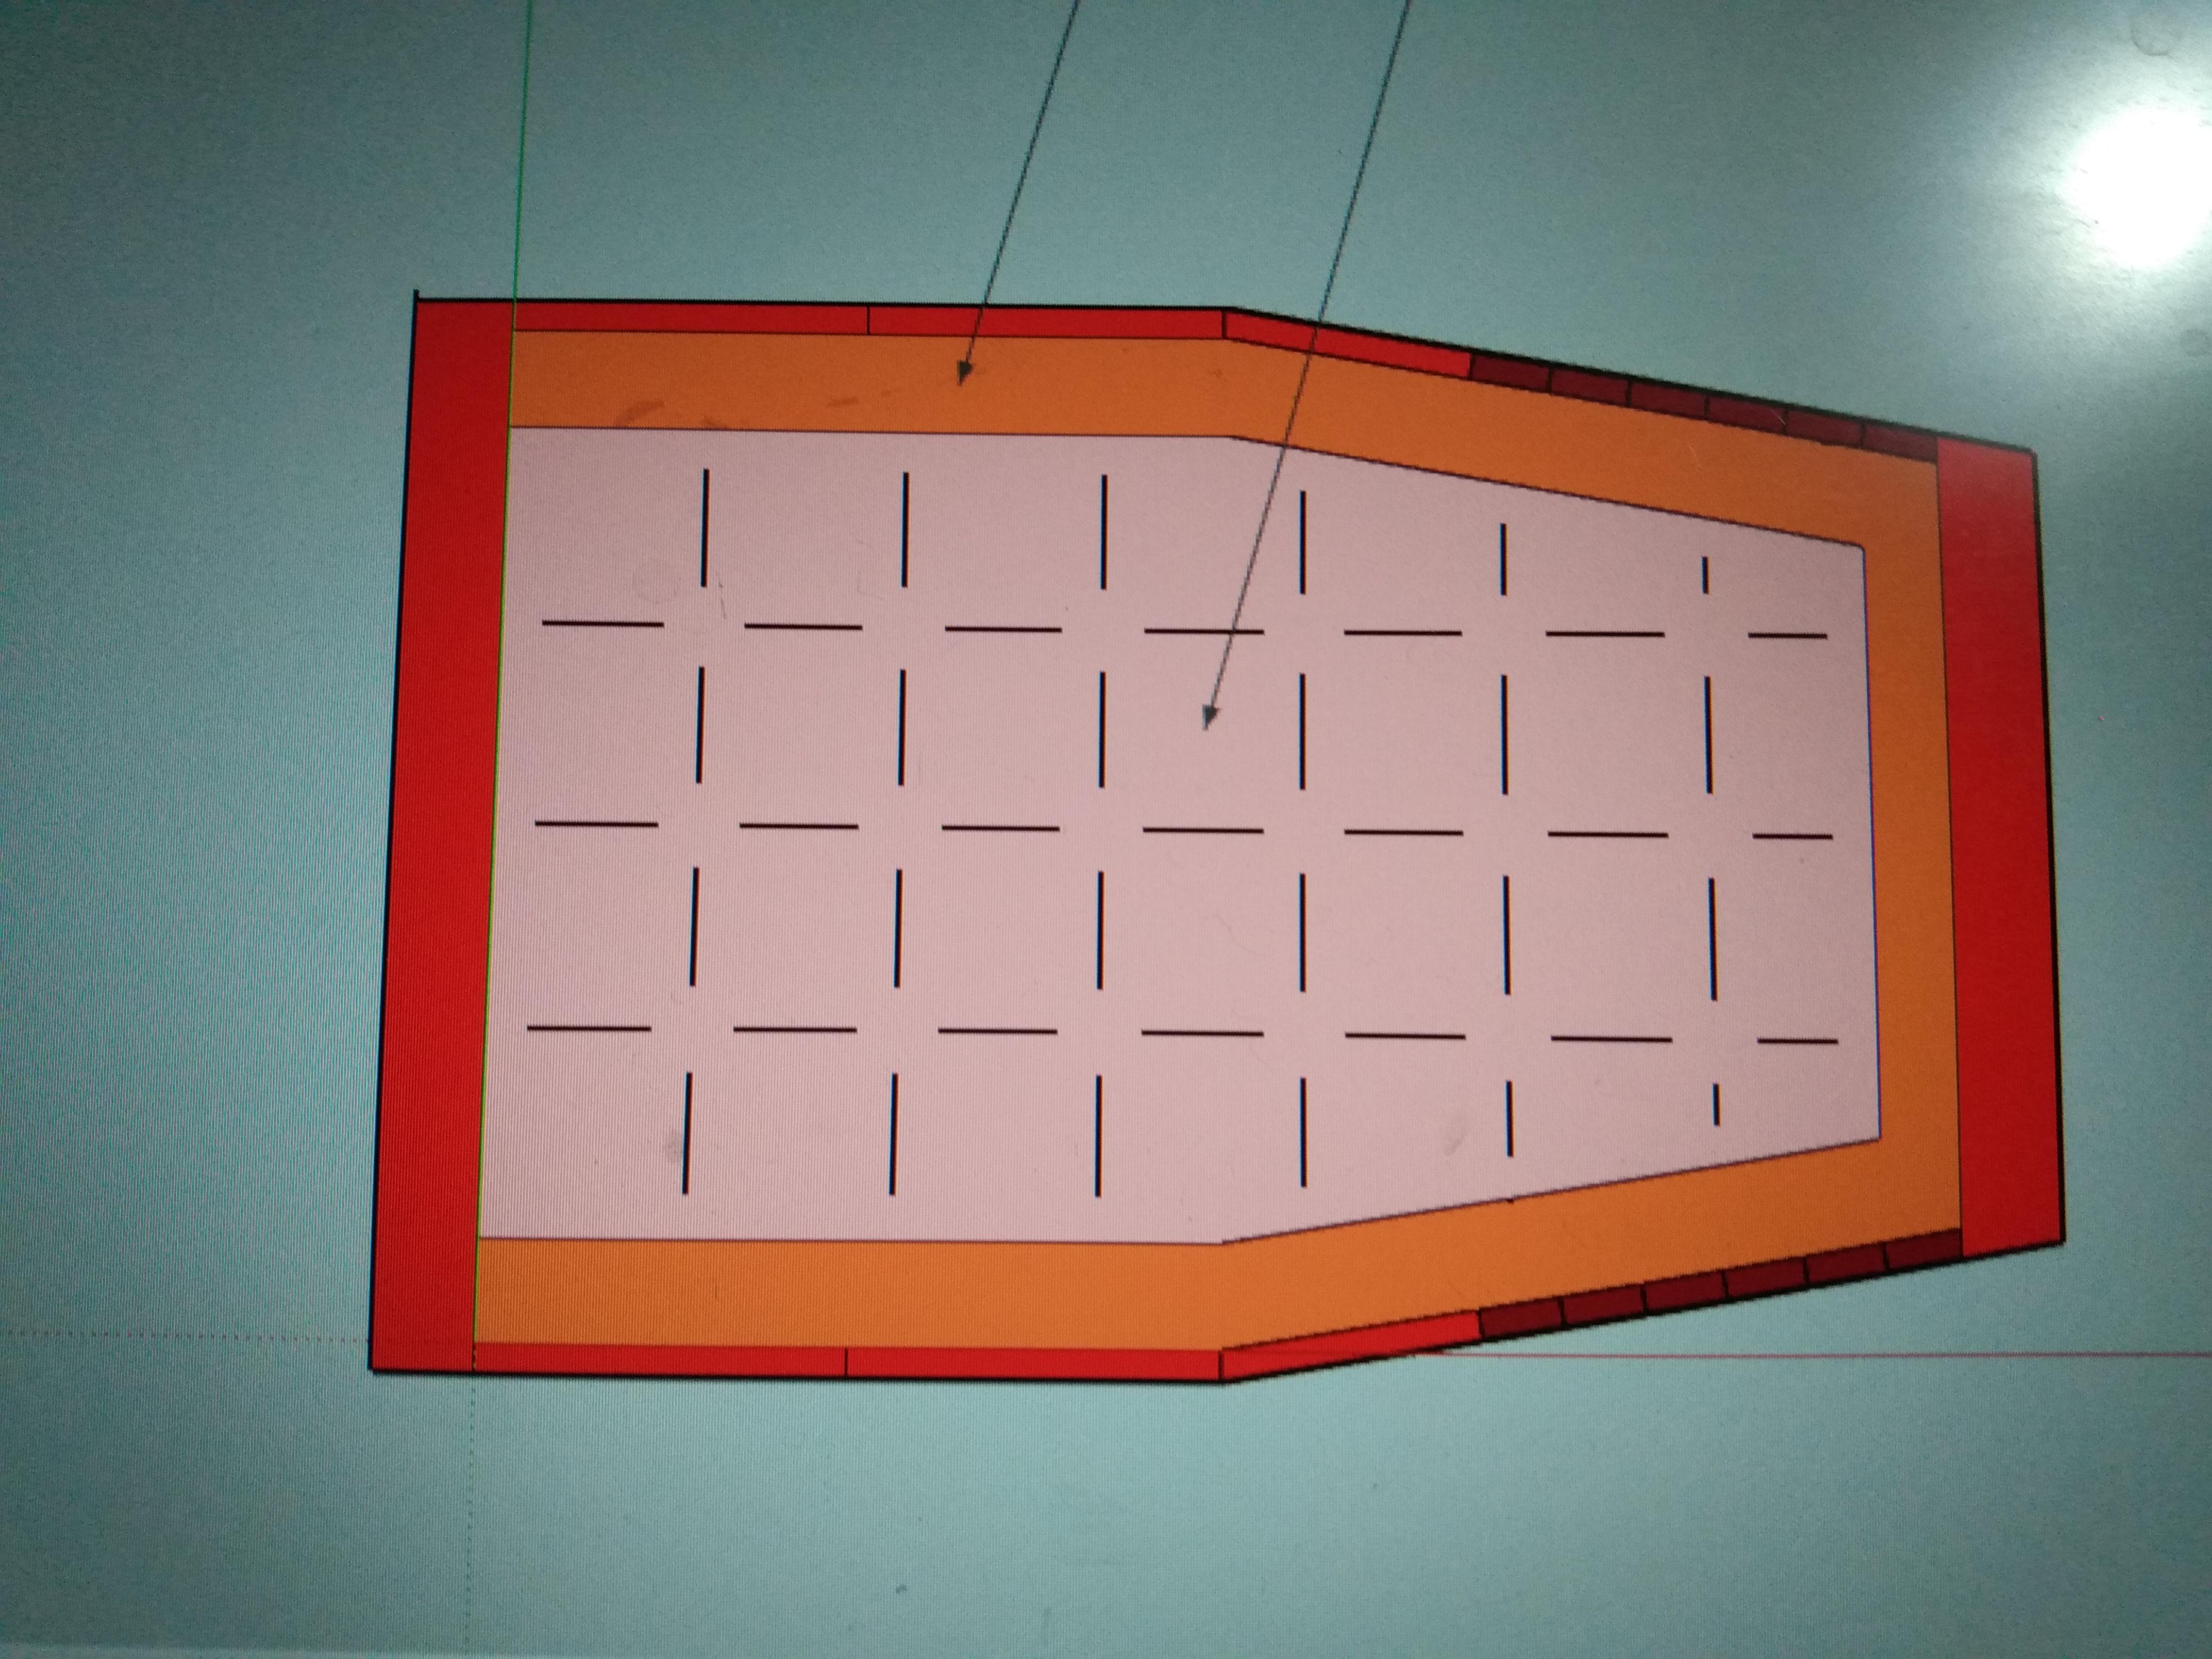
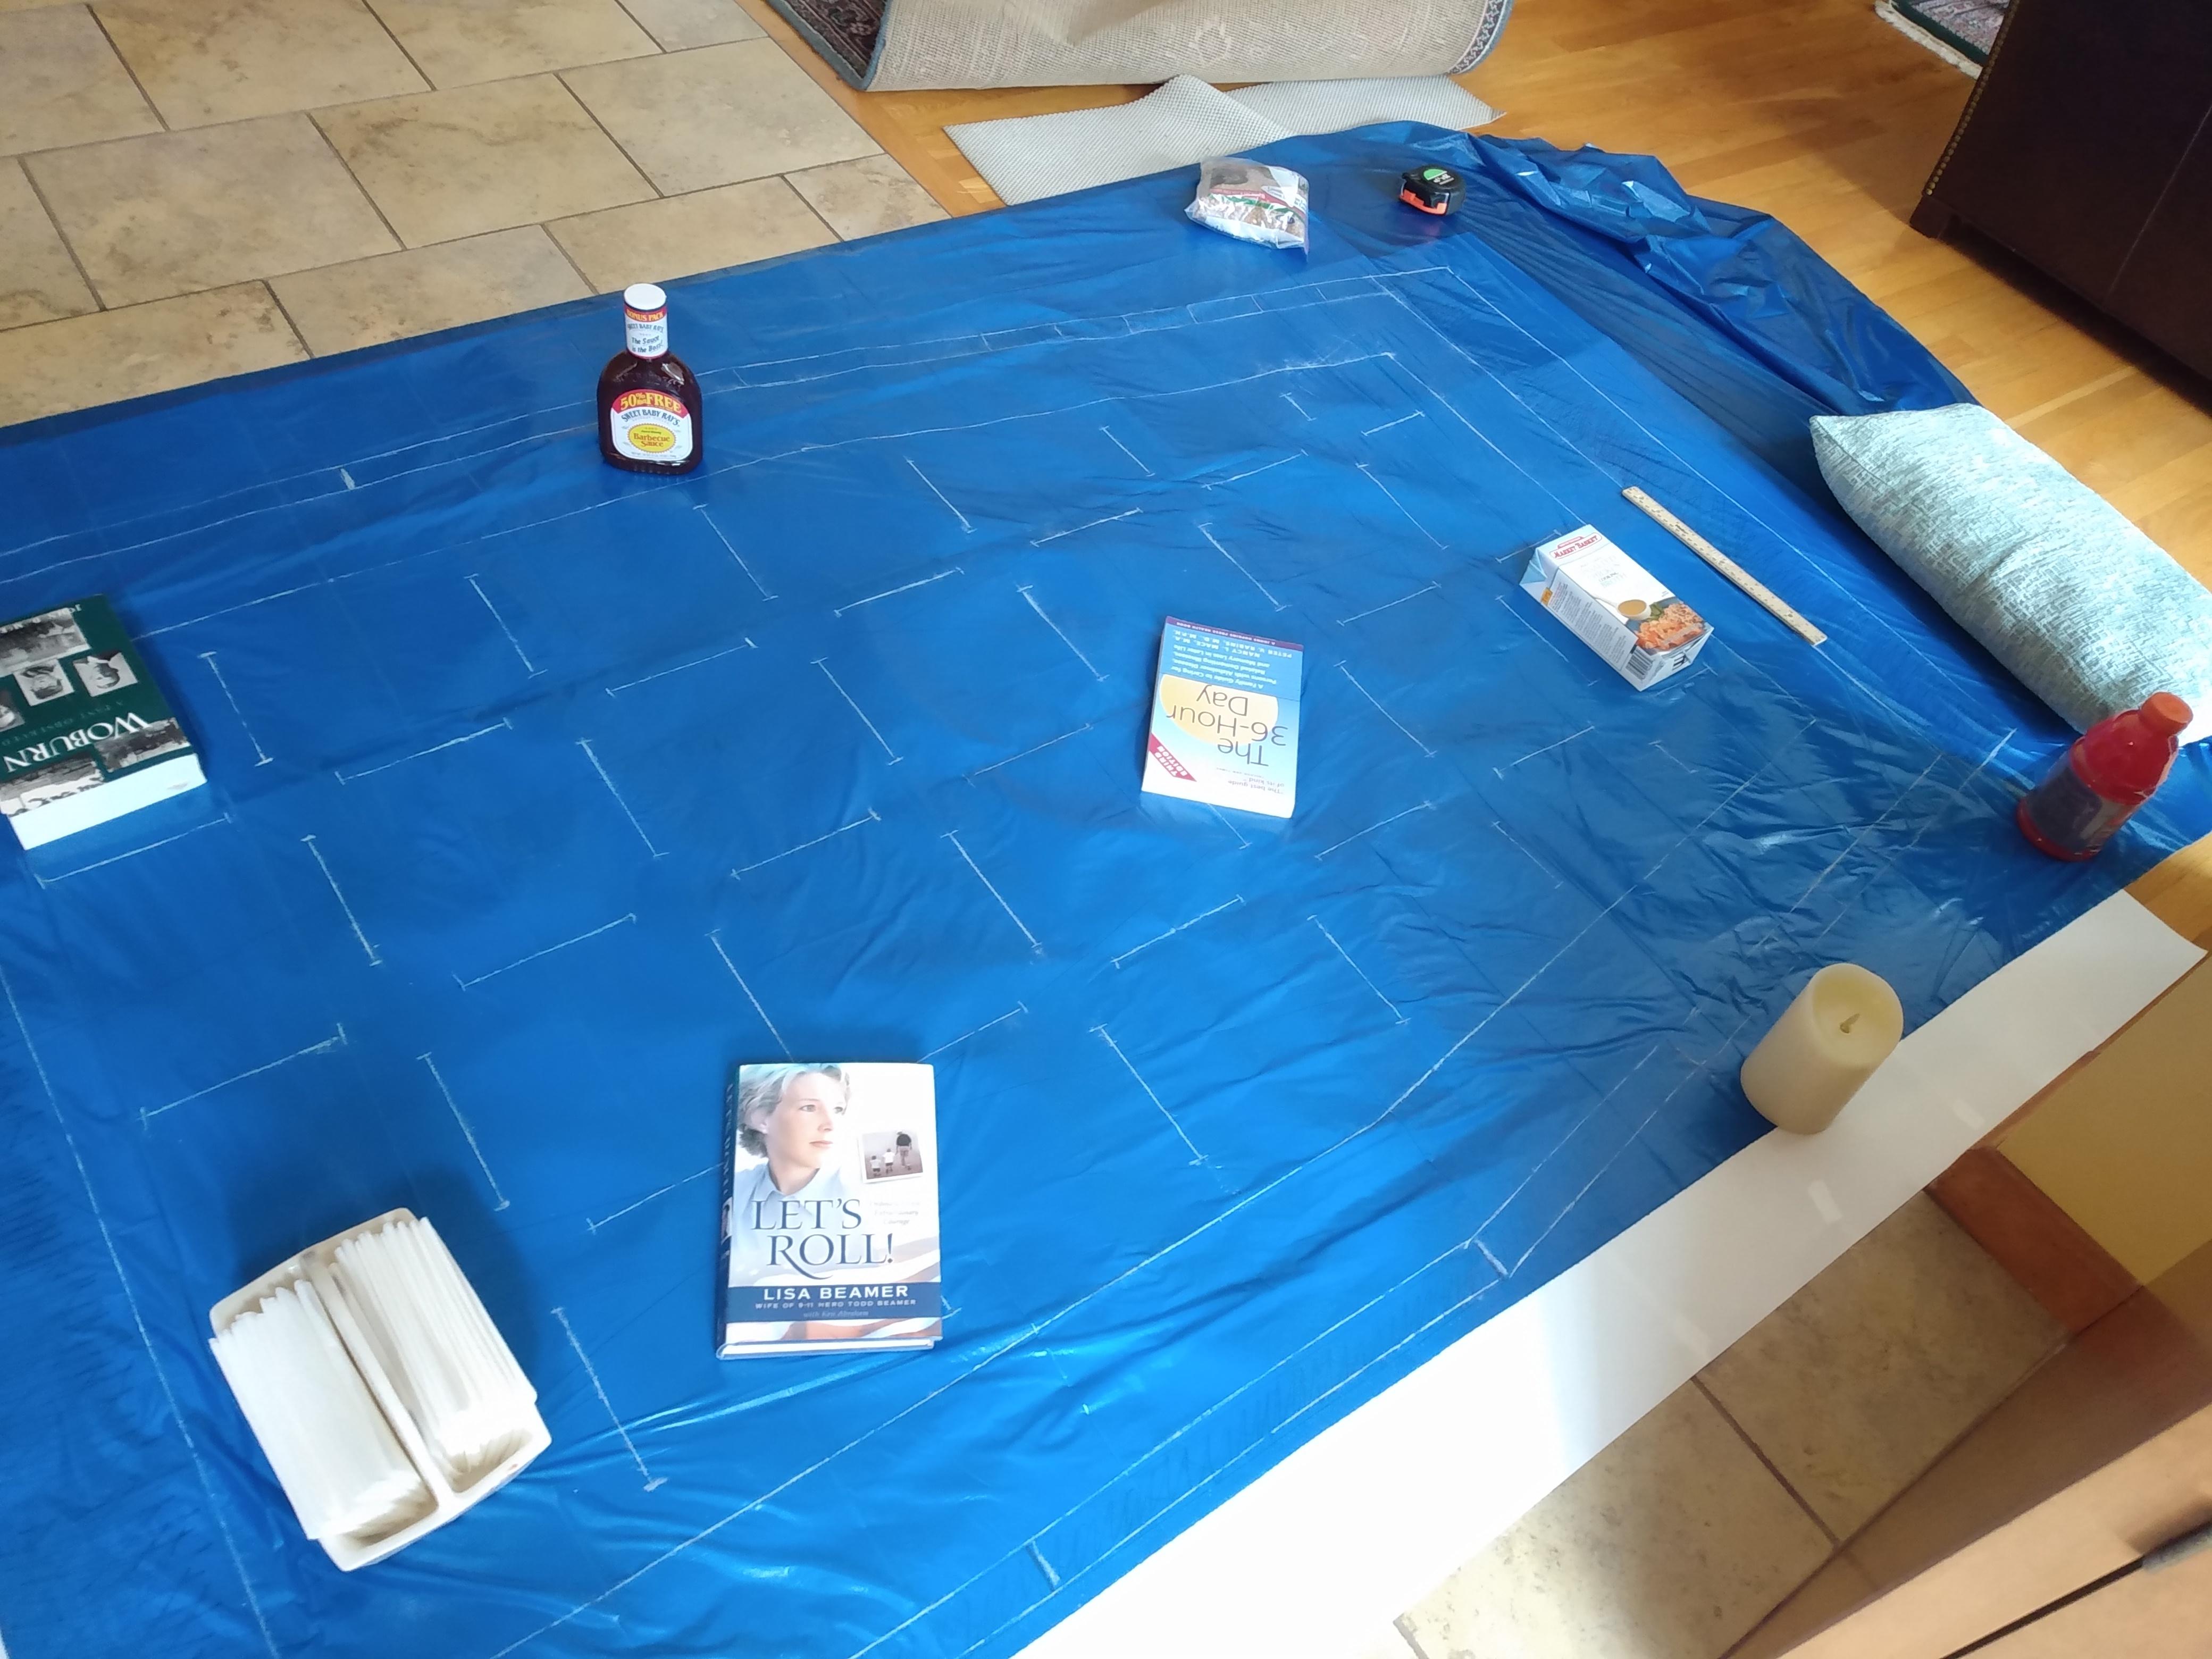
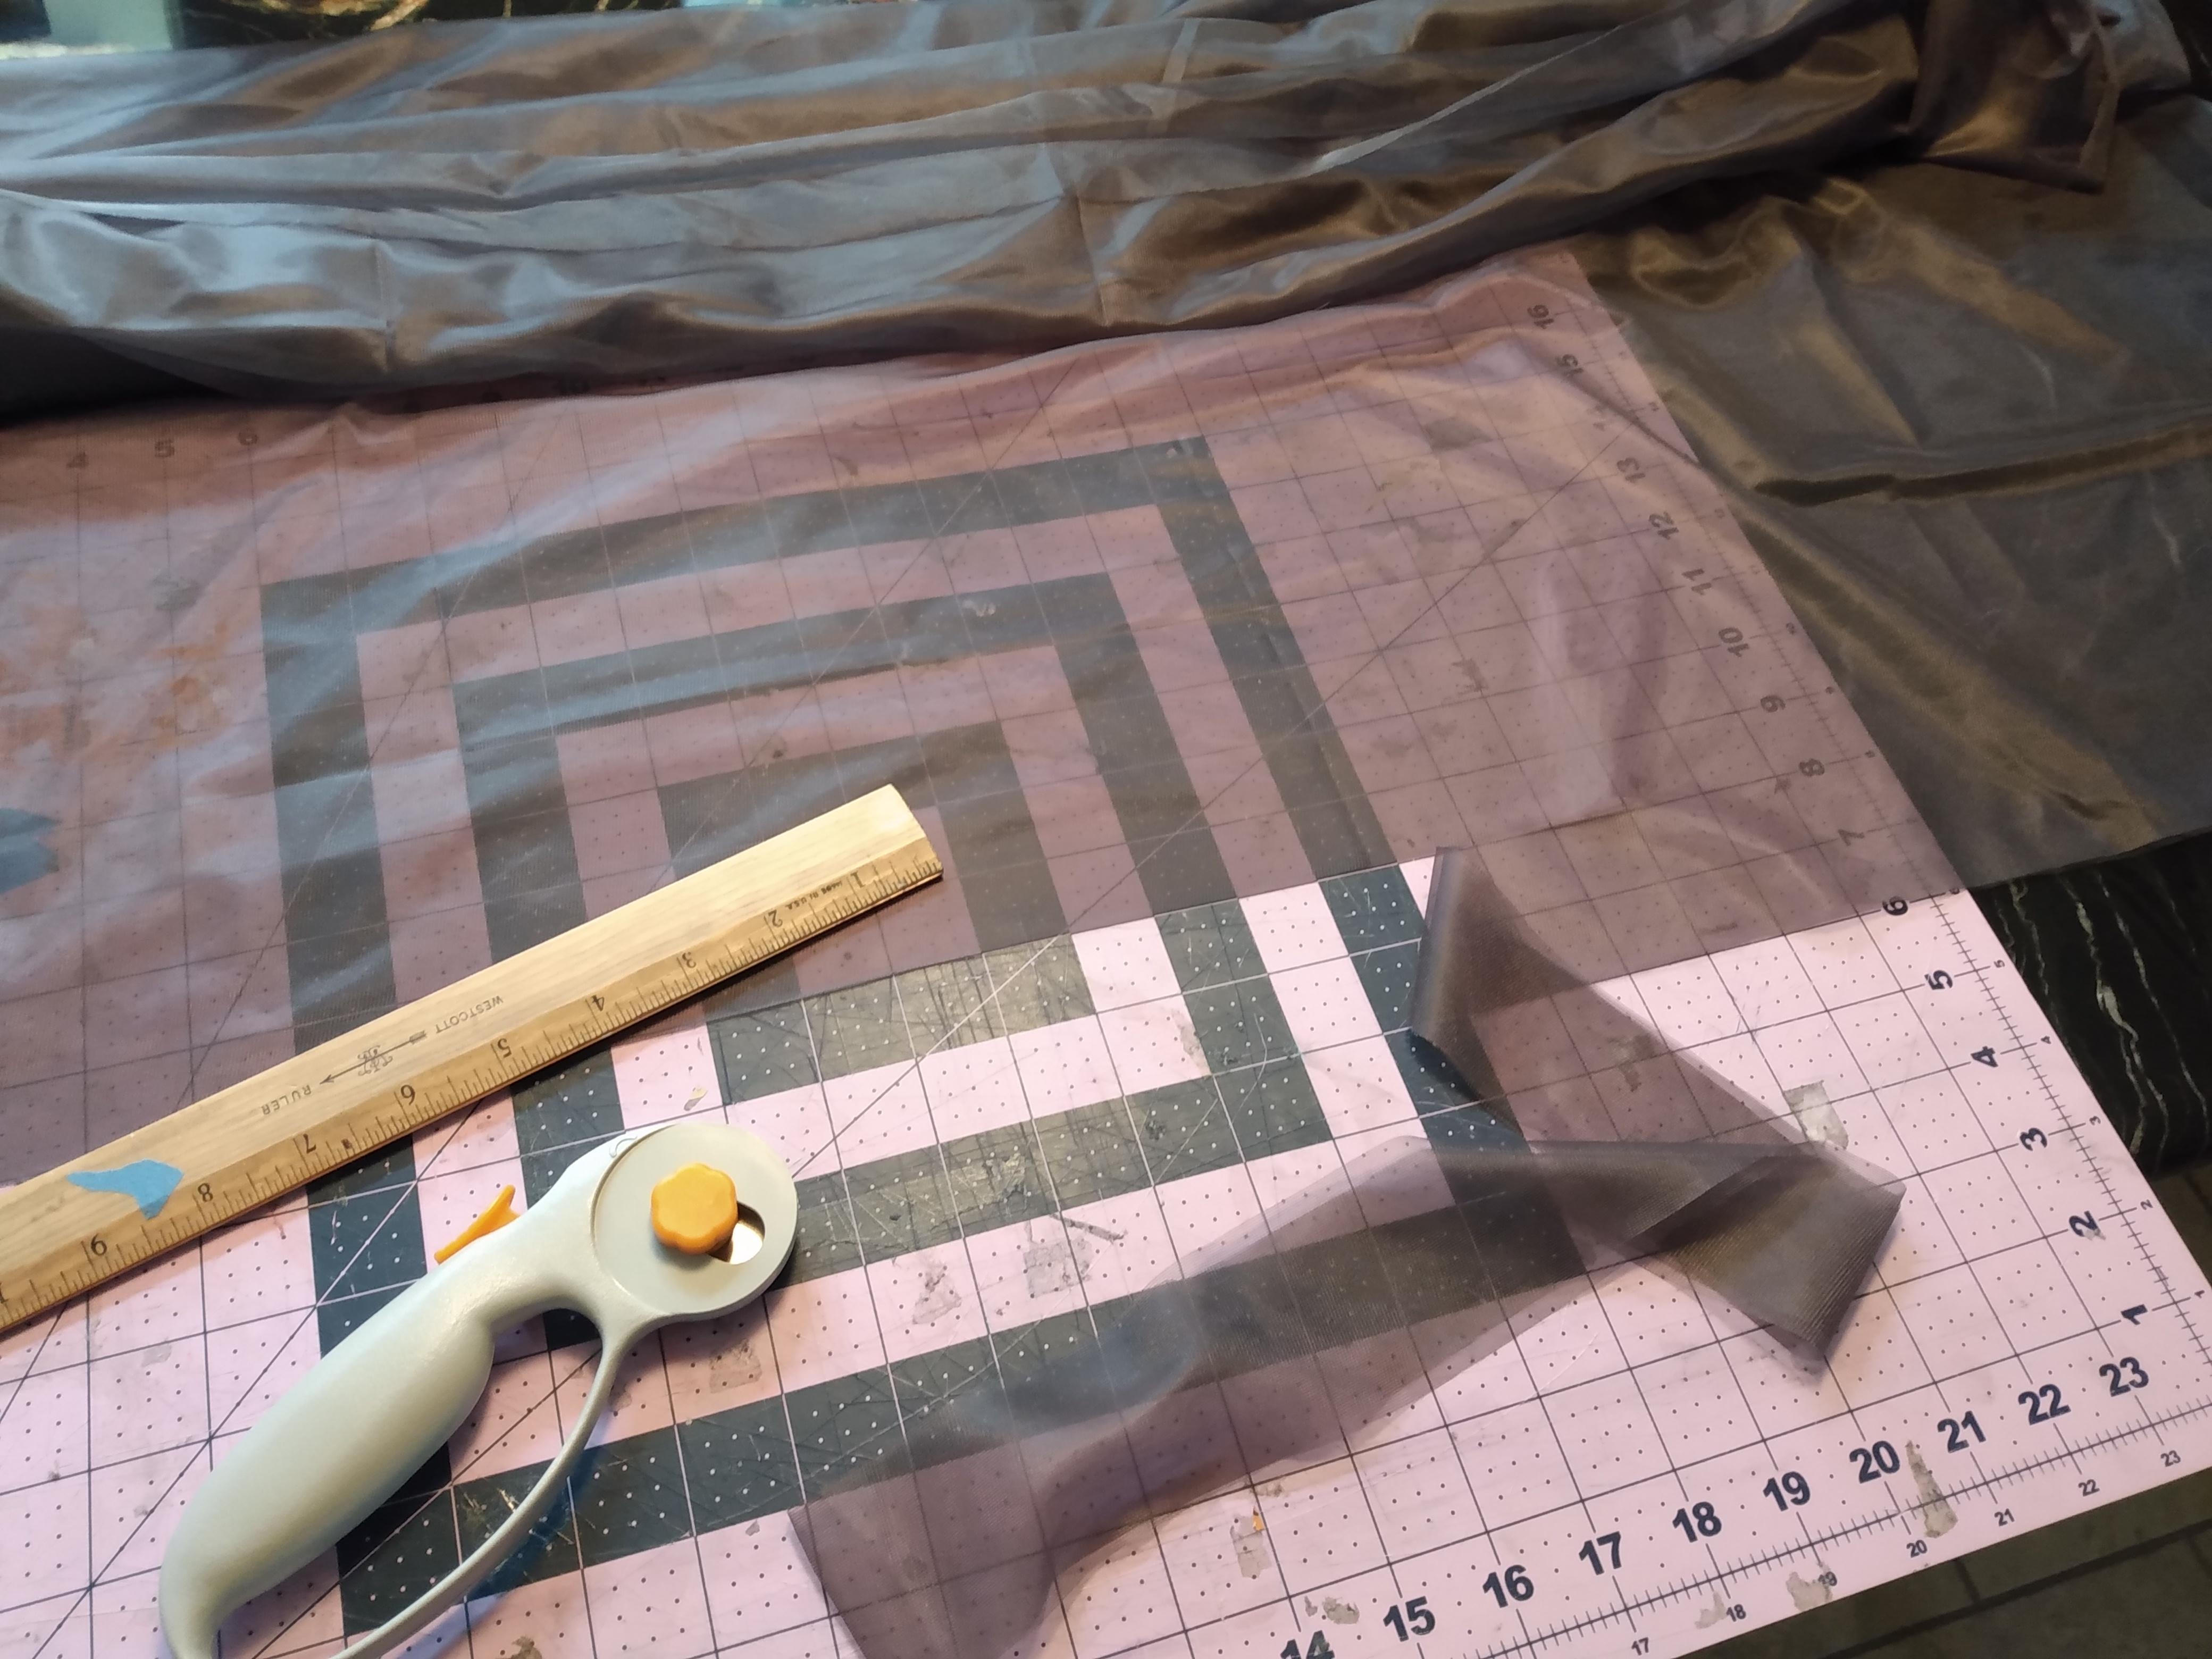
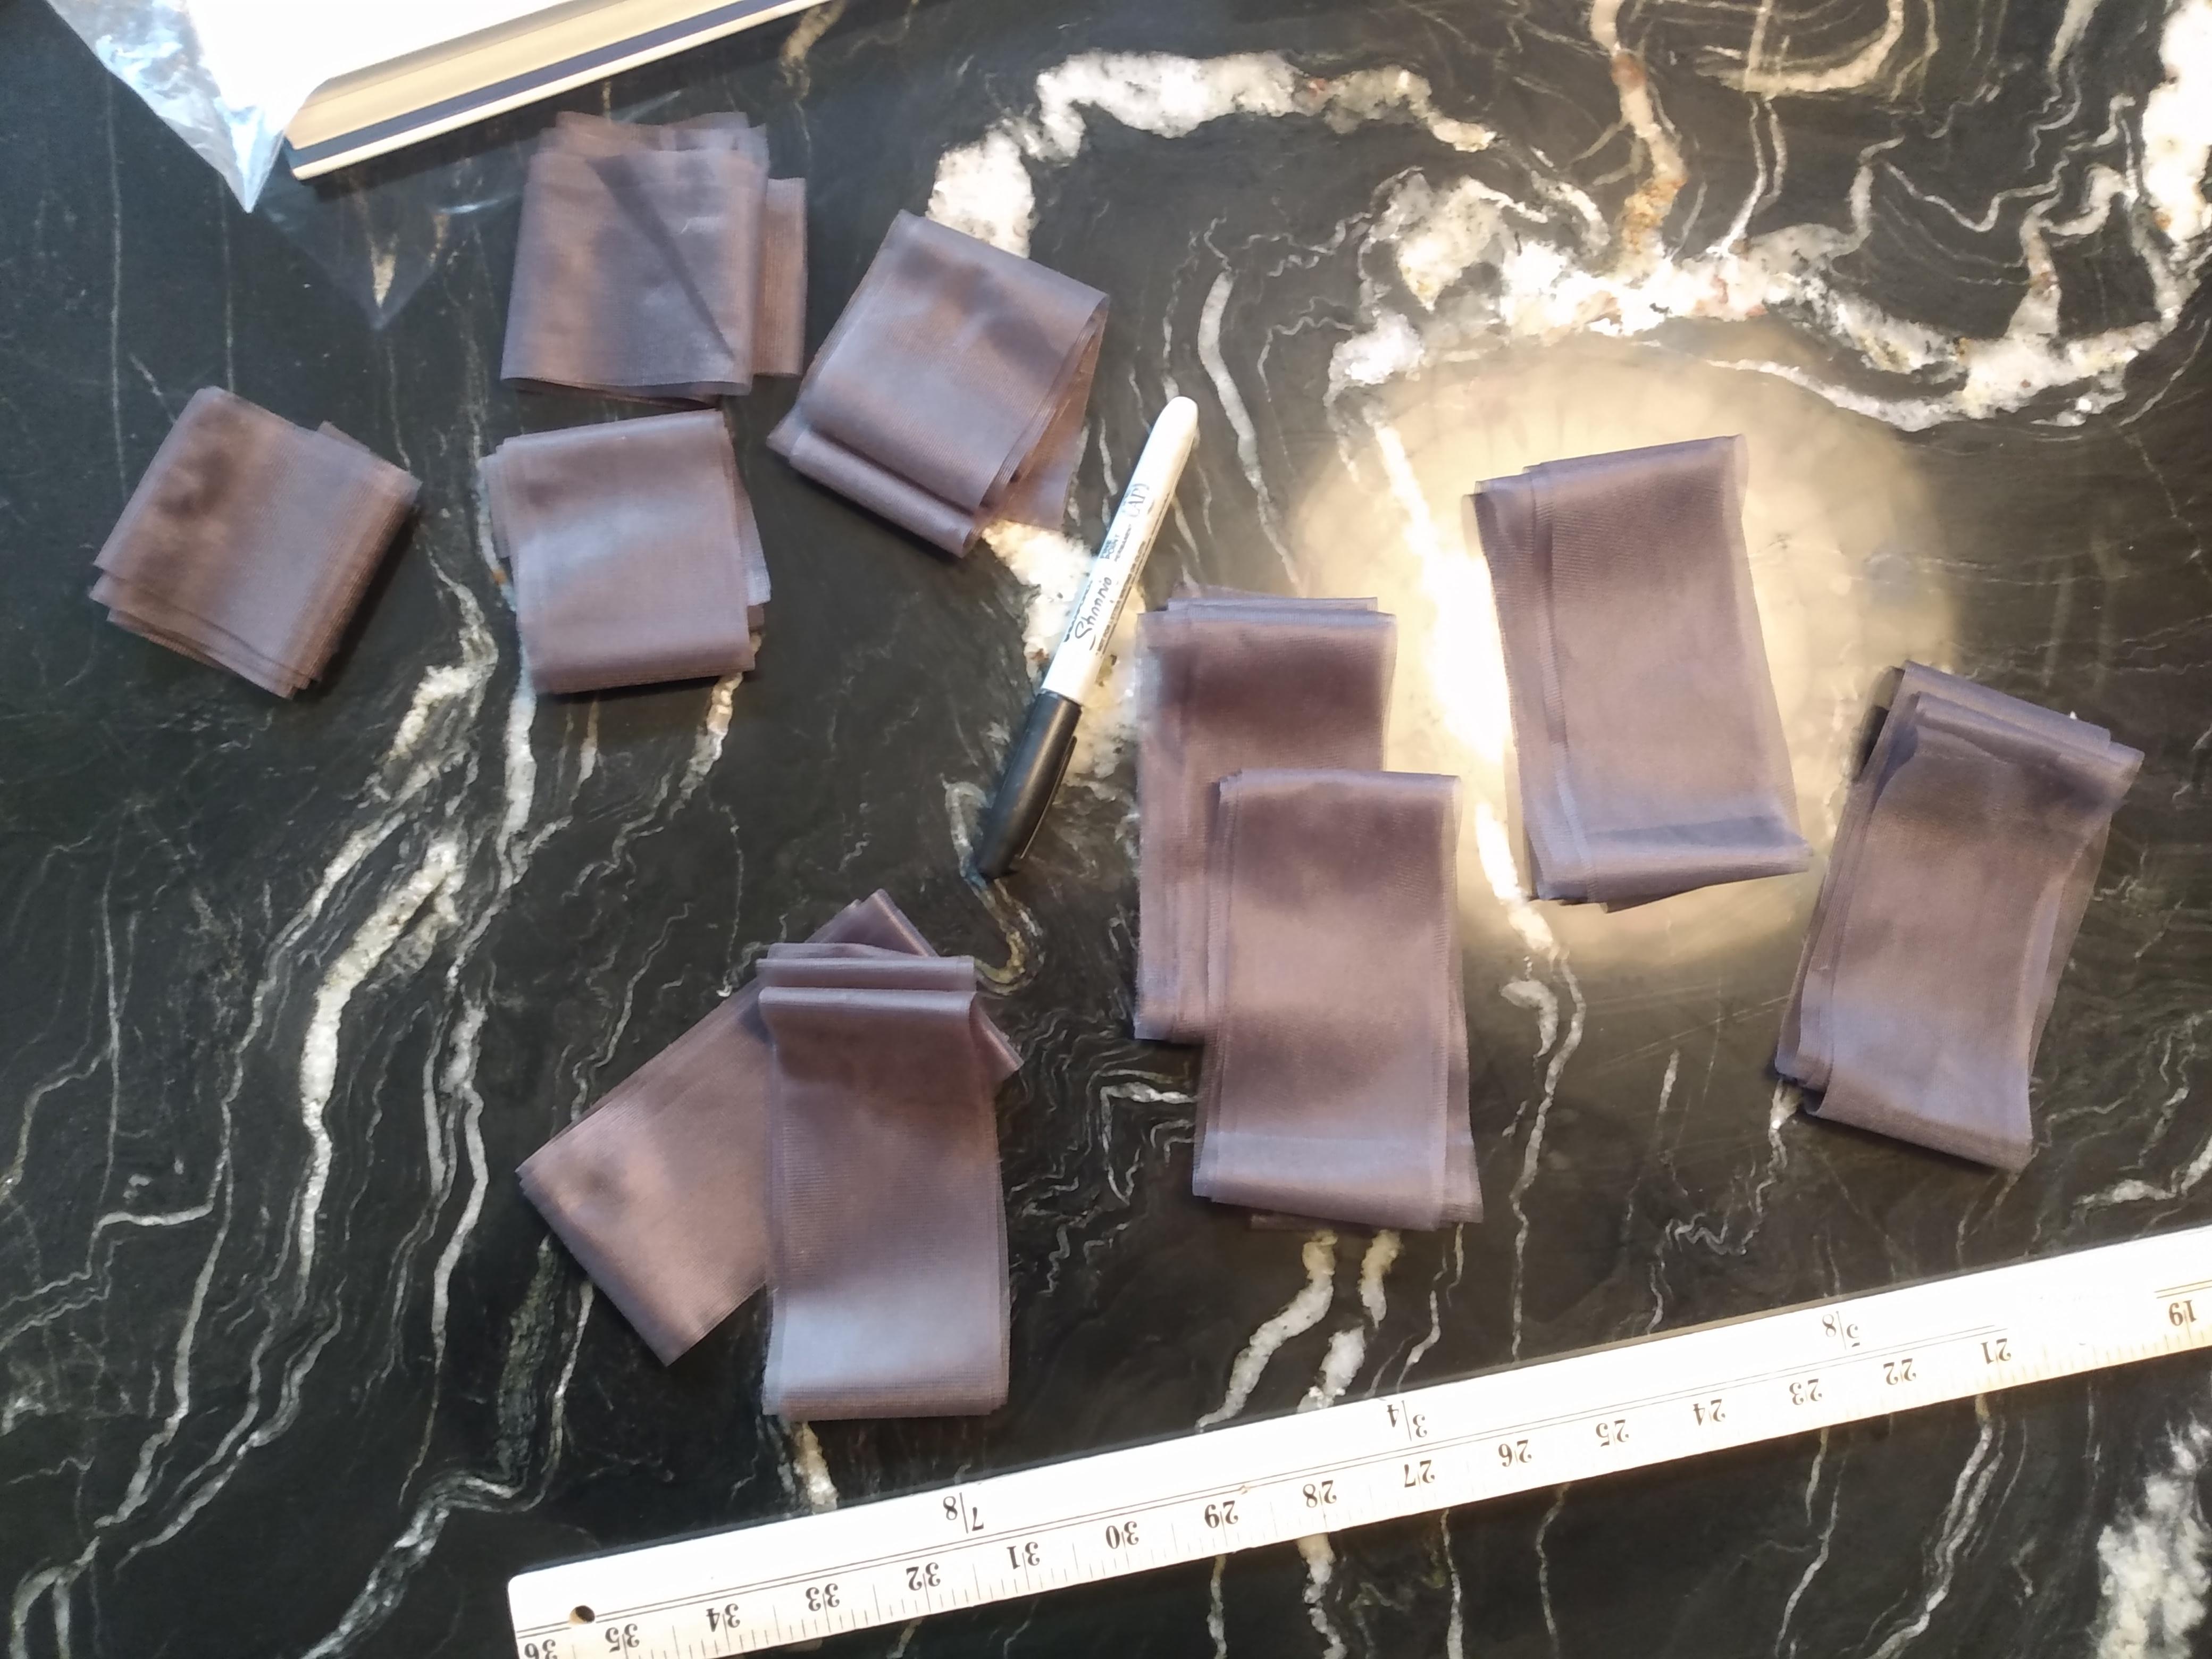
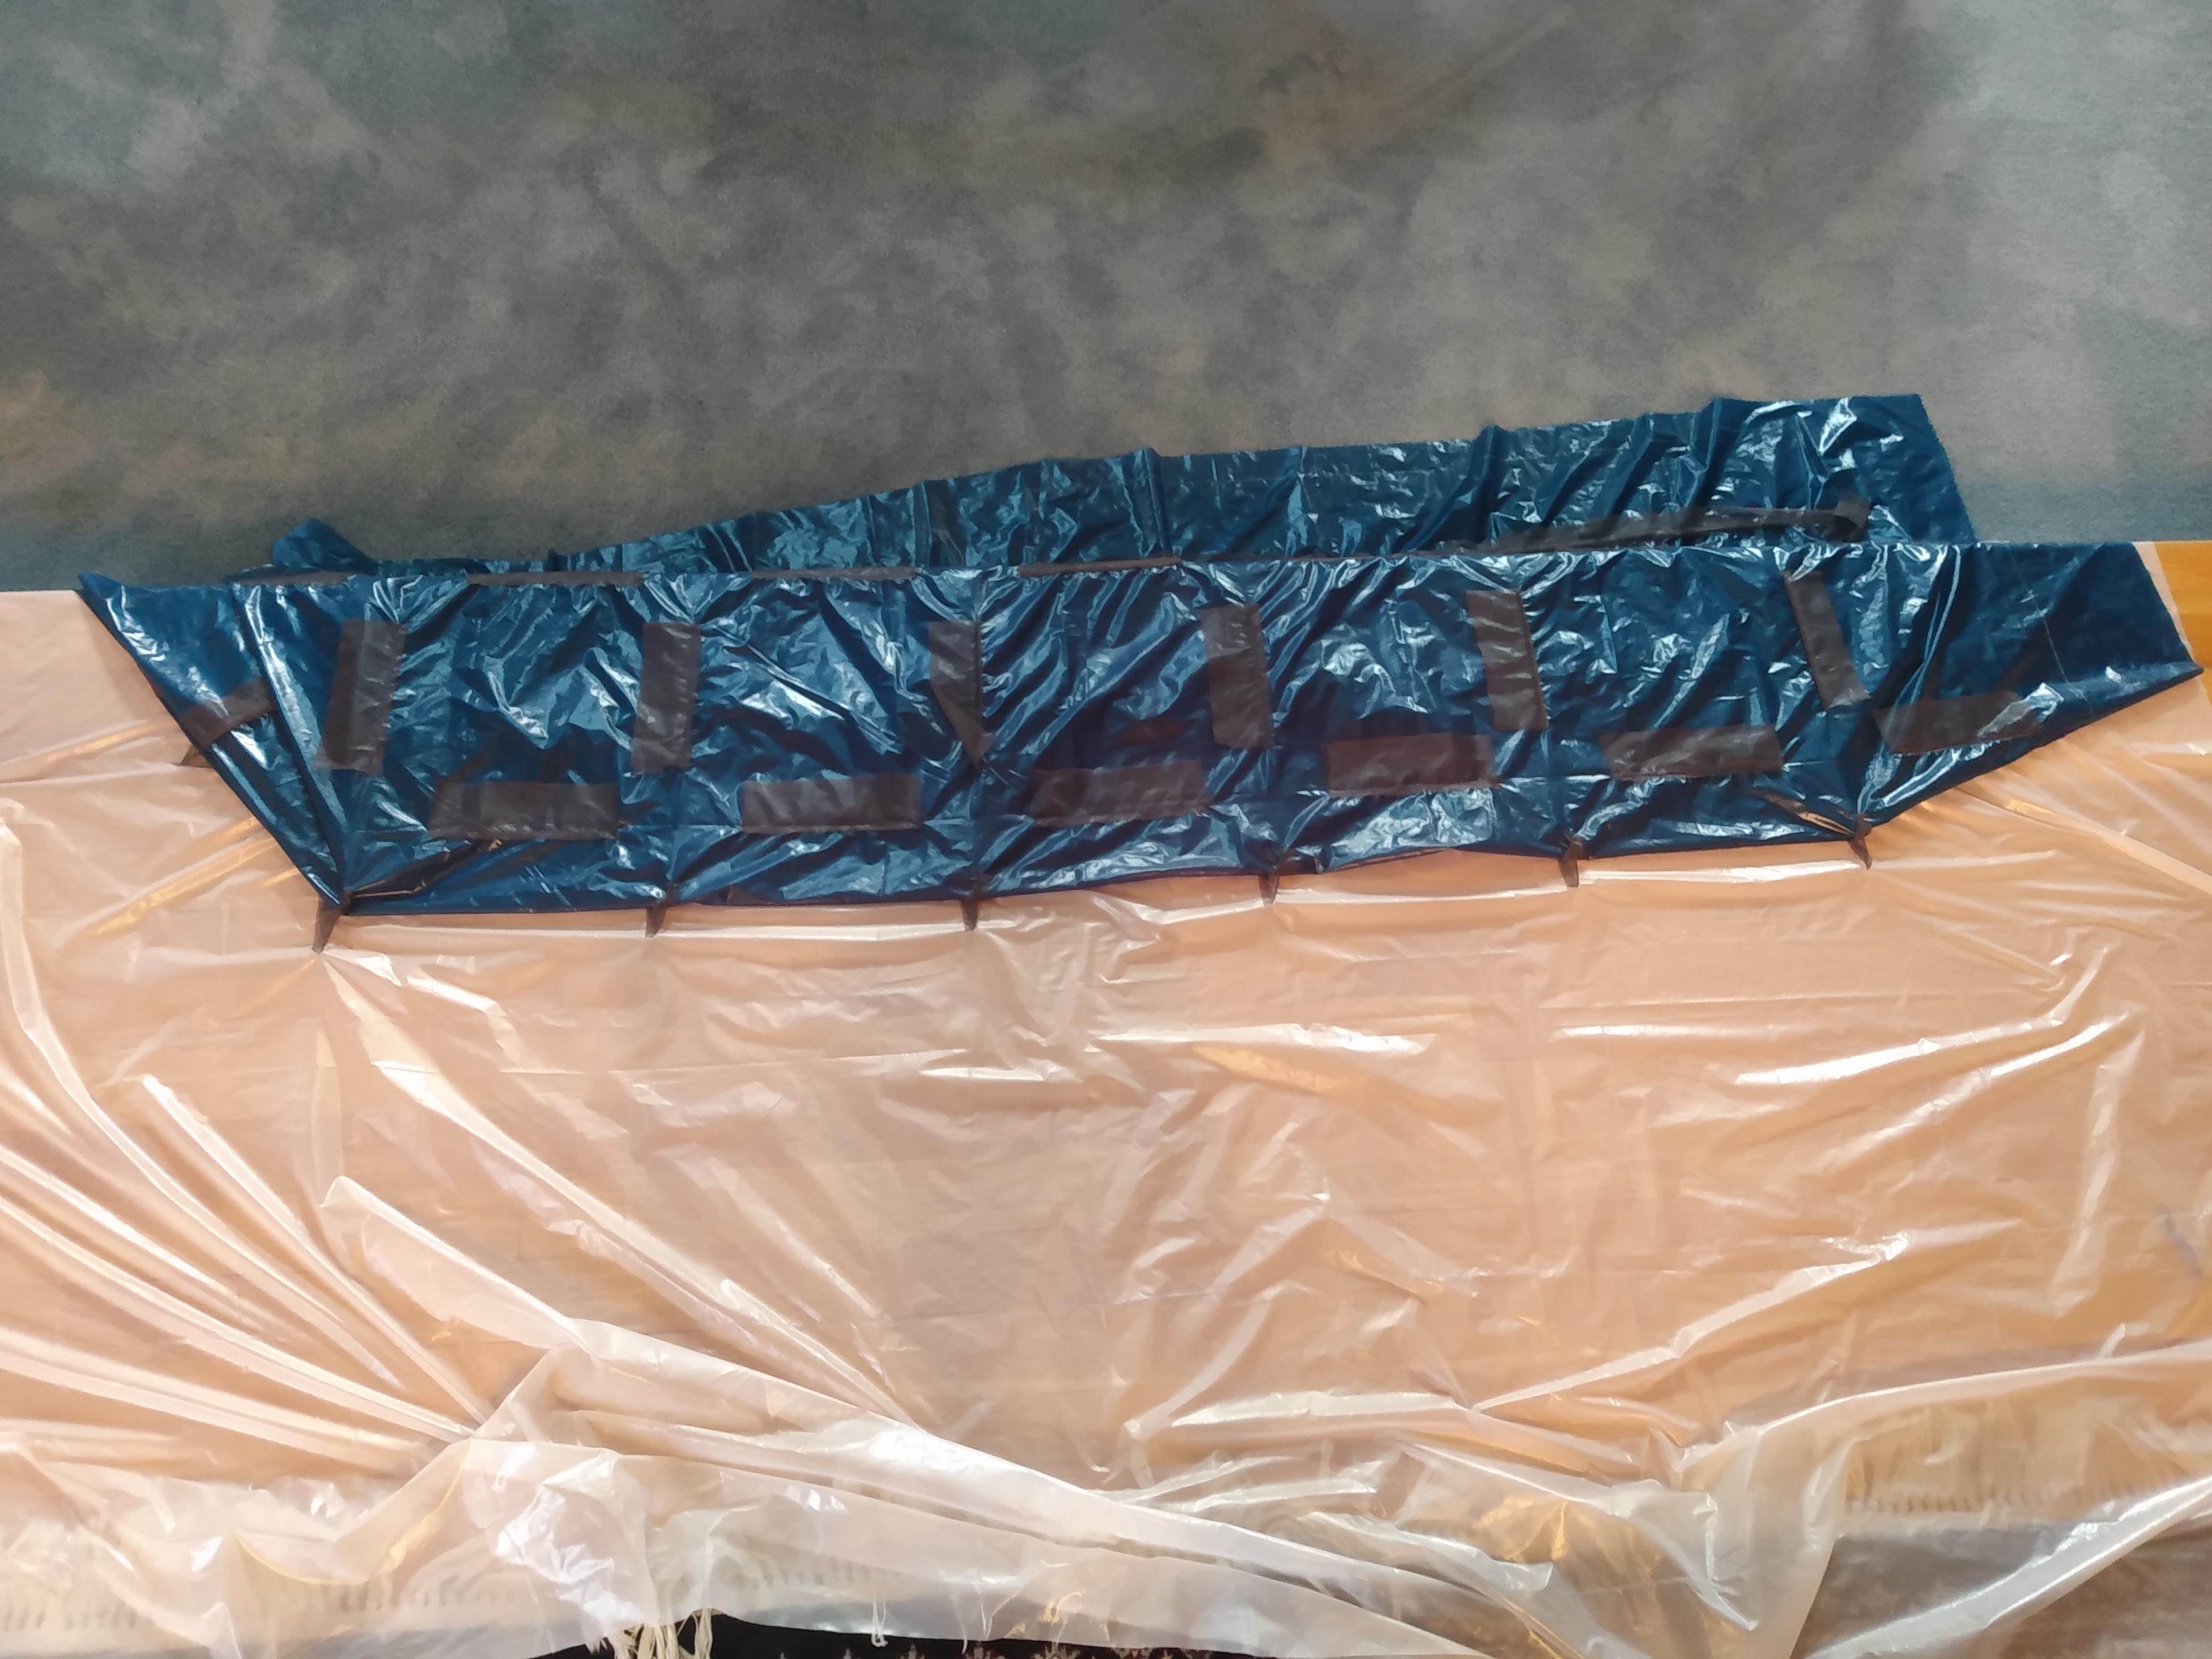
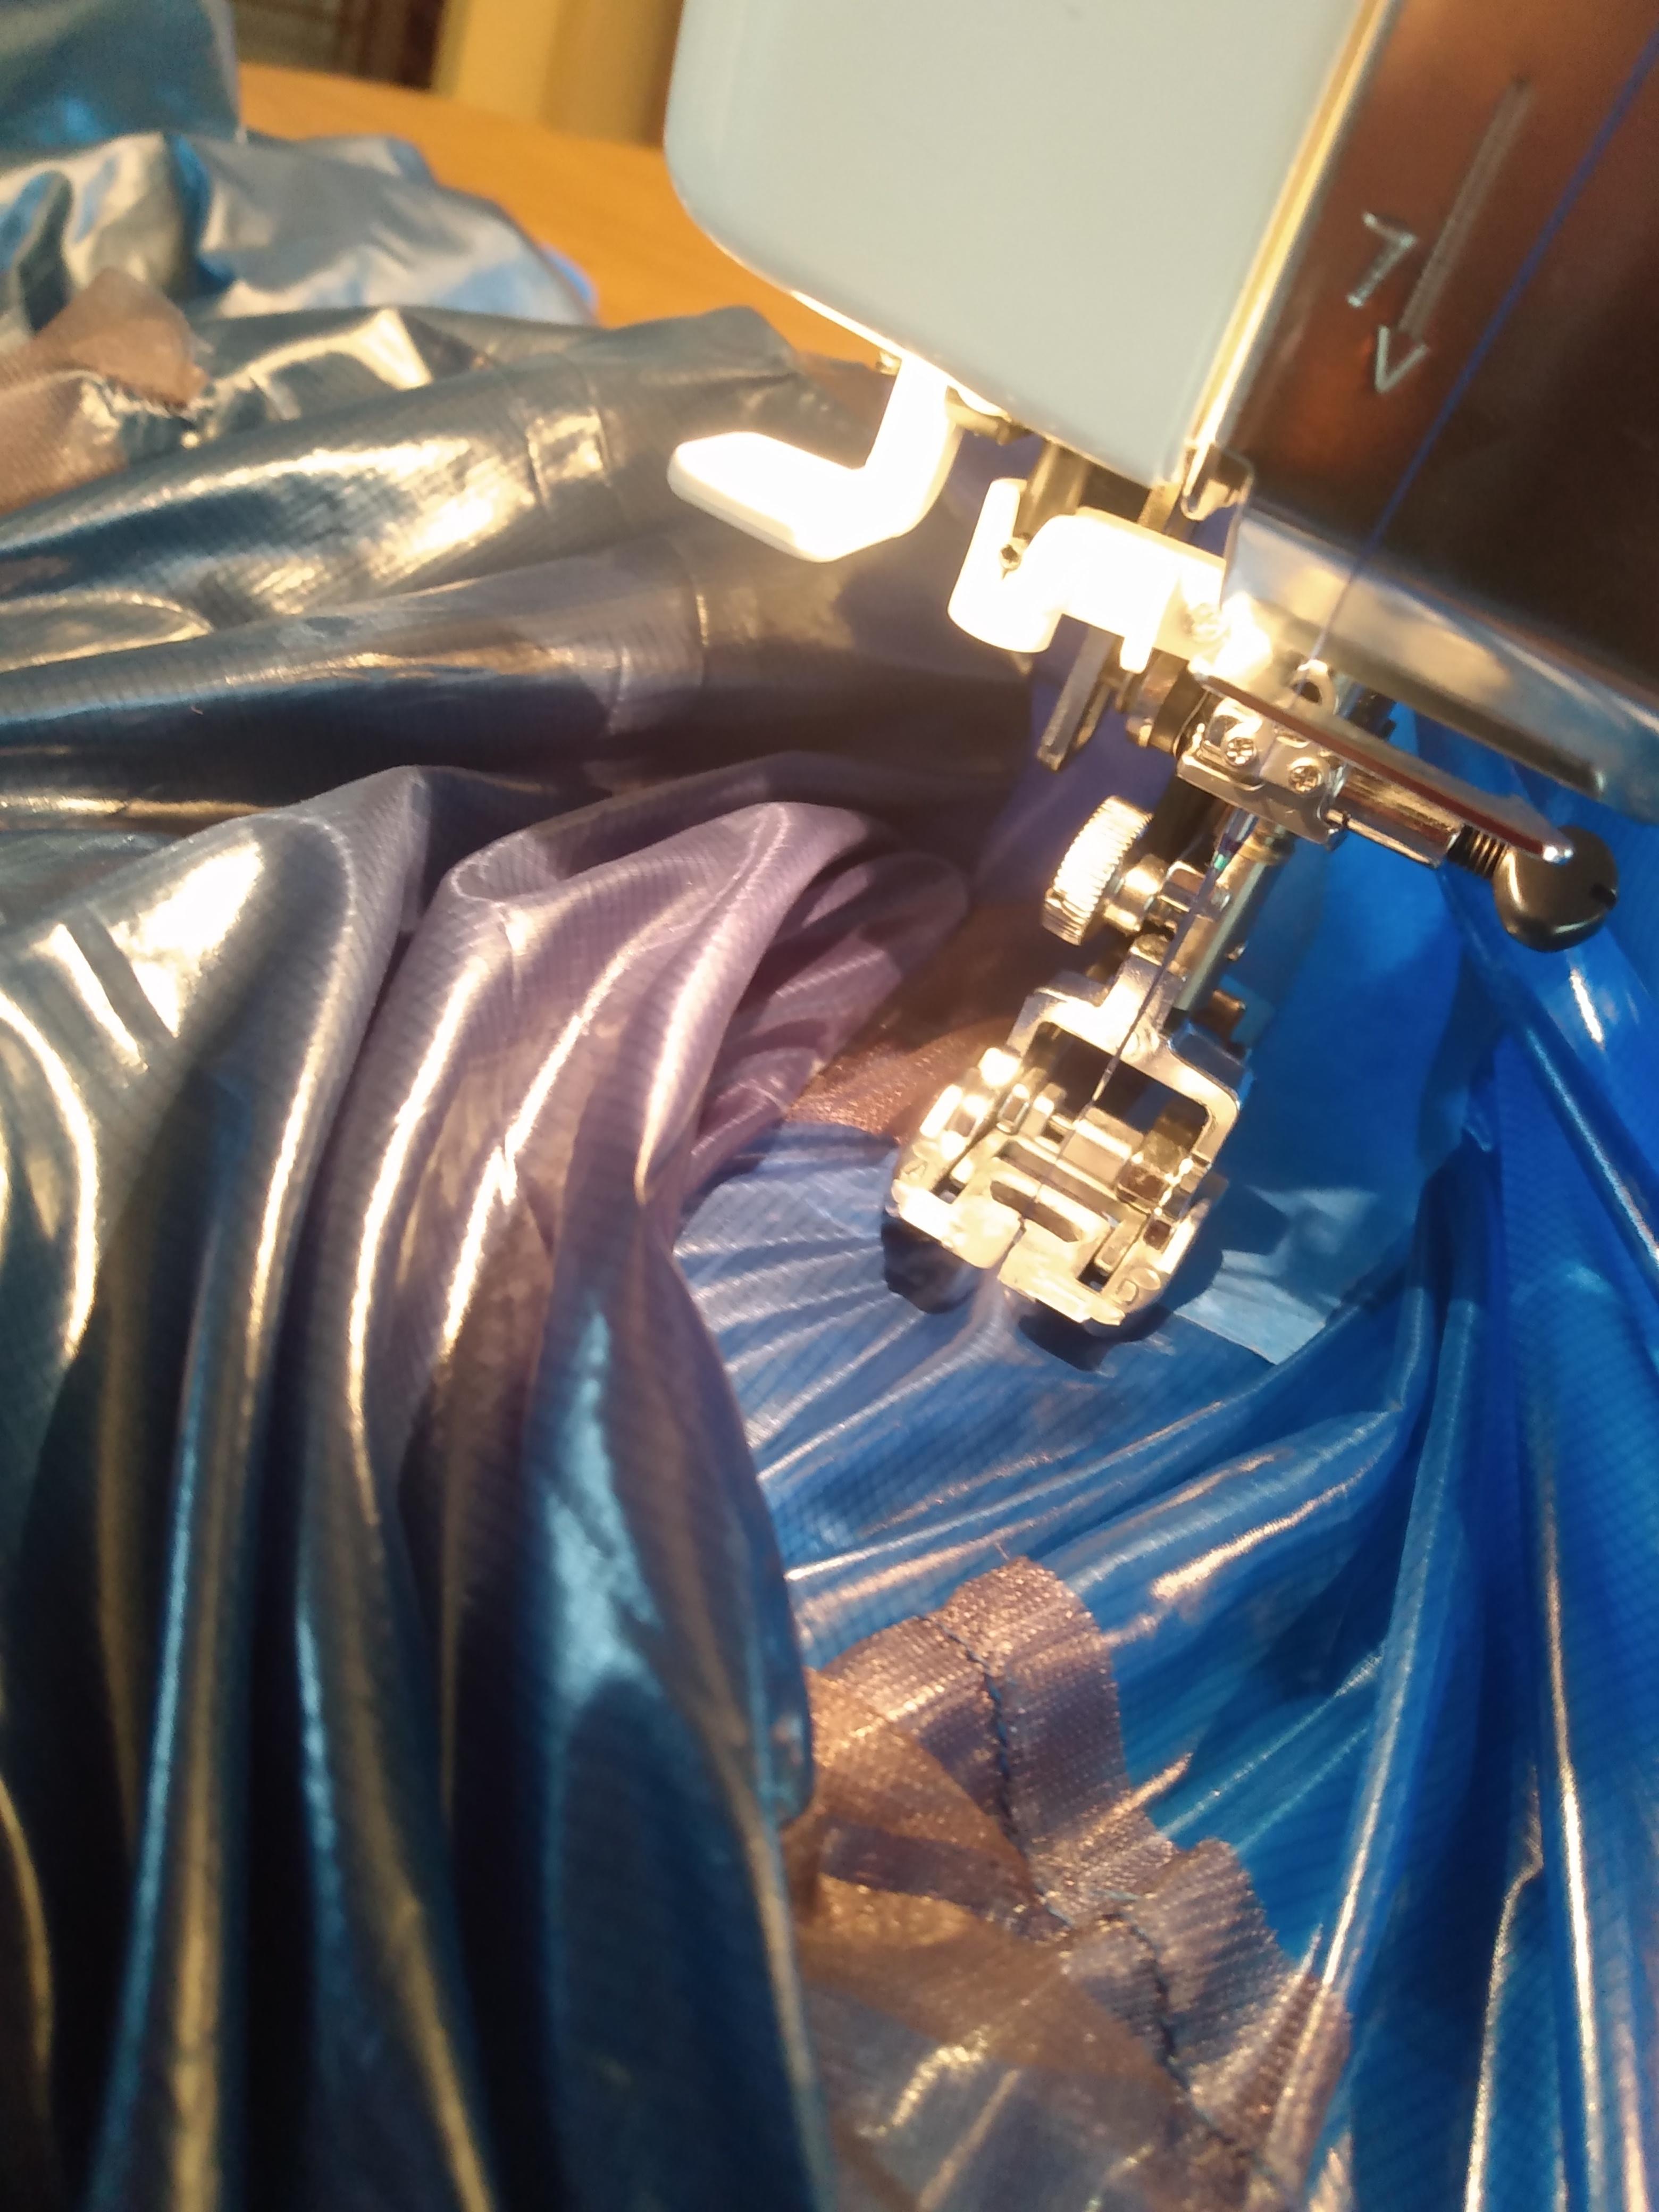
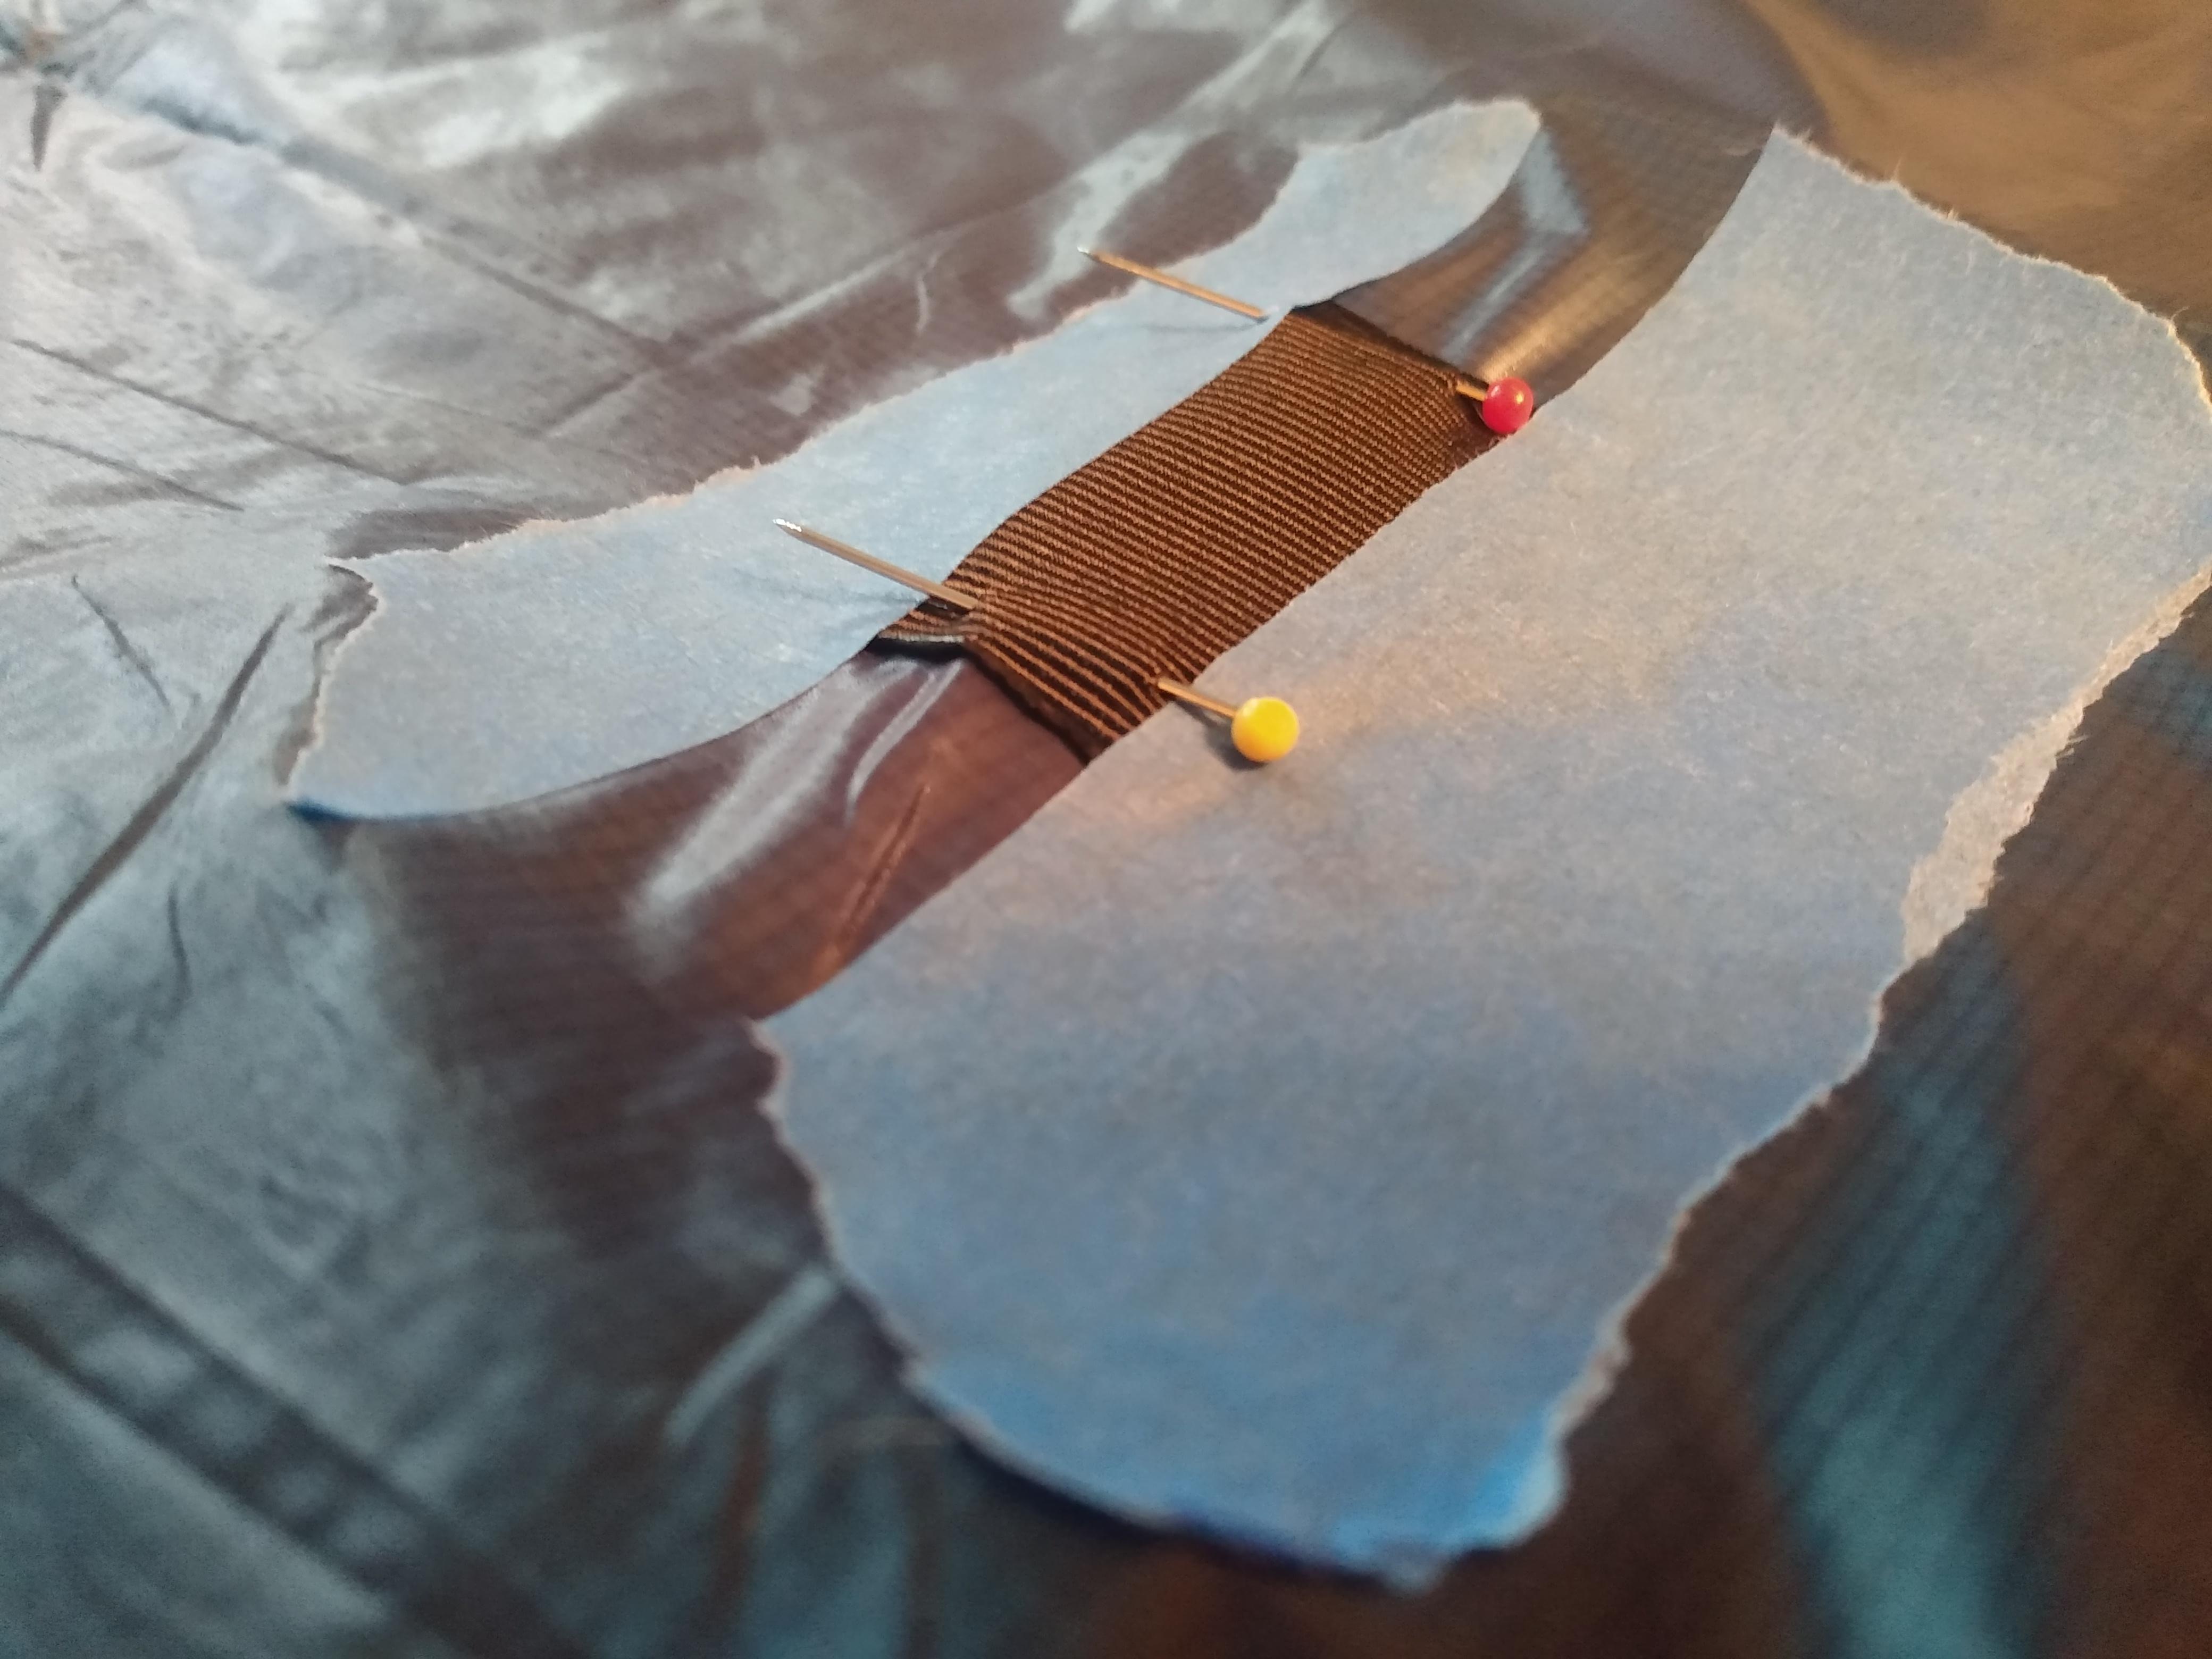
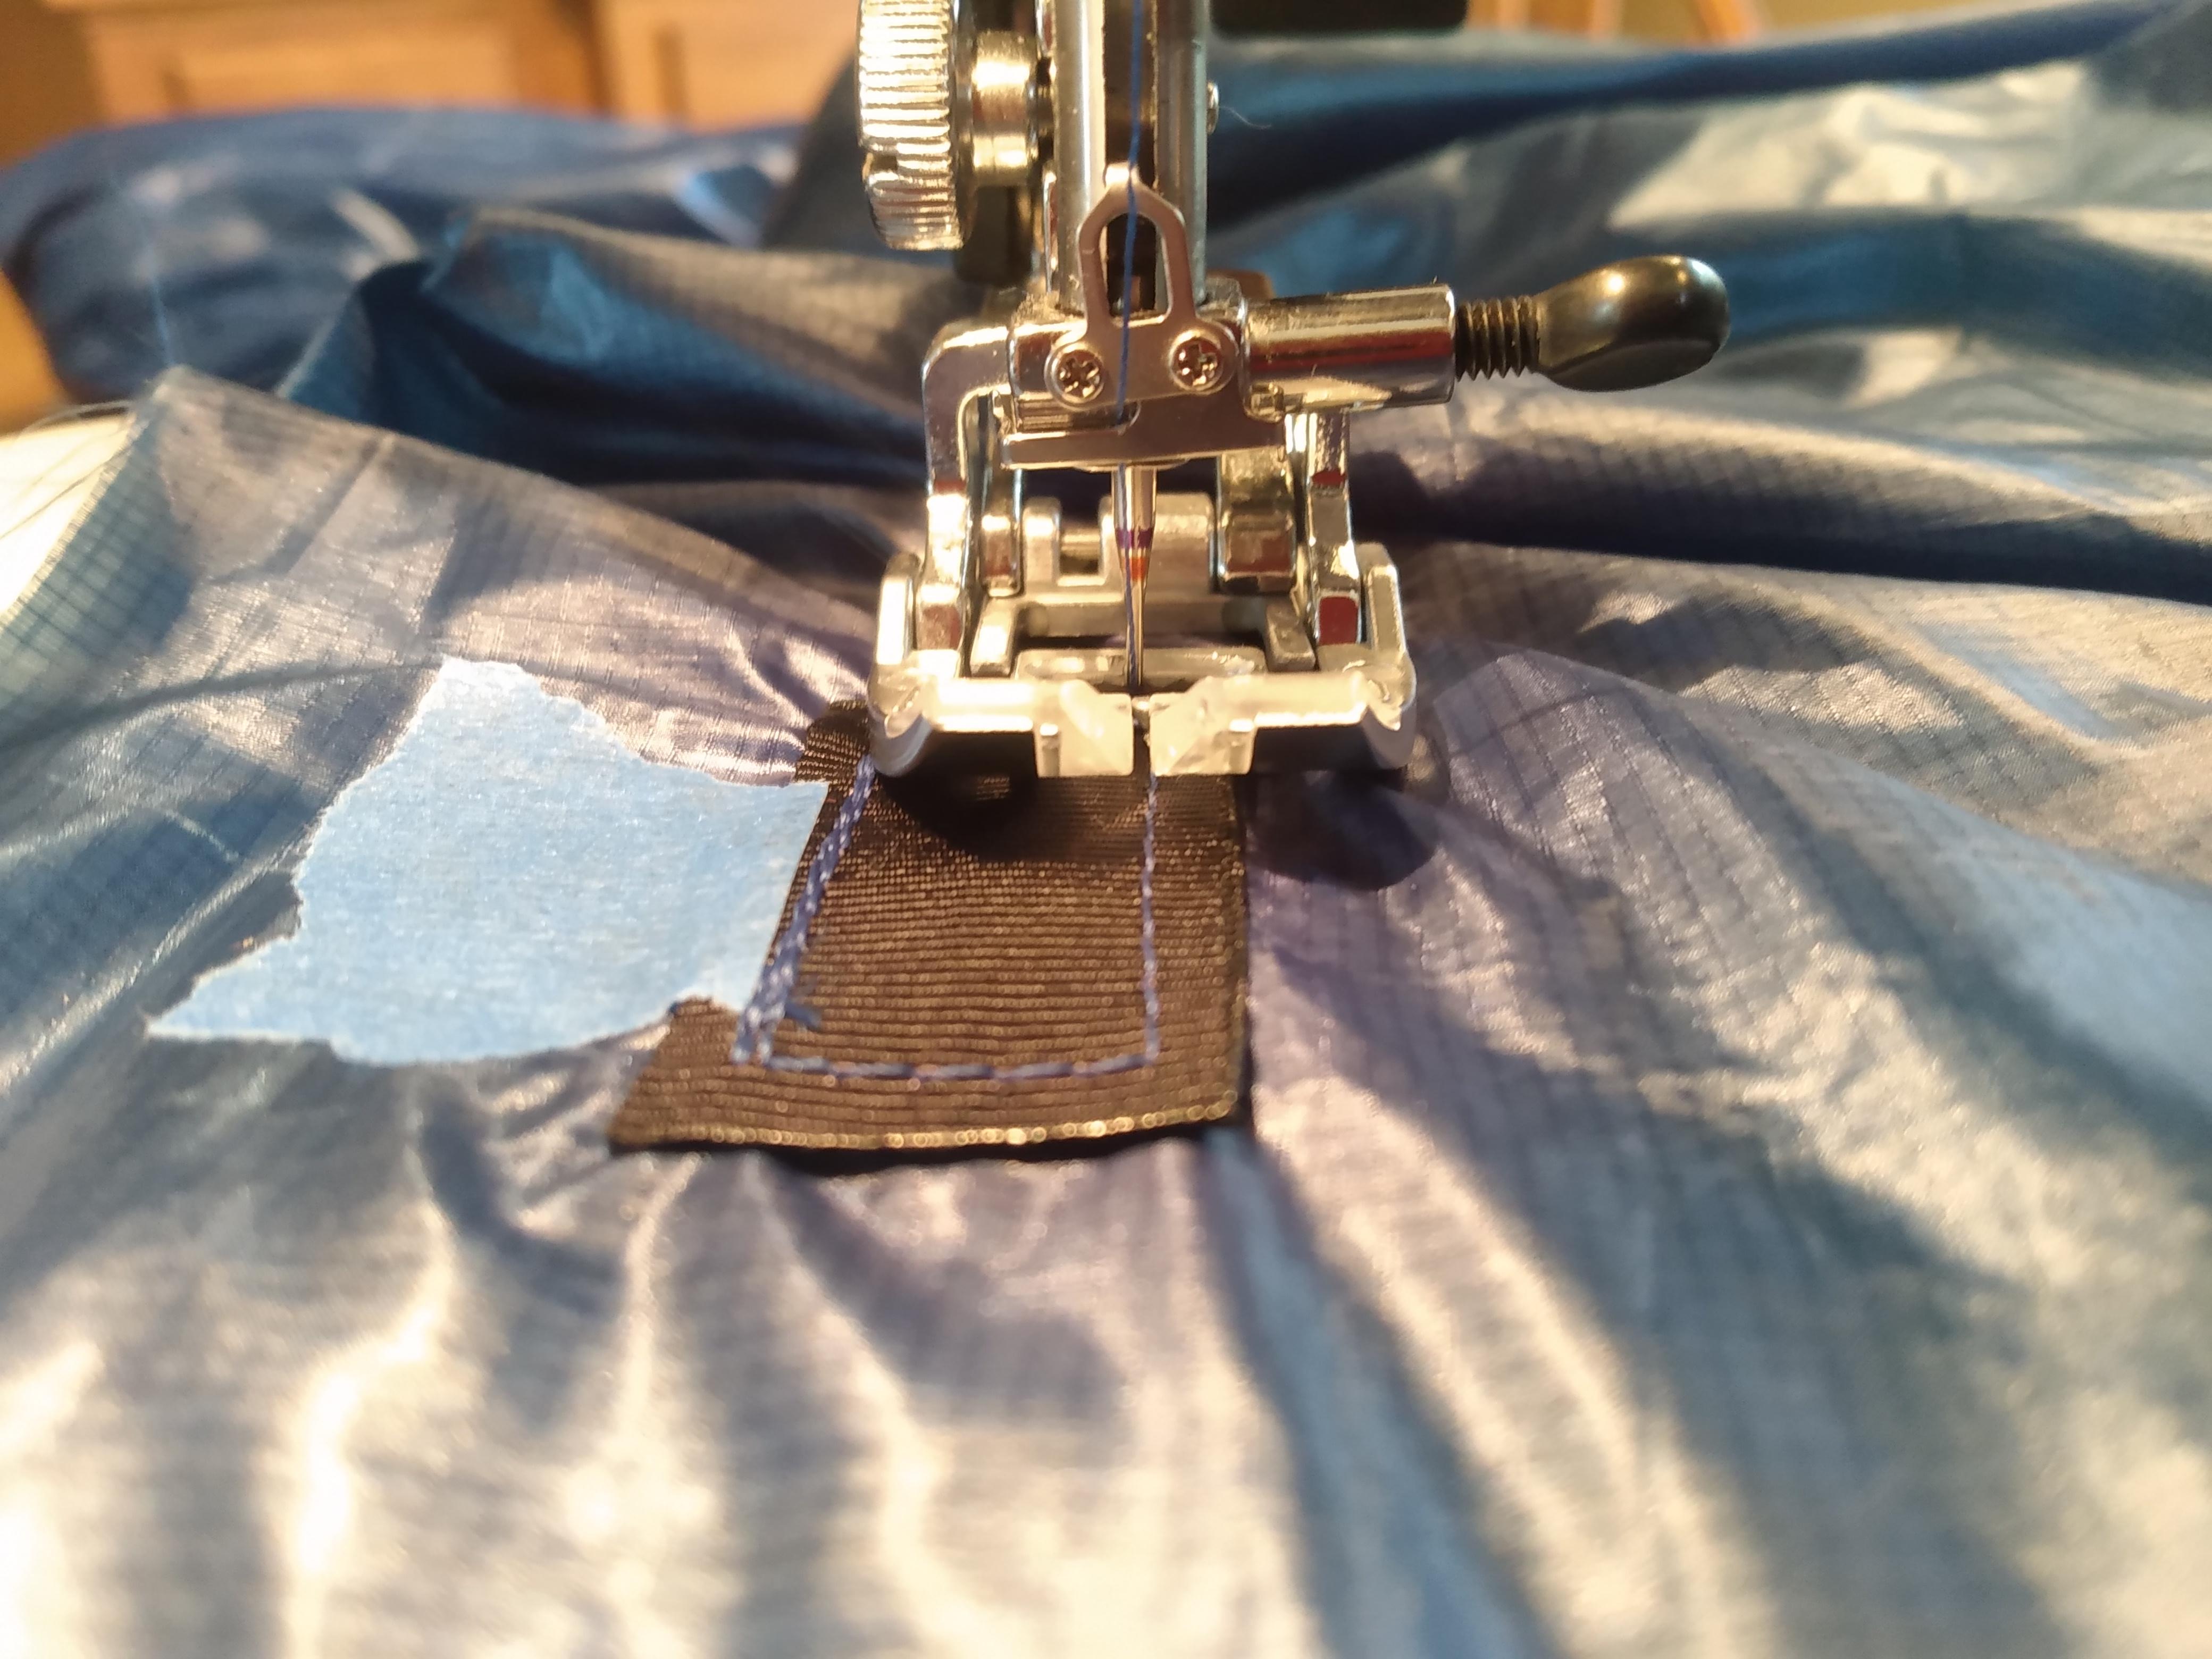
MYOG Membrane7 Karo step down quilts
- This topic has 3 replies, 2 voices, and was last updated 3 years, 3 months ago by
 .
.
Viewing 4 posts - 1 through 4 (of 4 total)
Viewing 4 posts - 1 through 4 (of 4 total)
- You must be logged in to reply to this topic.
HAPPENING RIGHT NOW (February 11-21, 2025) - Shop Hyperlite Mountain Gear's Biggest Sale of the Year: