Topic
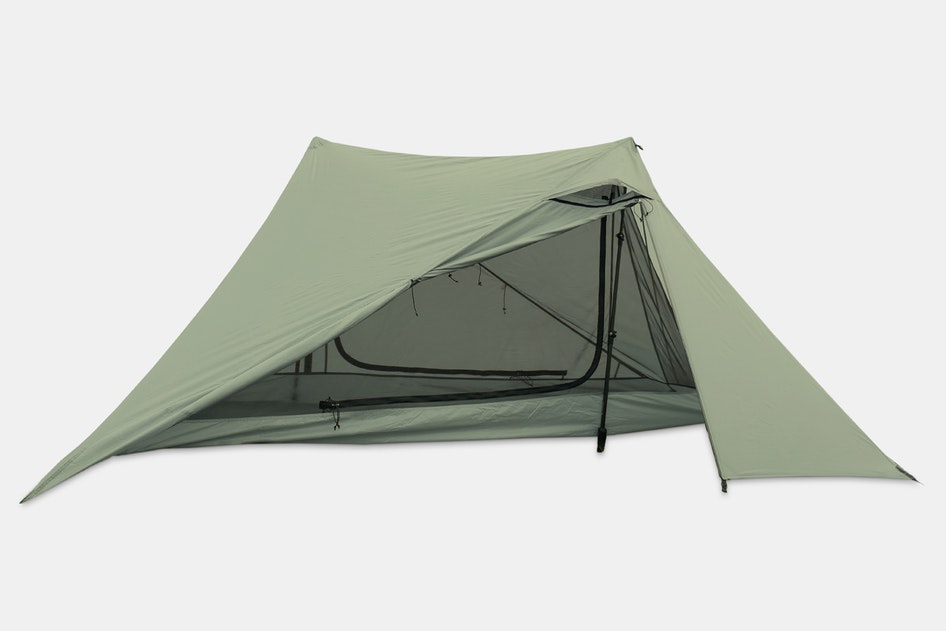
Massdrop Announces Dan Durston X Mid Tent: 2 People, 2 hiking poles, 28 oz, $199
Forum Posting
A Membership is required to post in the forums. Login or become a member to post in the member forums!
Home › Forums › Commerce › Gear Deals › Massdrop Announces Dan Durston X Mid Tent: 2 People, 2 hiking poles, 28 oz, $199
- This topic has 588 replies, 22 voices, and was last updated 4 years, 9 months ago by
 Doug Coe.
-
AuthorPosts
-
Sep 25, 2019 at 2:41 pm #3611681
“…the answer is that they are Locus Gear CP3’s and they don’t sell replacement tips…”
@mocs123, Locus Gear will, or at least they used to, sell an individual lower section.Sep 25, 2019 at 4:14 pm #3611685Brad,
I have added Tarptent’s pole handle covers to my X Mid that I hold up with my Locus Gear poles.
 Sep 25, 2019 at 4:55 pm #3611693
Matthew K in reply to your comment: “Why can’t the X-Mid be set up with the handles pointing up (like TT/MLD/SMD/etc.) without adding pins to the handles?”
My conservatism….The geometry of the X-Mid’s peak is not exactly conical to hold the poles captive under dynamic conditions, and Dan Durston said it best in his post:
<b><i>”Does the handle not slide around? Should I not be concerned if the handle slips and ends up sitting in the pocket?”</i></b>
“The peaks of the tents are peak shaped, so the pole will naturally sit at the highest point. It is possible that in severe weather that the tent could be jostled enough to dislodge a pole (as with any trekking pole tent), so using the grommet provides a bit more security. But basically the pole shouldn’t slide around if you have a tight pitch because it anywhere it might slide too would be lower.”By the way Gary, I did not glue my pins in the handle, and there seems to be enough friction to hold them. But I don’t remove them, because the klutz in me would certainly lose them.
Cheers
Sep 25, 2019 at 10:18 pm #3611715I have some more, but apparently even saved from my FB page they are still over 1MB.
So Resize them.
There are so many programs for doing this, some of them included in any version of Windows, that it should be dead easy for you.Cheers
Sep 26, 2019 at 12:15 am #3611728“Why can’t the X-Mid be set up with the handles pointing up (like TT/MLD/SMD/etc.) without adding pins to the handles?”
To expand on this a bit more, with a single pole shelter (e.g. MLD DuoMid) the walls slope down steeply from the single peak on all sides, so it’s extremely difficult for severe weather to dislodge the pole from the peak. Thus there is less need for actually connecting the pole. Conversely, with the two pole shelter there will always be a ridgeline connecting those two peaks. This creates a side on each peak where the walls do not slope down as steeply, and plausibly severe weather could dislodge the pole in that direction.
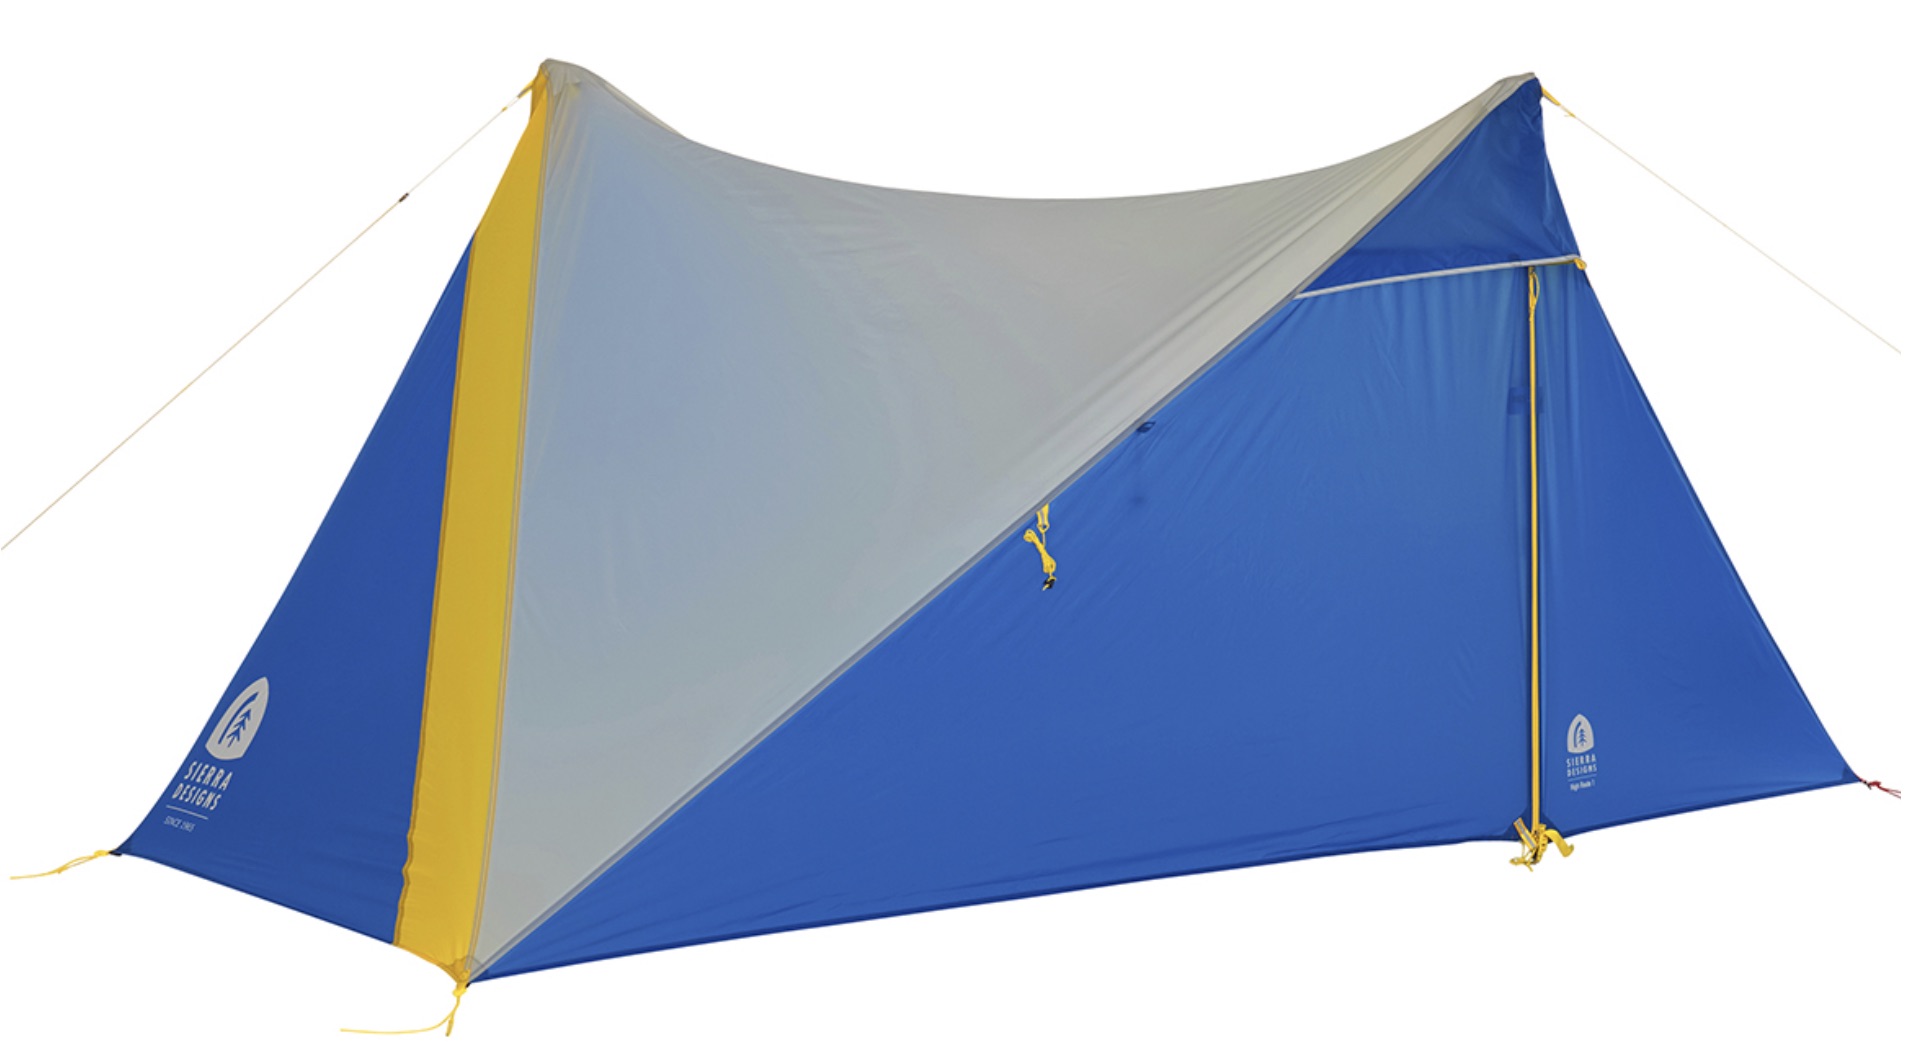
One solution to this is to add a lot of downward/catenary cut to the ridgeline so that it does slope more steeply along the ridgeline. The SD High Route does this, but the downside with an excessive amount of downward cut is that you give up headroom. For example, the X-Mid and HR1 both have about 42″ peak heights in the inner, but the X-Mid is quite a bit higher in the center because it has less downward cut.


To preserve headroom, the X-Mid opts for only a bit of downward cut to aid the pitch and not an excessive amount. This is similar to the approach taken by other companies like TarpTent when designing a 2 pole shelter. Simply pitching the poles handles up without any connection works about as well in the X-Mid as it does in a TarpTent – which is to say it works nicely about 95% of the time. However, it isn’t a certain thing in extreme conditions, which is why TarpTent sells the handle adapters that actually connect the handles to the grommets and these work similarly well in the X-Mid for all the same reasons.
If you plan on using your X-Mid in harsher conditions with the handles up, then buying a pair of these is recommended (or nubs on the handles if you prefer). I wouldn’t normally go through the hassle of using the adapters – just bring them along on trips when challenging weather is expected. Or just pitch tips up on those extreme nights (assuming your reason for pitching handles up is clean handles rather than incompatible tips).
Sep 26, 2019 at 1:36 am #3611736Roger I didn’t know Windows10 had that built in. Of course I’m not sure why they upload upside down. They show right side up on my PC.

 Sep 26, 2019 at 1:55 am #3611738
Thanks for elaborating, Dan.
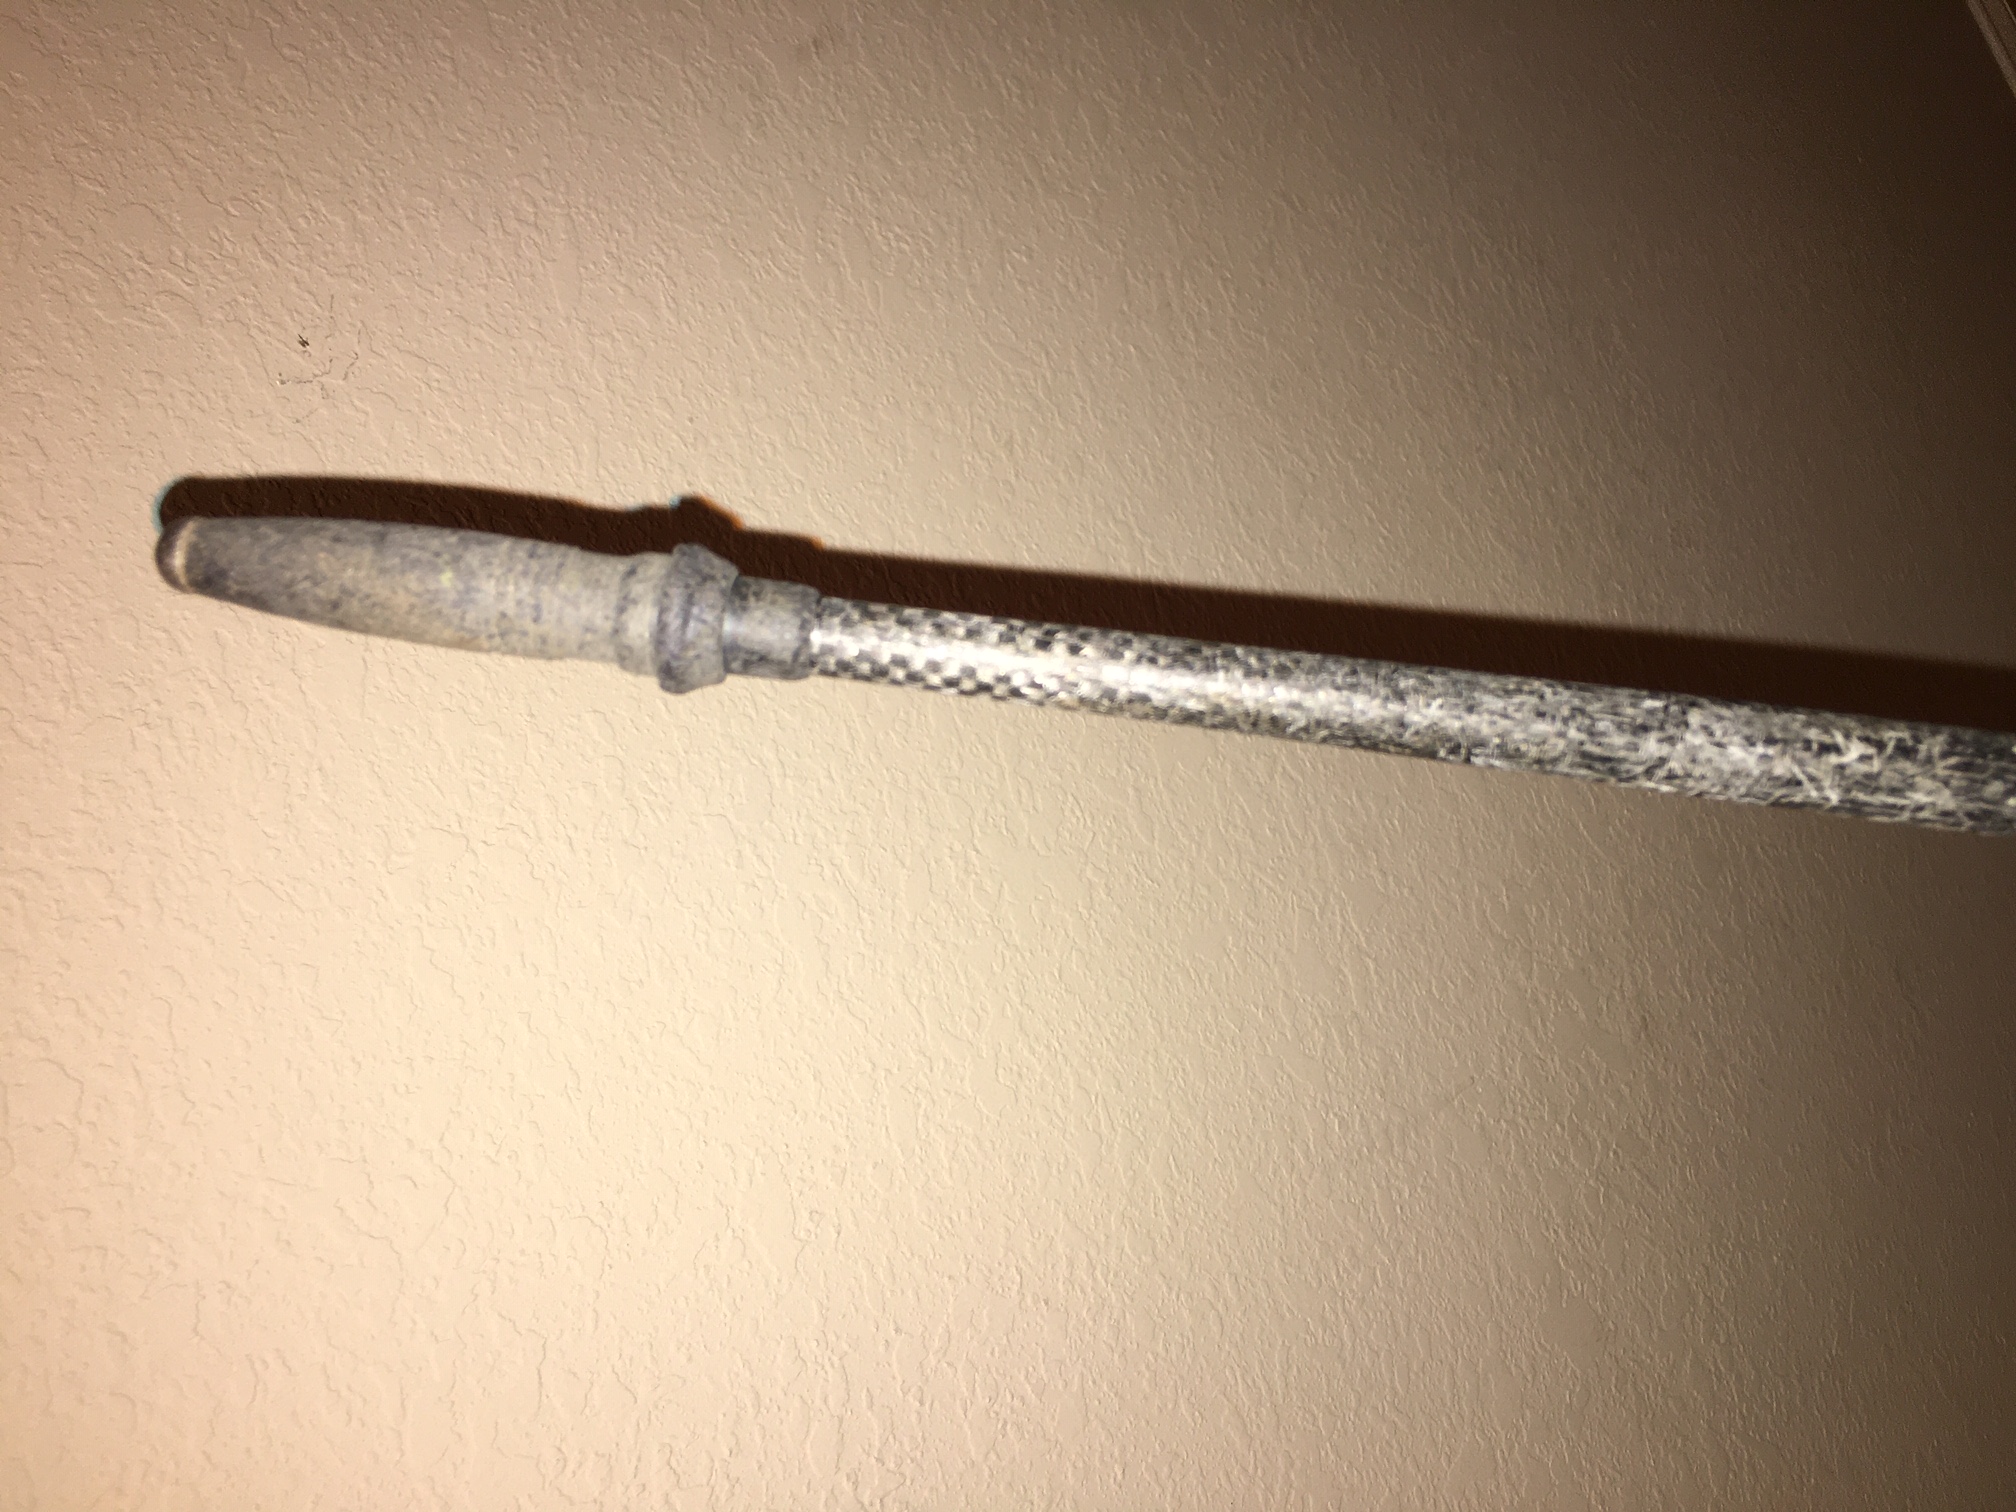
Sep 26, 2019 at 2:23 am #3611741Here is my well used CP3 pole
 Sep 26, 2019 at 4:06 am #3611750
Hi Brad
Yeah, there must be several ways of editing and resizing a picture in any version of Windows.
Now, the upside down bit. That is infuriating of course, and I believe it is due to the way different SW packages read and interpret the embedded information in a JPG file. Oh yes: there is a whole lot of text data in the image file as well as the pic. It seems to be possible for there to be TWO flags for orientation in this data, and they can contradict each other.
Now, how do you fix this? A good question, and one which is best left as an exercise for the reader.
Translation: I don’t know. I tend to stuff around with the JPG file in an image editor and save several versions, all of which look OK on my screen in the image editor I am using at the time. But only some of them will display correctly in other image display packages. MOST frustrating!
Cheers
Sep 26, 2019 at 9:25 pm #3611822“Now, how do you fix this?”
Rather easy. Simply make some small adjustment to the pic in an editing program on your computer and then save that. Your pic will now appear correctly when posted.
Sep 26, 2019 at 9:26 pm #3611823Roger I didn’t know Windows10 had that built in. Of course I’m not sure why they upload upside down. They show right side up on my PC.
Its because Roger is in Australia…
sorry, I couldn’t help myself
Sep 26, 2019 at 10:07 pm #3611831@Ben
A dark and evil future awaits you … upside down.Cheers
Oct 2, 2019 at 4:04 am #3612371Dan, is it OK to stuff my X-Mid versus fold and roll? I leave the inner clipped to the outer and started from the top with the vent struts parallel. The tent easily fit into the provided stuff sack via the stuffing method.
By the way, the quality of the stakes was a big surprise. Very finely finished points, well formed hook, a bit longer than my other Ti pegs.
Cheers,
Bill in Roswell GAOct 3, 2019 at 8:14 am #3612460Hi Bill,
As far as I can tell, the only reasons not to stuff are (1) I find it tends to pack a bit larger and (2) there is potential for damage if it is stuffed vigorously. Unlike DCF, it doesn’t seem to matter to the material itself.
So if you are using care not to jam the vent struts into anything, then stuffing should be fine.
Oct 6, 2019 at 6:00 pm #3612818Just returned from a 10 day backpacking trip through the Tombstones in the Yukon with the Xmid. It was shoulder season, so we got night-time temps into the teens, daytime at or below freezing. Winds were from non-existent to gusts as high as 35-40 mph. Precip was anything from snow dusting to light rain to 6-8 inches of snow overnight to 48 hrs of continuous rain.
Here are some observations, from good to meh:
As we already know tent is extremely easy to set up for a trekking pole supported shelter, despite the uneven terrain. Since the forecast was so varied I typically used almost every available guyline, particularly since I wanted to provide additional support to the larger, less supported door panels.
Ventilation is excellent, and condensation is near non-existent… at least when you don’t forget to open the apex vents… ahem :-)
After 48 hrs of continuous rain the inside of the tent was near bone-dry and so was my down sleeping bag and down parka. The placement of the inner does an excellent job of keeping your stuff away from the damp walls. My hiking partner who used an MSR Hubba had to take advantage of every dry-out opportunity, and I was mostly – yeah, I will air out the bag just because it is good practice, not because it was needed. One of the seams showed minor signs of sweating but overall the tent did great.
However, the usability of the tent in rainy weather is somewhat limited by the design that make the tent useful in other aspects. The moment you unzip the door to enter or exit the tent you have rain falling almost directly onto the inner, so it is good practice to scoot all your moisture-sensitive stuff in the far corner. You can’t just unzip the door and let it hang loosely while entering and exiting because it will drip all the accumulated water right onto the inner. Cooking in the vestibule with the door open is, IMO, highly impractical for the same reasons unless you porch the door with a stick or something else. All this can be mitigated to an extent by unzipping only partially. However, as a 6’1″ not entirely flexible dude one of the main attractive features of the Xmid was the height of the entry/exit points, so I don’t find that a worthy compromise.
Behavior in light snow (6-8″) is so-so, particularly for the larger door panels. You will definitely want to use extra guylines for the doors and regularly shake off the accumulation. The sloping sidewalls that help the tent shed wind also mean that the snow will accumulate around the base and will start bending the outer towards the inner, particularly at the points of closest approach, so you will want to occasionally get out of the tent and do some excavation. Here is a pic to illustrate this point


Sil-poly does not sag in the rain? Hmmm… the initial pitch was taut and after first snow, then 48 hrs of rain the tent was kinda limp. My hiking parter’s MSR Hubba, which I think is silnylon, did not sag appreciably more. Maybe sil-poly sags somewhat less, but in my experience anyone who expects “little to no sag” will need to adjust their expectations

After all this I was ready to give the tent a resounding A+ but during the final takedown one the side panels tore. This may have been a user error of some type, I may have somehow damaged the edge of the panel in the preceding days without noticing, but it does suggest a certain delicateness to the fabric

Unfortunately pitch of the tent requires that all panels be stretched in directions perpendicular to the tear, so at this point the tent is compromised for any further use where adverse weather conditions are expected. I ask a local seamstress to sew in some reinforcement strips across the bottom edge and then patch up the tear and see how it goes. If the Xmid 1P has another drop I will also likely buy a new one.
Dan, what is your recommendation for patching up that tear? I don’t have any silpoly scraps but have plenty of silnylon. Was thinking of just using diluted silicone with an appropriately sized sil-nylon patch on the tear.
EDIT 1 10/6/19: replaced links to images with Flickr instead of Gdrive
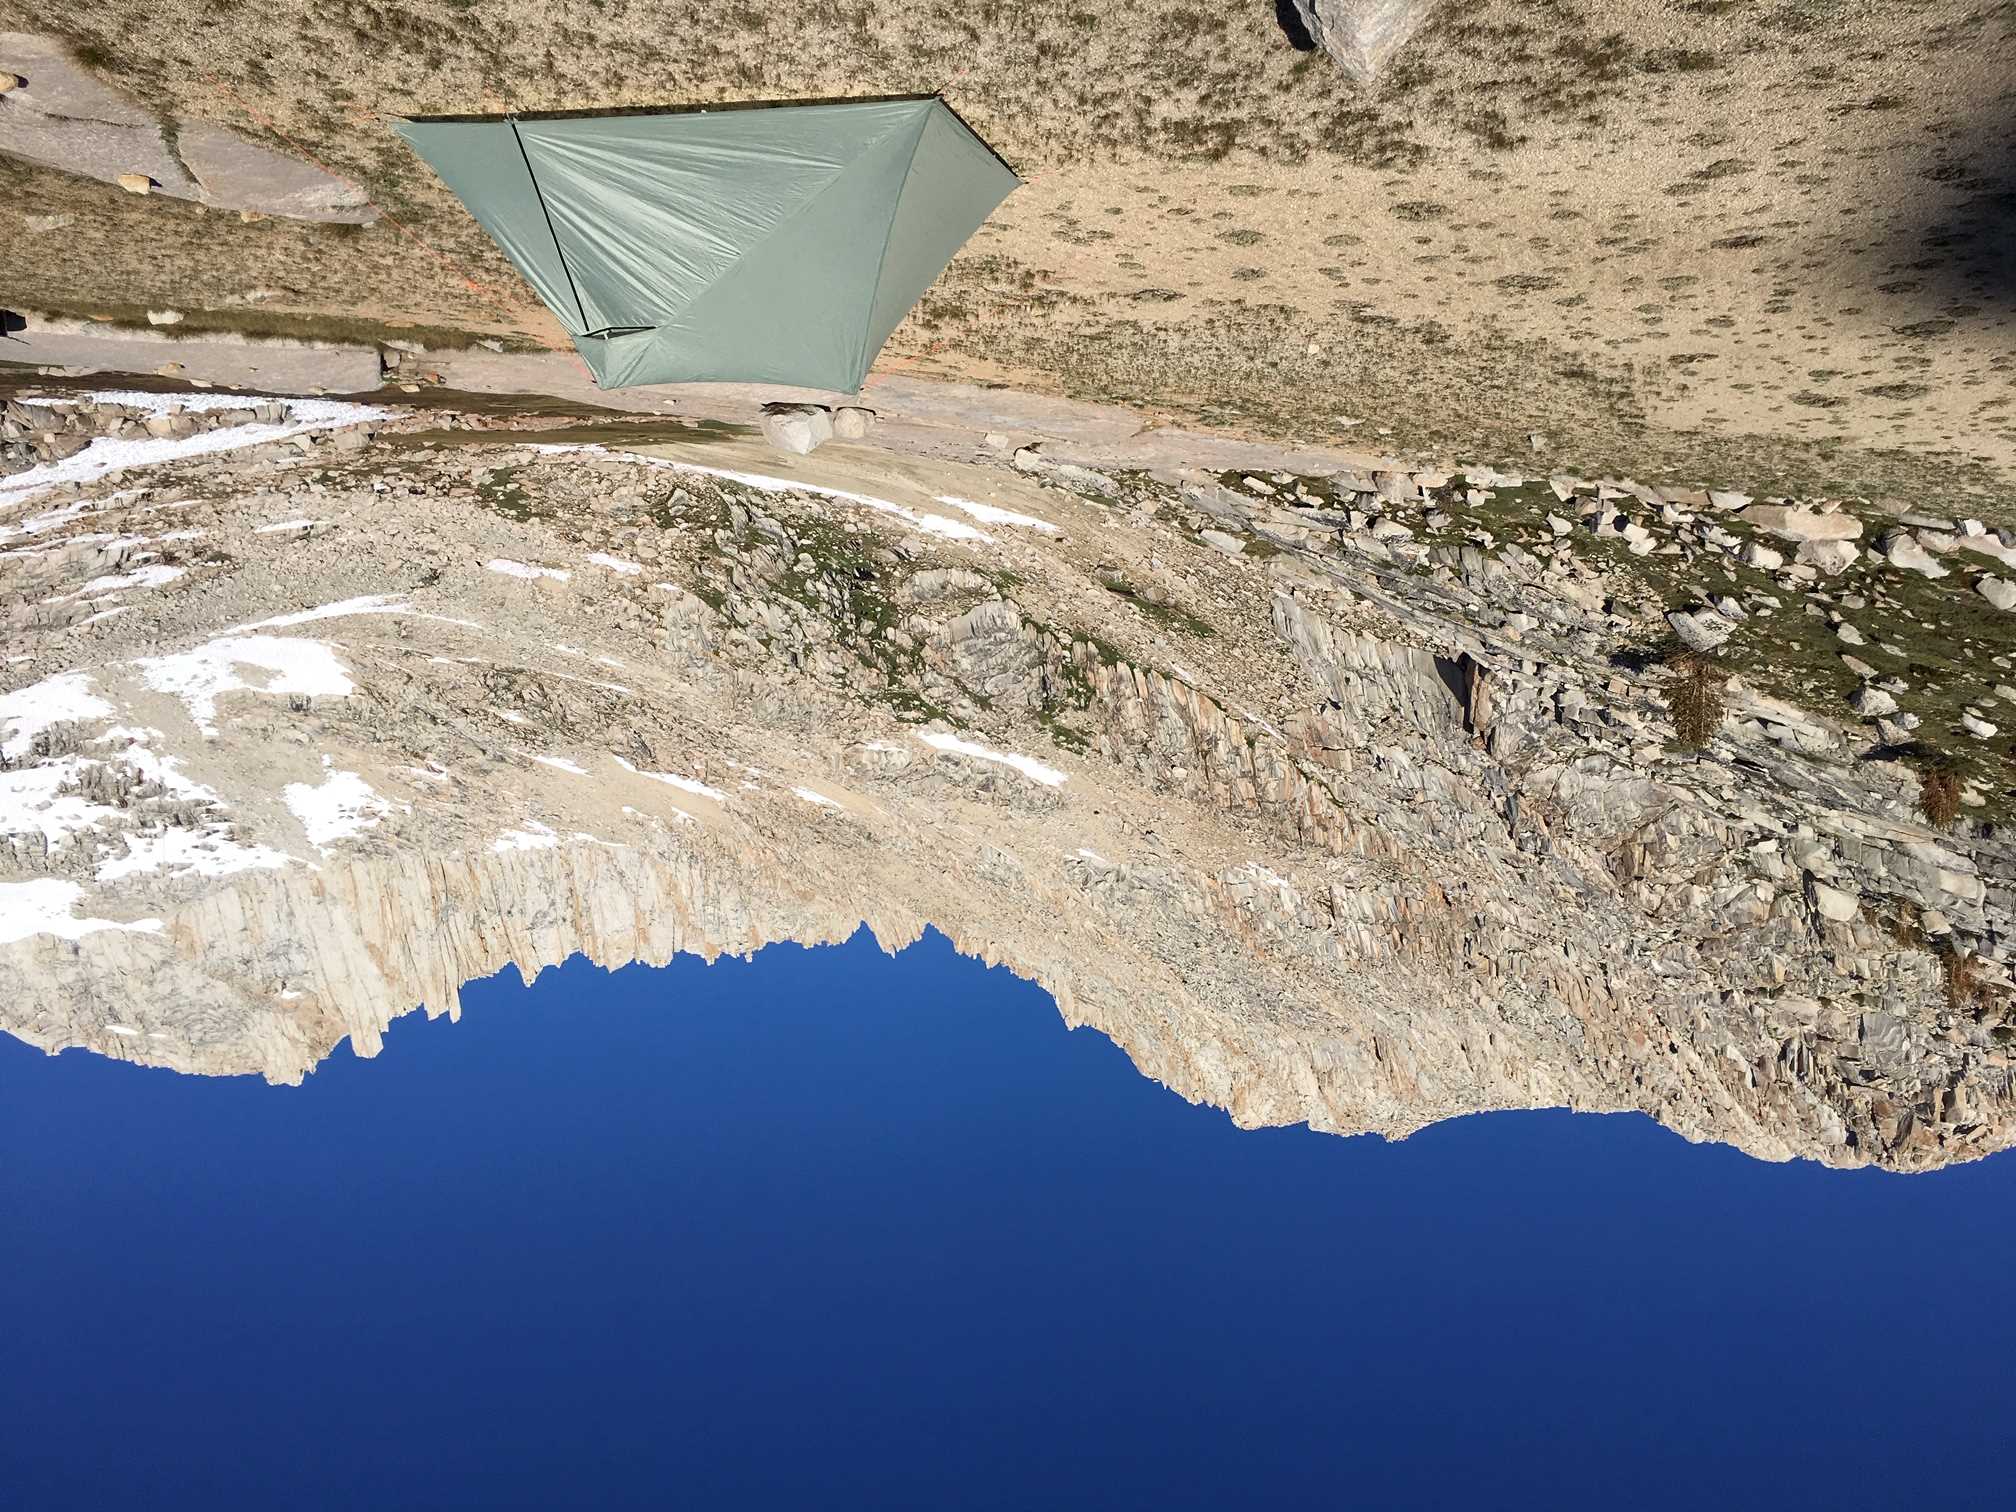
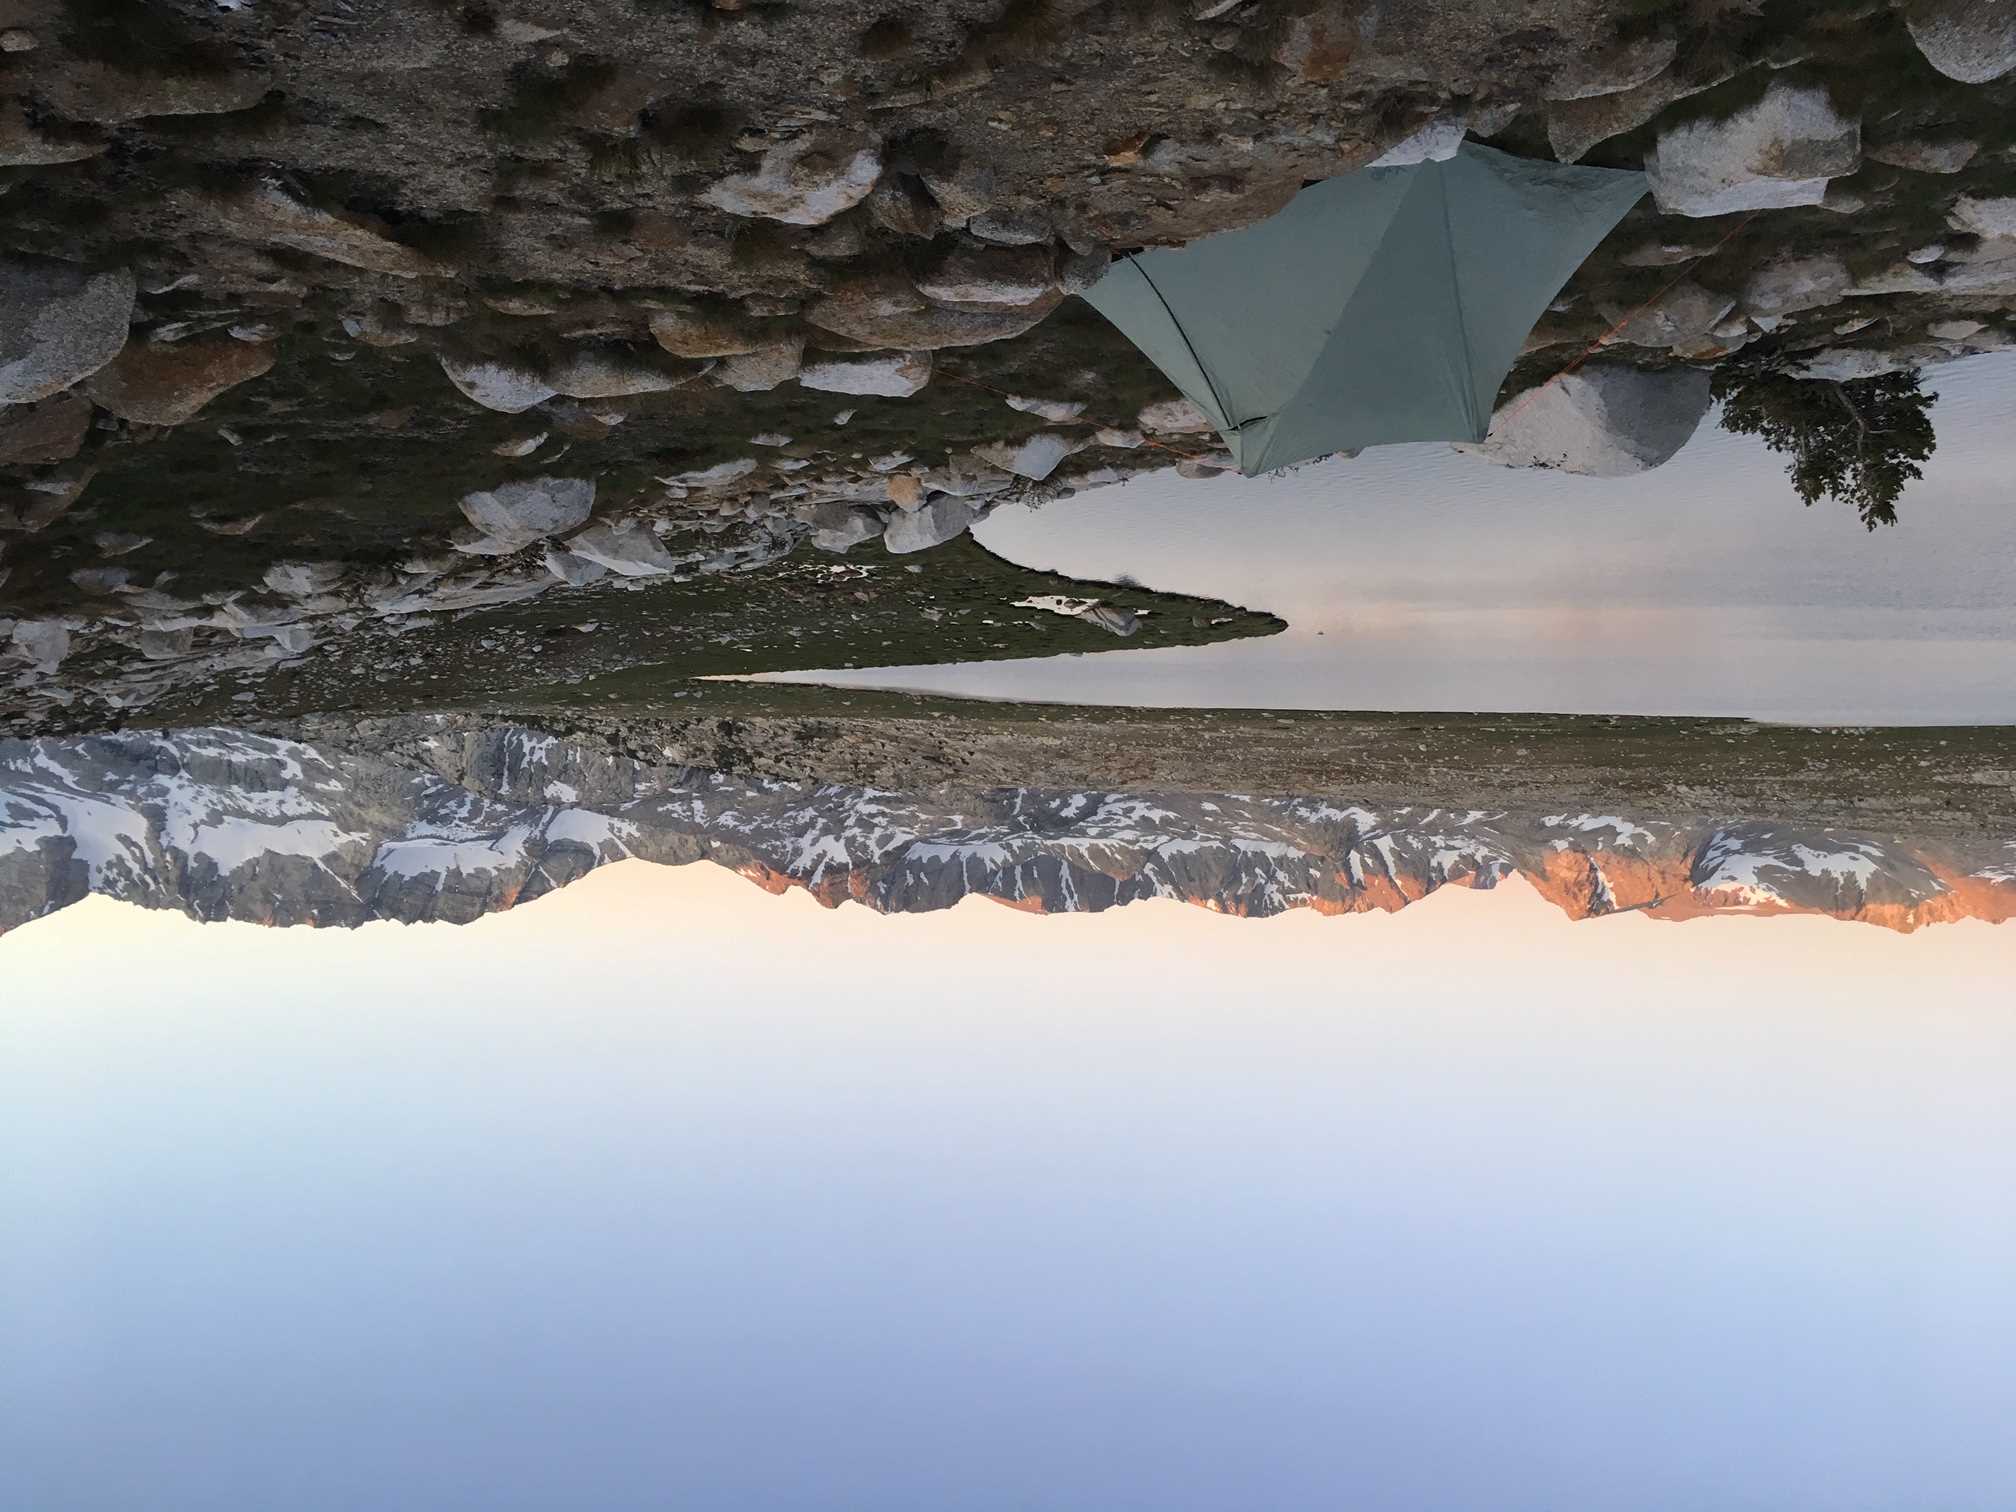
EDIT 2 10/6/19: forgot to include the “tent porn” shot :-) It was an awesome trip
 Oct 6, 2019 at 6:17 pm #3612822
Or BPL could finish this for resizing,
- FEATURE: Upgrade photo uploader for forum posts (COMPLETE):
- Increase size limits on uploaded photos {link} (COMPLETE);
- Allow for bulk uploading of photos (COMPLETE);
- Improve user interface for uploading photos from mobile devices (COMPLETE);
- Auto-resizing of photos (COMPLETE);
- User click on inline photos opens lightbox with hi-res image (COMPLETE).
Just just waiting for it to go live.
Oct 6, 2019 at 8:37 pm #3612838Hi Boyan
re tent going limp: what sort of guy ropes were you using? If they are nylon, that could be your problem, not the fabric. I have noticed that straight nylon guy ropes exhibit that stretch-in-wet-weather much worse than the fabric. I now use Spectra, Dyneema or maybe Dacron.
Cheers
Oct 6, 2019 at 8:58 pm #3612840Roger, the guylines were a hodge podge of Kelty Triptease, Lawson glowire, and the original green lines supplied with the Xmid. I don’t think it was the guylines sagging, I looked for that and they had stayed taut. All of the above should be quality rope that does not stretch much, if at all.
Oct 6, 2019 at 9:45 pm #3612848OK, scratch that idea!
I only mentioned it because I have had that happen to me.Cheers
Oct 7, 2019 at 2:16 am #3612877Just looking at the photo, the hem looks sort of fluffy where it’s cut. Maybe it had been abraded by rubbing on a rock?
Oct 7, 2019 at 2:42 am #3612880My 2c: abrasion on a rock or something else is certainly possible, but a simple failure under tension may also leave that sort of evidence. UV damage can do that sort of thing – as an example. One would need to ask just how strong is the adjacent material.
Cheers
Oct 7, 2019 at 3:14 am #3612881The tear is on one of the short sides, right near the hem loop.
Yes, the hem does look like it suffered from abrasion. The whole terrain was quite rocky and it is possible that at the last or previous site there was a rock protruding near the hemline. The substantial wind gusts present could have then repeatedly driven the hem over the rock causing this type of damage.
Also note the guyline present in the hem loop. At the last site there was a depression under the hem that created a gap of ~4″ to the ground. Since I was expecting strong lateral winds and snow for the next two nights I guyed out that point to reduce the possibility of snow drifting into the living area. That may have put additional tension on hem that accelerated failure due to prior damage. I was lucky that the tear happened during the final takedown. Dealing with this with the possibility of 30-40 mph windgusts would have been an interesting exercise.
UV damage is out of the question, the tent has not seen any meaningful UV exposure. It just seems that the material is susceptible to abrasion and great care needs to be exercised on rocky terrain.
Oct 7, 2019 at 3:26 am #3612883Hum – abrasion.
I pitched my silnylon tunnel on top of the main range in a howling storm one time (https://backpackinglight.com/when_things_go_wrong/) in the snow. No damage to the tent itself, but I lost 6 out of 8 Spectra side guylines through abrasion on the edges of the titanium snow anchors. OK, the guy lines ended up with a 1″ dia coating of ice on them (really), and the wind hammered all night, but Spectra? Frayed ends on the tent side, no sign under the snow&ice of the Ti anchors. Did not feel like digging for them in a 100 kph storm. Came back in the Spring, but they had drifted away.
Abrasion indeed! If so, repairs should definitely be possible.
Cheers
Oct 7, 2019 at 4:36 am #3612895Thanks for sharing your experiences Boyan. Looks like quite the trip. I was in the Tombstones about 8 years ago but not nearly on as adventurous of a trip as yours. Yours certainly looks like a challenging trip with everything from 30-40mph winds, 6-8″ of snow, and 48 hrs of steady rain.
Regarding stretch/sag – I suspect the situation here is complicated. On paper, poly has 0.4% expansion when wet (versus about 3% for nylon) which means sag should be quite a bit less (e.g. 3/8″ expansion over 100″ instead of 3″ expansion). Then the fibers have some some stretch like nylon but less, and then the weave has stretch as well on the diagonal from the strands. My experiences with it in rainy conditions have been quite good, but it gets more complicated in conditions near or below freezing. When it’s cold, if you have a load stretching the fabric (e.g. snow load) and then remove that load, the fabric isn’t going to rebound nearly as well as it does when it’s warmer. If the fabric is frozen it might hardly rebound at all. So there is always some sag from water expansion which never rebounds until the tent dries, and there is stretch in the fibers and weave which normally rebounds as soon as the load (snow, wind) is relieved but doesn’t always happen near or below freezing. So your experience here may be a lot of these factors adding up plus maybe a few more like slight movement of the stakes in high winds, or a little give in the lines etc. A quarter inch from each of these factors and there is a lot of sag. I think you’ll find the sag is quite a bit less in warmer conditions, even if very wet.
Regarding that unfortunate tear. It’s hard to say what happened here. It looks like it started at hem which is normally very hard to tear through because it is folded several times. There are 3-4 layers of fabric to tear through. The hems is double folded because I don’t like the exposed raw edge when hems are folded just once like some tents. One possibility is that start point on the hem was rubbing on a sharp rock. It is right next to the guyout (where this would have been one of the lowest points to the ground) and looks fuzzy/abraded (whereas higher up the tear looks cleaner). Perhaps during one of the nights with high wind it was slowly abraded by contact with something – maybe not during initial setup but later when weighted lower by snow. If this did occur, the damage would have started on the underside where it may not be noticeable until eventually it was weak enough to tear through. Other possibilities include a misstep with a shoe/snowshoe/crampon. It’s difficult to imagine it ripping through an undamaged hem because that is really strong (e.g. no change of starting a tear with bare hands).
For repair, I suspect a quick/basic way to do is that you could close the tear by bartacking the hem back together solidly. There should be enough material there that it would be pretty solid if you bartack it a lot and overlap the edges enough that there is enough material to sew together. If you get the hem solid then that’s going to handle all the stresses, so the rest of the material could be patches on the inside with sage colored tenacious tape and sealed on the outside with silicone, perhaps after stitching together as well if you want more security.
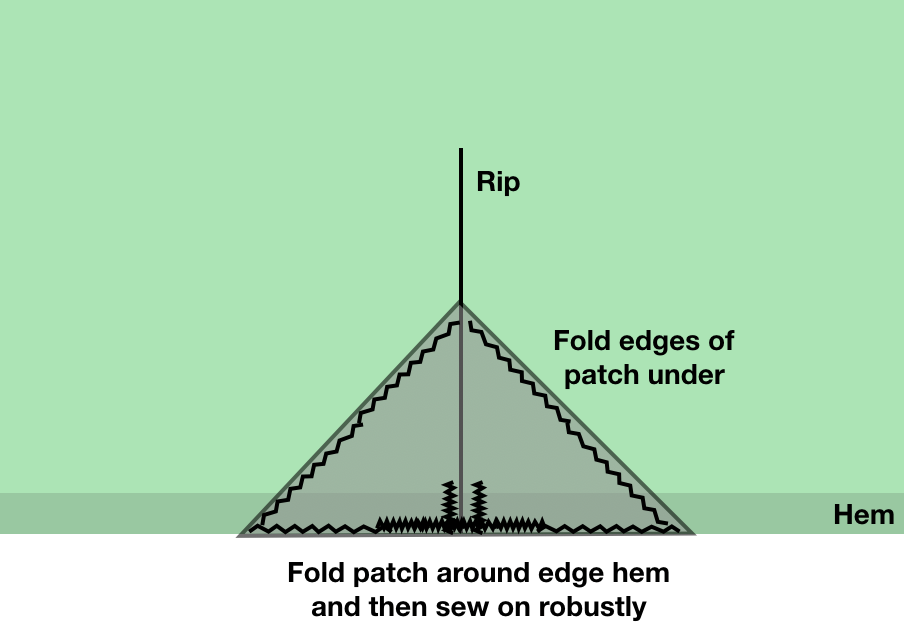
Overlapping the hem back together is going to leave a lasting wrinkle here though. A strong and more professional looking repair would use a patch to rejoin the hem. Take a patch, fold the edges and sew to hide the, then fold the patch over the hem to leave a diamond on either side. Use tough fabric (e.g. 70D) since it’s only going to have 2 layers unlike the original hem. If you sew that on solidly, it should be a robust repair and won’t leave wrinkling because you aren’t overlapping the fabric. Here’s a diagram:

The nearby presence of the grosgrain guyout complicates that a bit since it would wind up under the batch. But if you’re going through this hassle, it wouldn’t be much more work to snip the guyout, patch it, and then sew a new grosgrain loop back on.To your point about this material needing care, I certainly agree that is prudent. It is a light fabric and conditions as you describe are towards the upper end of what it’s intended for. It doesn’t have the same margins of error as beefier materials would. I’d love to do an “alpine” version with 30-40D fabric and beefed up throughout, but I suspect most folks would opt for the 29oz regular version over a 36oz beefed up version, so it would be a niche item.
Oct 7, 2019 at 6:16 am #3612923Thanks Dan, for the as-usual thorough analysis and reply. My initial thoughts on repair were slightly different
1) Snip out the loop
2) Repair tear in fabric with tenacious tape/silicone all the way down to the hem (as you suggested)
3) “Recreate” the hem by taking a 40D or so material, cut a strip equal to about 5x the width of the hem, fold as shown in the sketch below around the hem, and then sew into the existing hem with 3 or so stitches, maybe with some bar-tacking.
4) Recreate the loop
A rough sketch of what I envision is below. The green is the original fabric, red is the patch material, black are the stitches. I will be asking a seamstress at a local shop to do this for me, I am guessing it will set me back $30 or so, but it will be done right.
Thoughts?

- FEATURE: Upgrade photo uploader for forum posts (COMPLETE):
-
AuthorPosts
- You must be logged in to reply to this topic.
Forum Posting
A Membership is required to post in the forums. Login or become a member to post in the member forums!
Our Community Posts are Moderated
Backpacking Light community posts are moderated and here to foster helpful and positive discussions about lightweight backpacking. Please be mindful of our values and boundaries and review our Community Guidelines prior to posting.
Get the Newsletter
Gear Research & Discovery Tools
- Browse our curated Gear Shop
- See the latest Gear Deals and Sales
- Our Recommendations
- Search for Gear on Sale with the Gear Finder
- Used Gear Swap
- Member Gear Reviews and BPL Gear Review Articles
- Browse by Gear Type or Brand.


