I have been a professional wilderness photographer and High Sierra guide for 25 years, and have used just about every possible pack design to get me and my gear in and out of the backcountry. Twelve years ago, I designed and constructed my first UL silnylon tent – and got so frustrated with the experience that I vowed never to make my own gear again!
Fast forward a decade or so later, and with the advent of cuben fiber (or Dyneema Composite Fabric, CF from here on), I started dreaming of making my own gear again. This time, however, I ditched the old JCPenny home sewing machine, picked up for cheap a like-new Thompson Mini-walking machine, studied how to sew basic seams, found every photo and post I could about sewing packs with CF, carefully considered not just “what” I wanted, but “how” I would make it, and decided early on to go slow and do it right. The end results? A great, ultralight, “Sierra” specific custom pack.
I generally carry about 25 – 27 lbs for a week in the Sierras, which includes almost 5 lbs of camera gear. I decided 30lbs was my target capacity. I hoped to end up with a pack that was no more than 24 oz total (similar to the Zpacks Arc Blast that I would have purchased). Lastly, the pack volume needed to be close to 50 L, the volume of all of my gear total when loaded into my current ULA Catalyst.
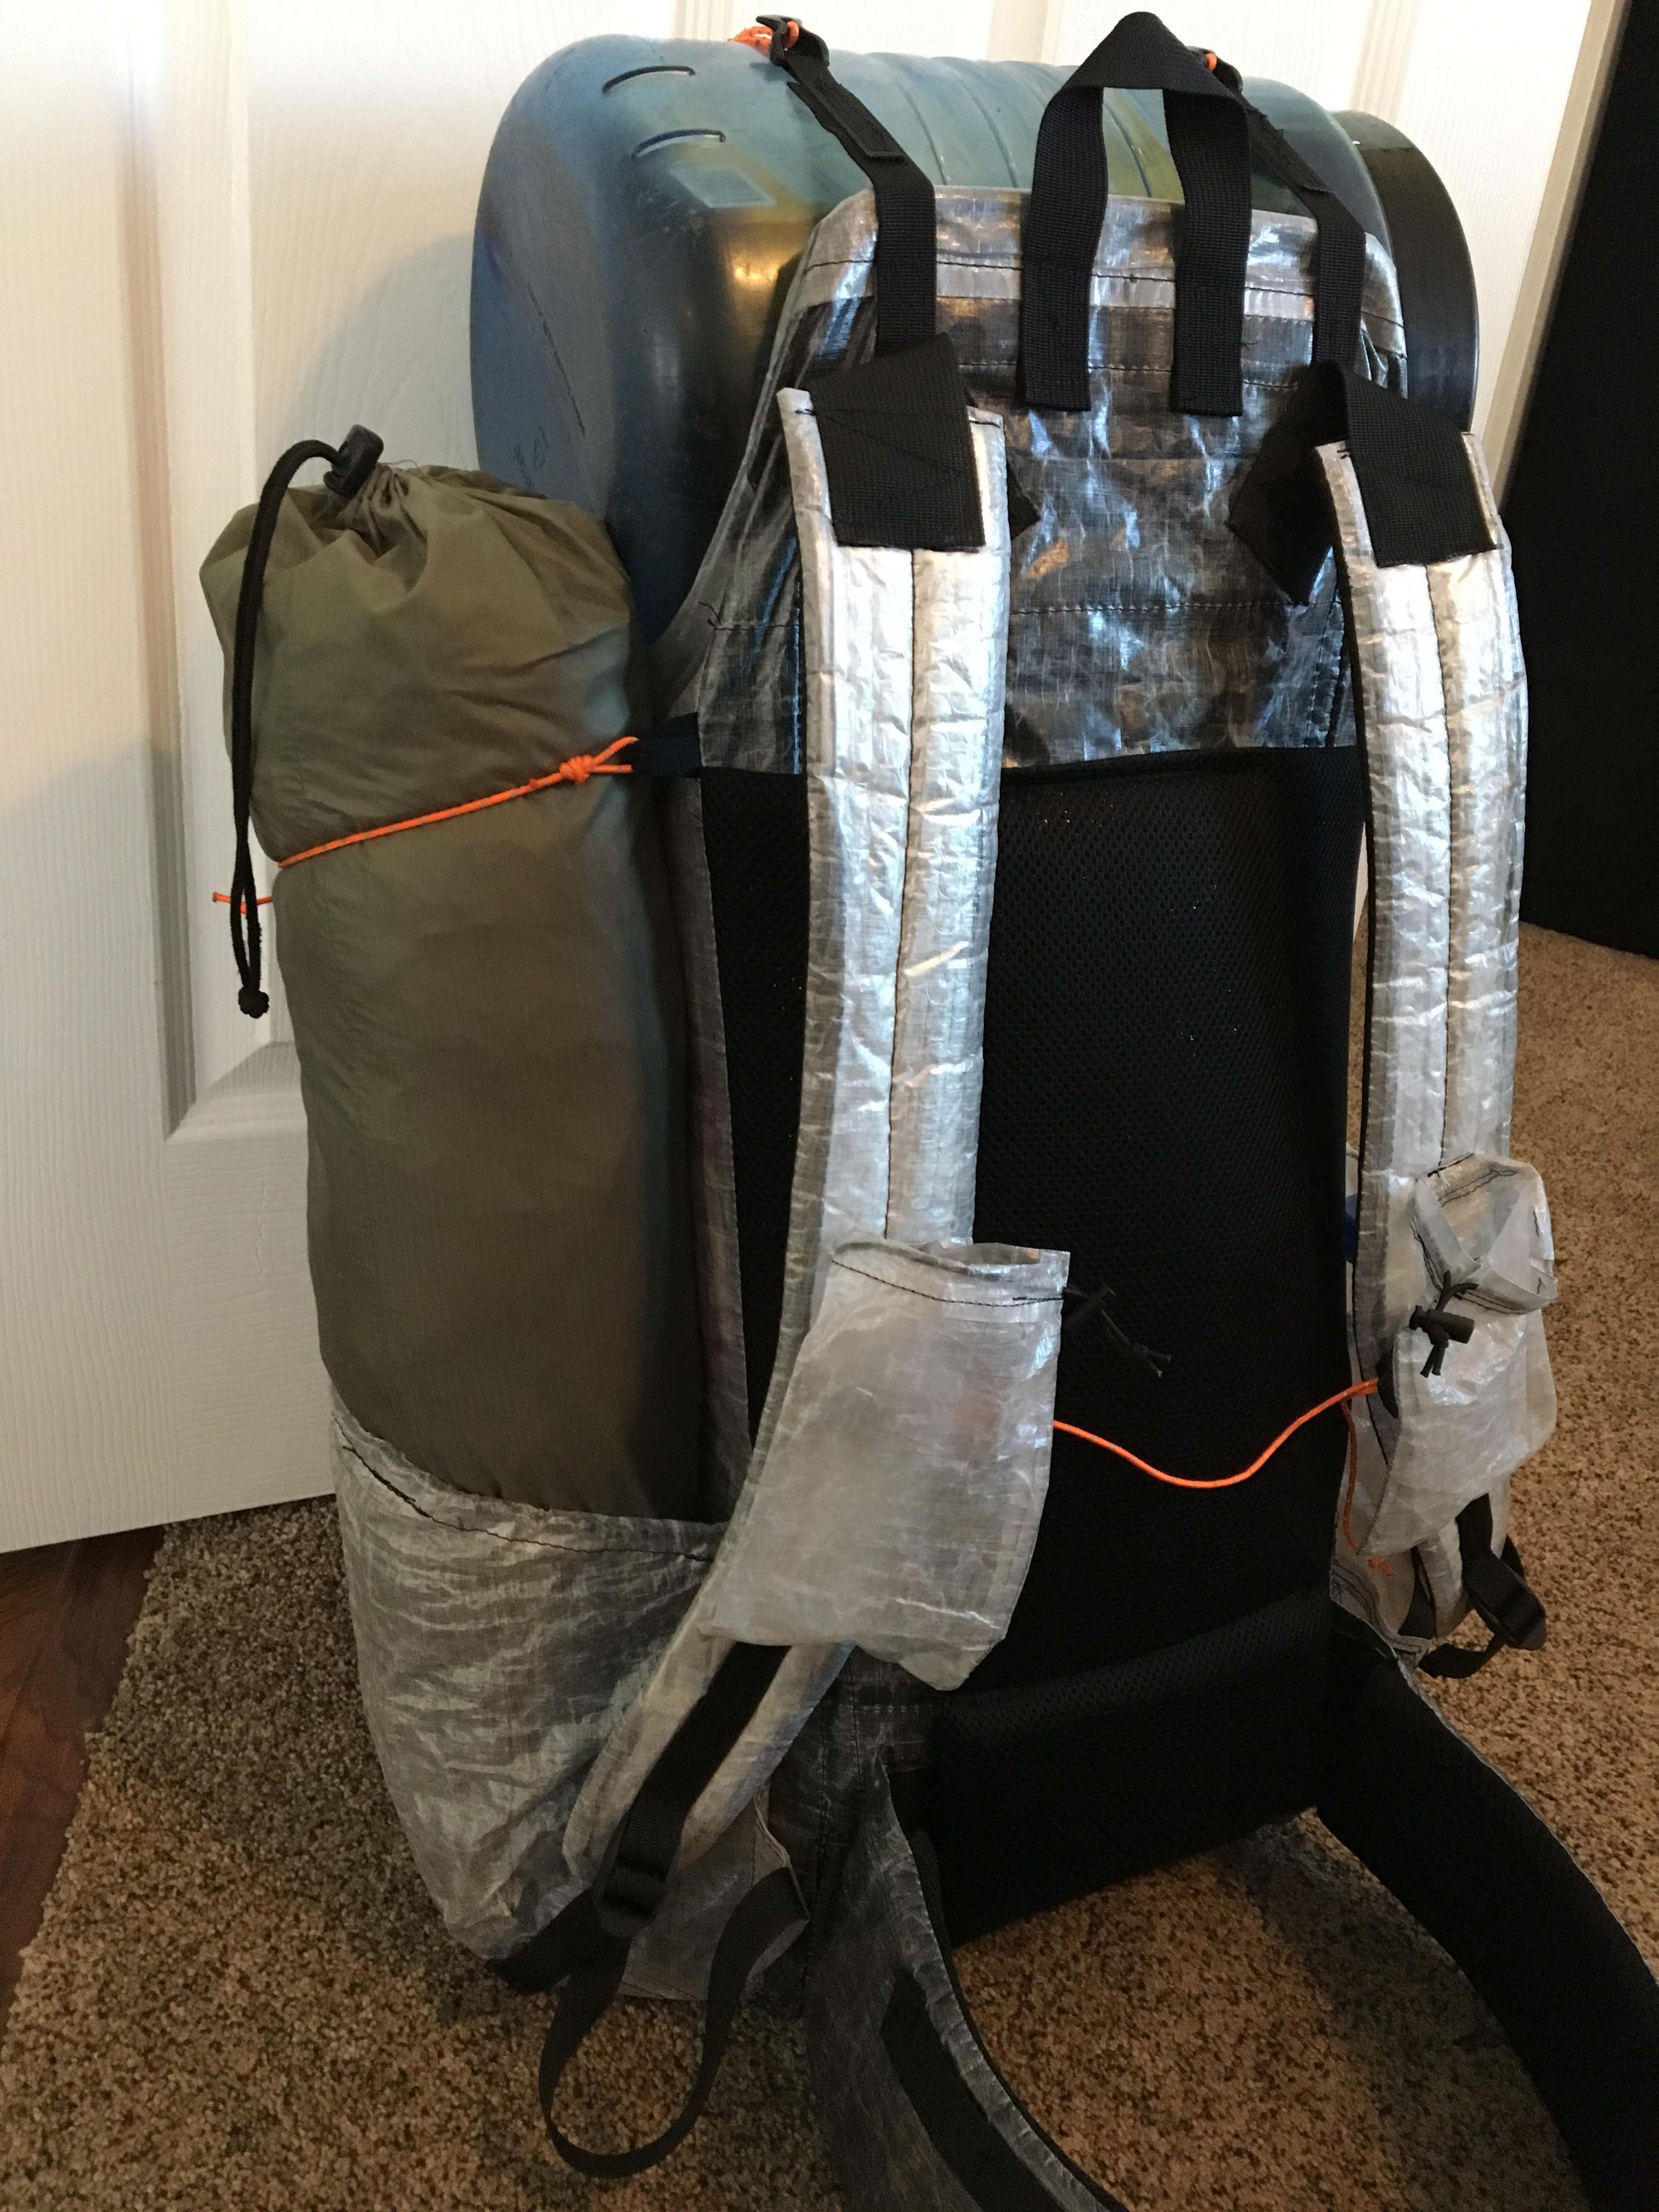
My design was really nothing original, but rather a combination of “best of” and “favorite” ideas. The internal frame and body design came from HMG’s Windrider series. I originally planned to mimic the Zpacks frame design, but after attempting two prototypes, decided it was beyond my sewing capabilities. Side pockets, hip belt and shoulder straps were copied directly from the ULA Catalyst (the most comfortable pack I’ve owned). The rear “tube” pockets were one of my favorite features of my Dana Designs Astralplane pack, and I recreated them, using top instead of side entry. Whenever possible, I used the lightest materials (buckles, straps), consistent with Zpacks design.
I’ve never been a fan of hip belt pockets, as mine are usually almost empty. I chose, instead, to create two shoulder strap pockets, just big enough to carry my cell phone in one, and granola bar and map in the other.
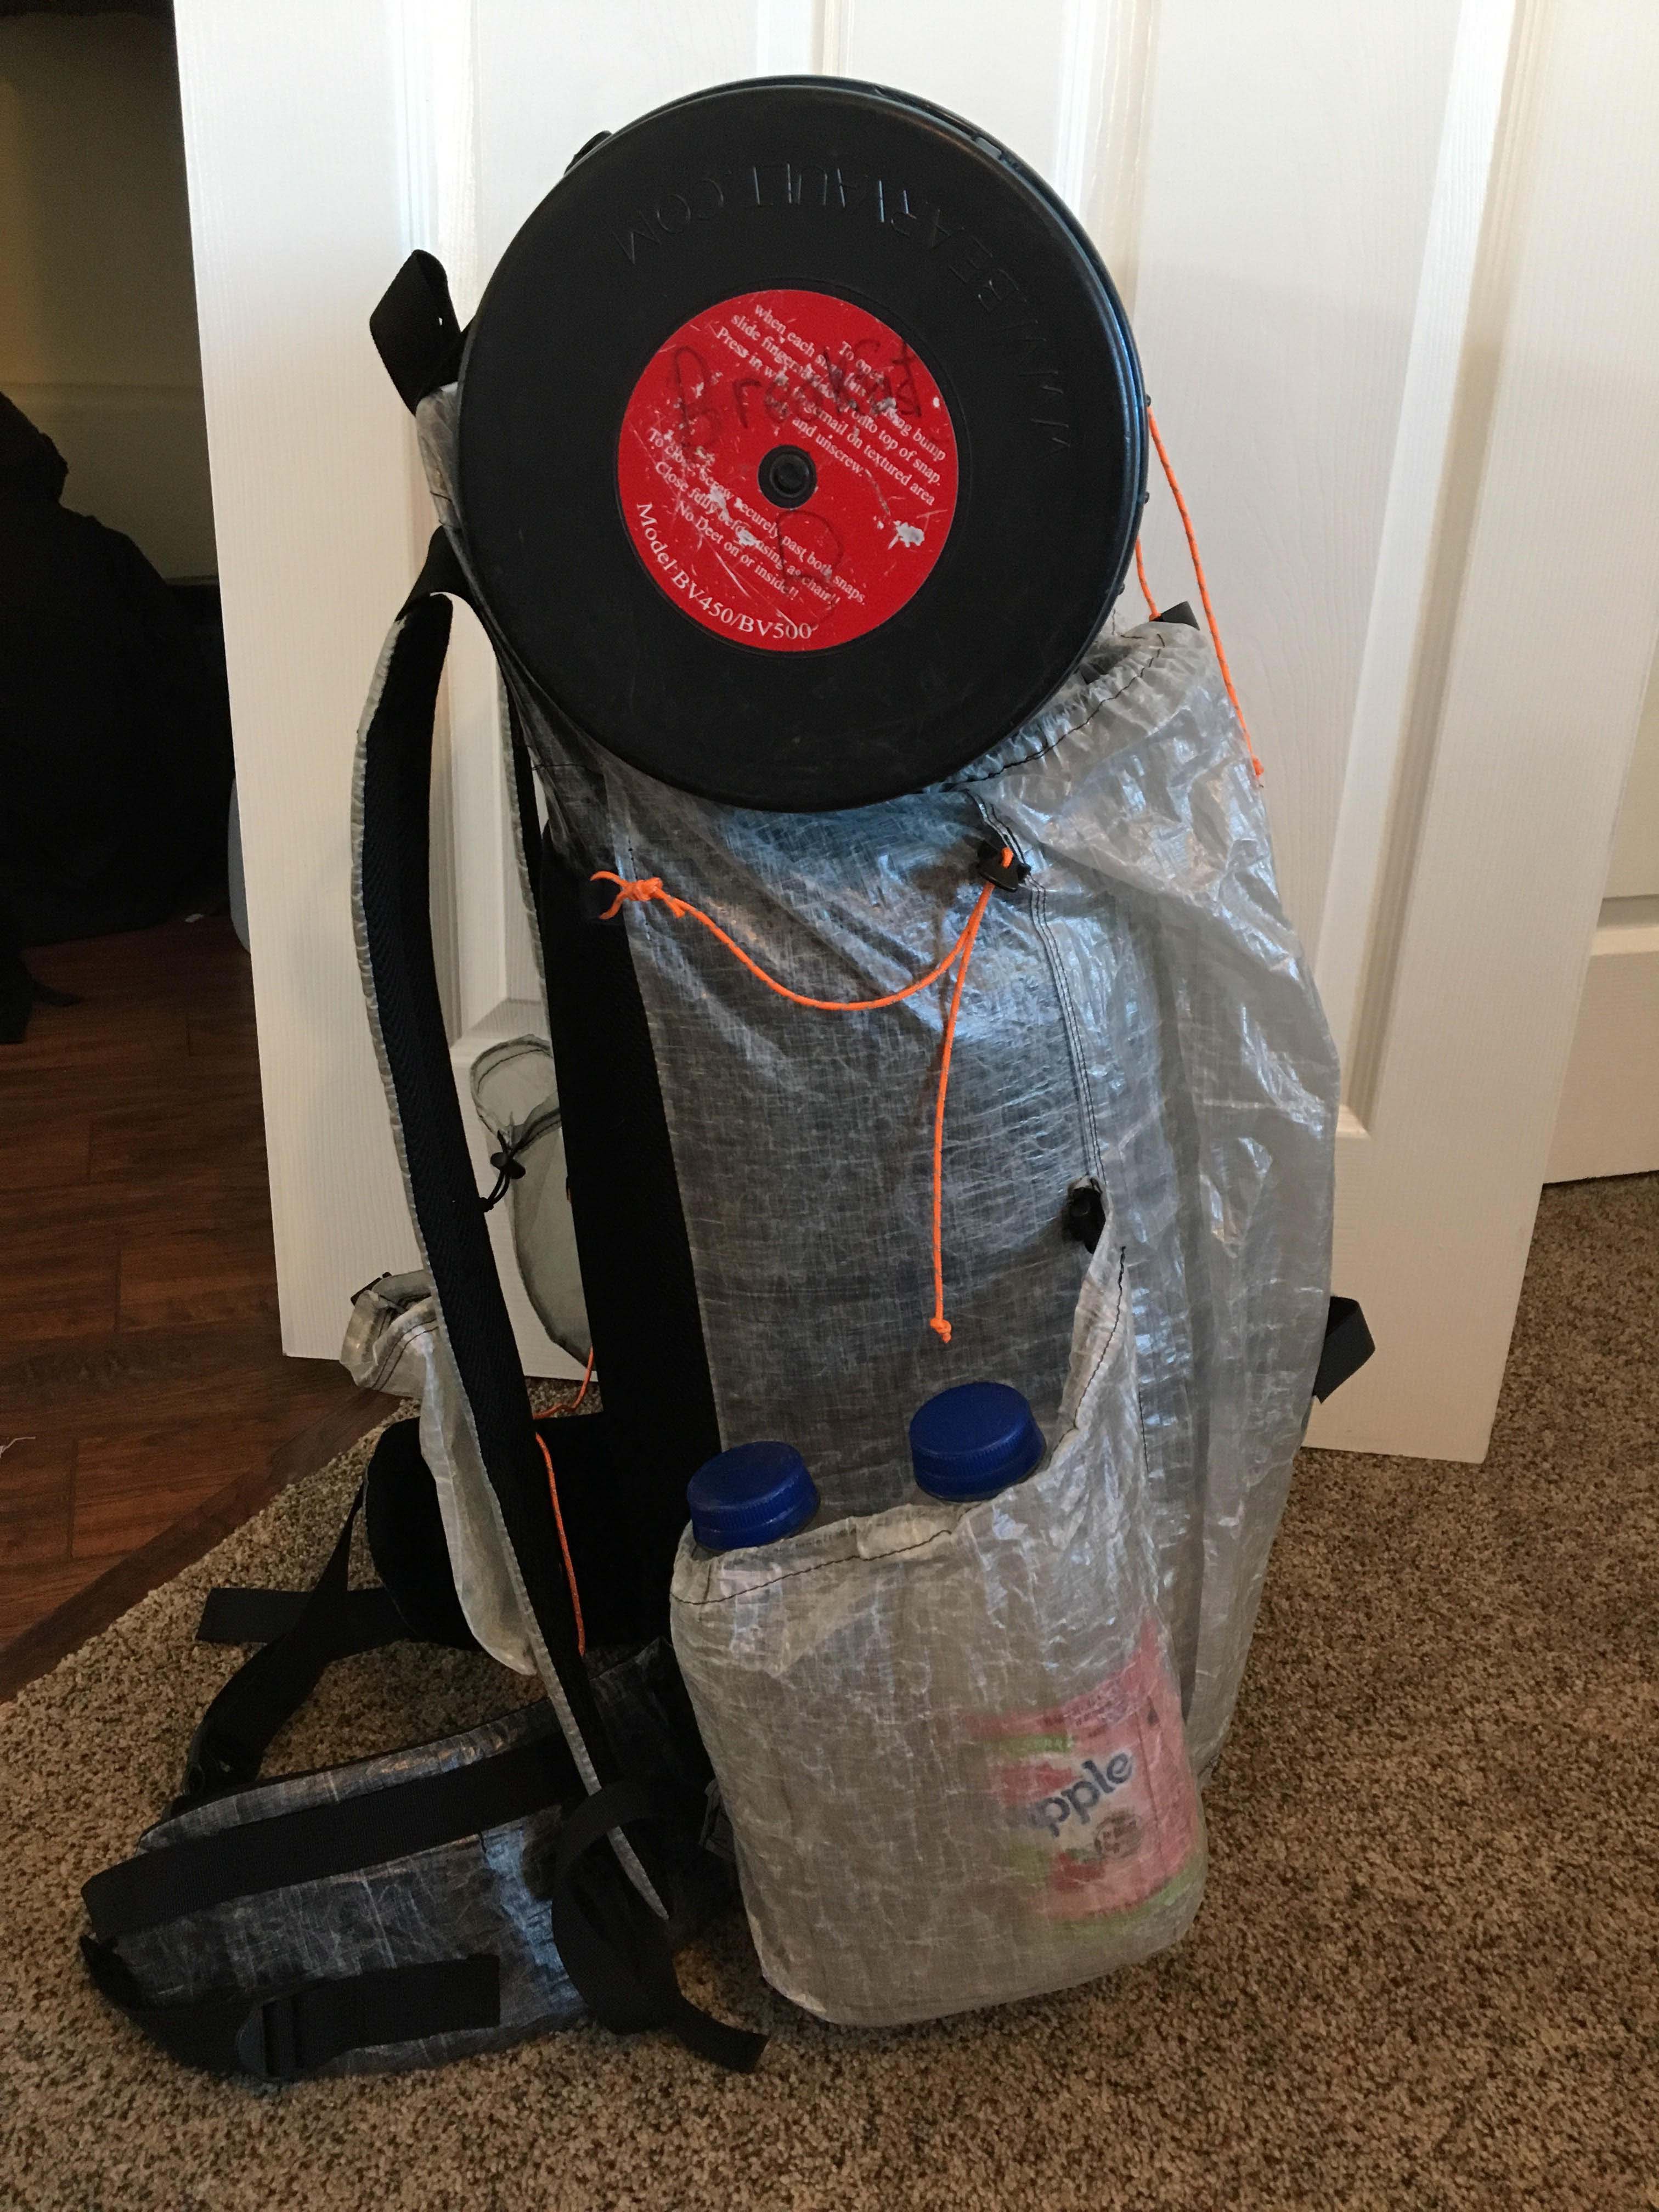
What about the bear canister? Two years ago, my wife and I spent 60 miles leapfrogging a couple along the John Muir Trail. Their DIY packs were sewn from chicken feed bags, and they carried their canisters strapped to the top, using a single strap. Why? Well, they could make their packs smaller, with less padding along the back. I liked this idea so much, I decided to try it out on my prototype.
My prototype was made from HEX70 XL fabric from Ripstop by the Roll. Not only was this much cheaper than CF, it also allowed me to experiment with several ideas, and test the design, before committing funds to make the CF pack.
After using the prototype this last hiking season, I came away with only a few minor changes. That ultimately convinced me I was ready to commit to the design.
I sourced materials from Ripstop by the Roll, Quest Outfitters, Zpacks, Sailrite, and DIY Gear Supply. I can honestly say that my experience with each of these companies was excellent. All materials arrived as they were advertised, on time and well packaged.
Main pack body is 1.5 oz. CF, back and bottom are 3.0 oz CF.
Hip belt padding is an old closed cell foam pad, about 3/8″ thick. Back and strap padding is a combination of 3D mesh and Reflectix (Home Depot).
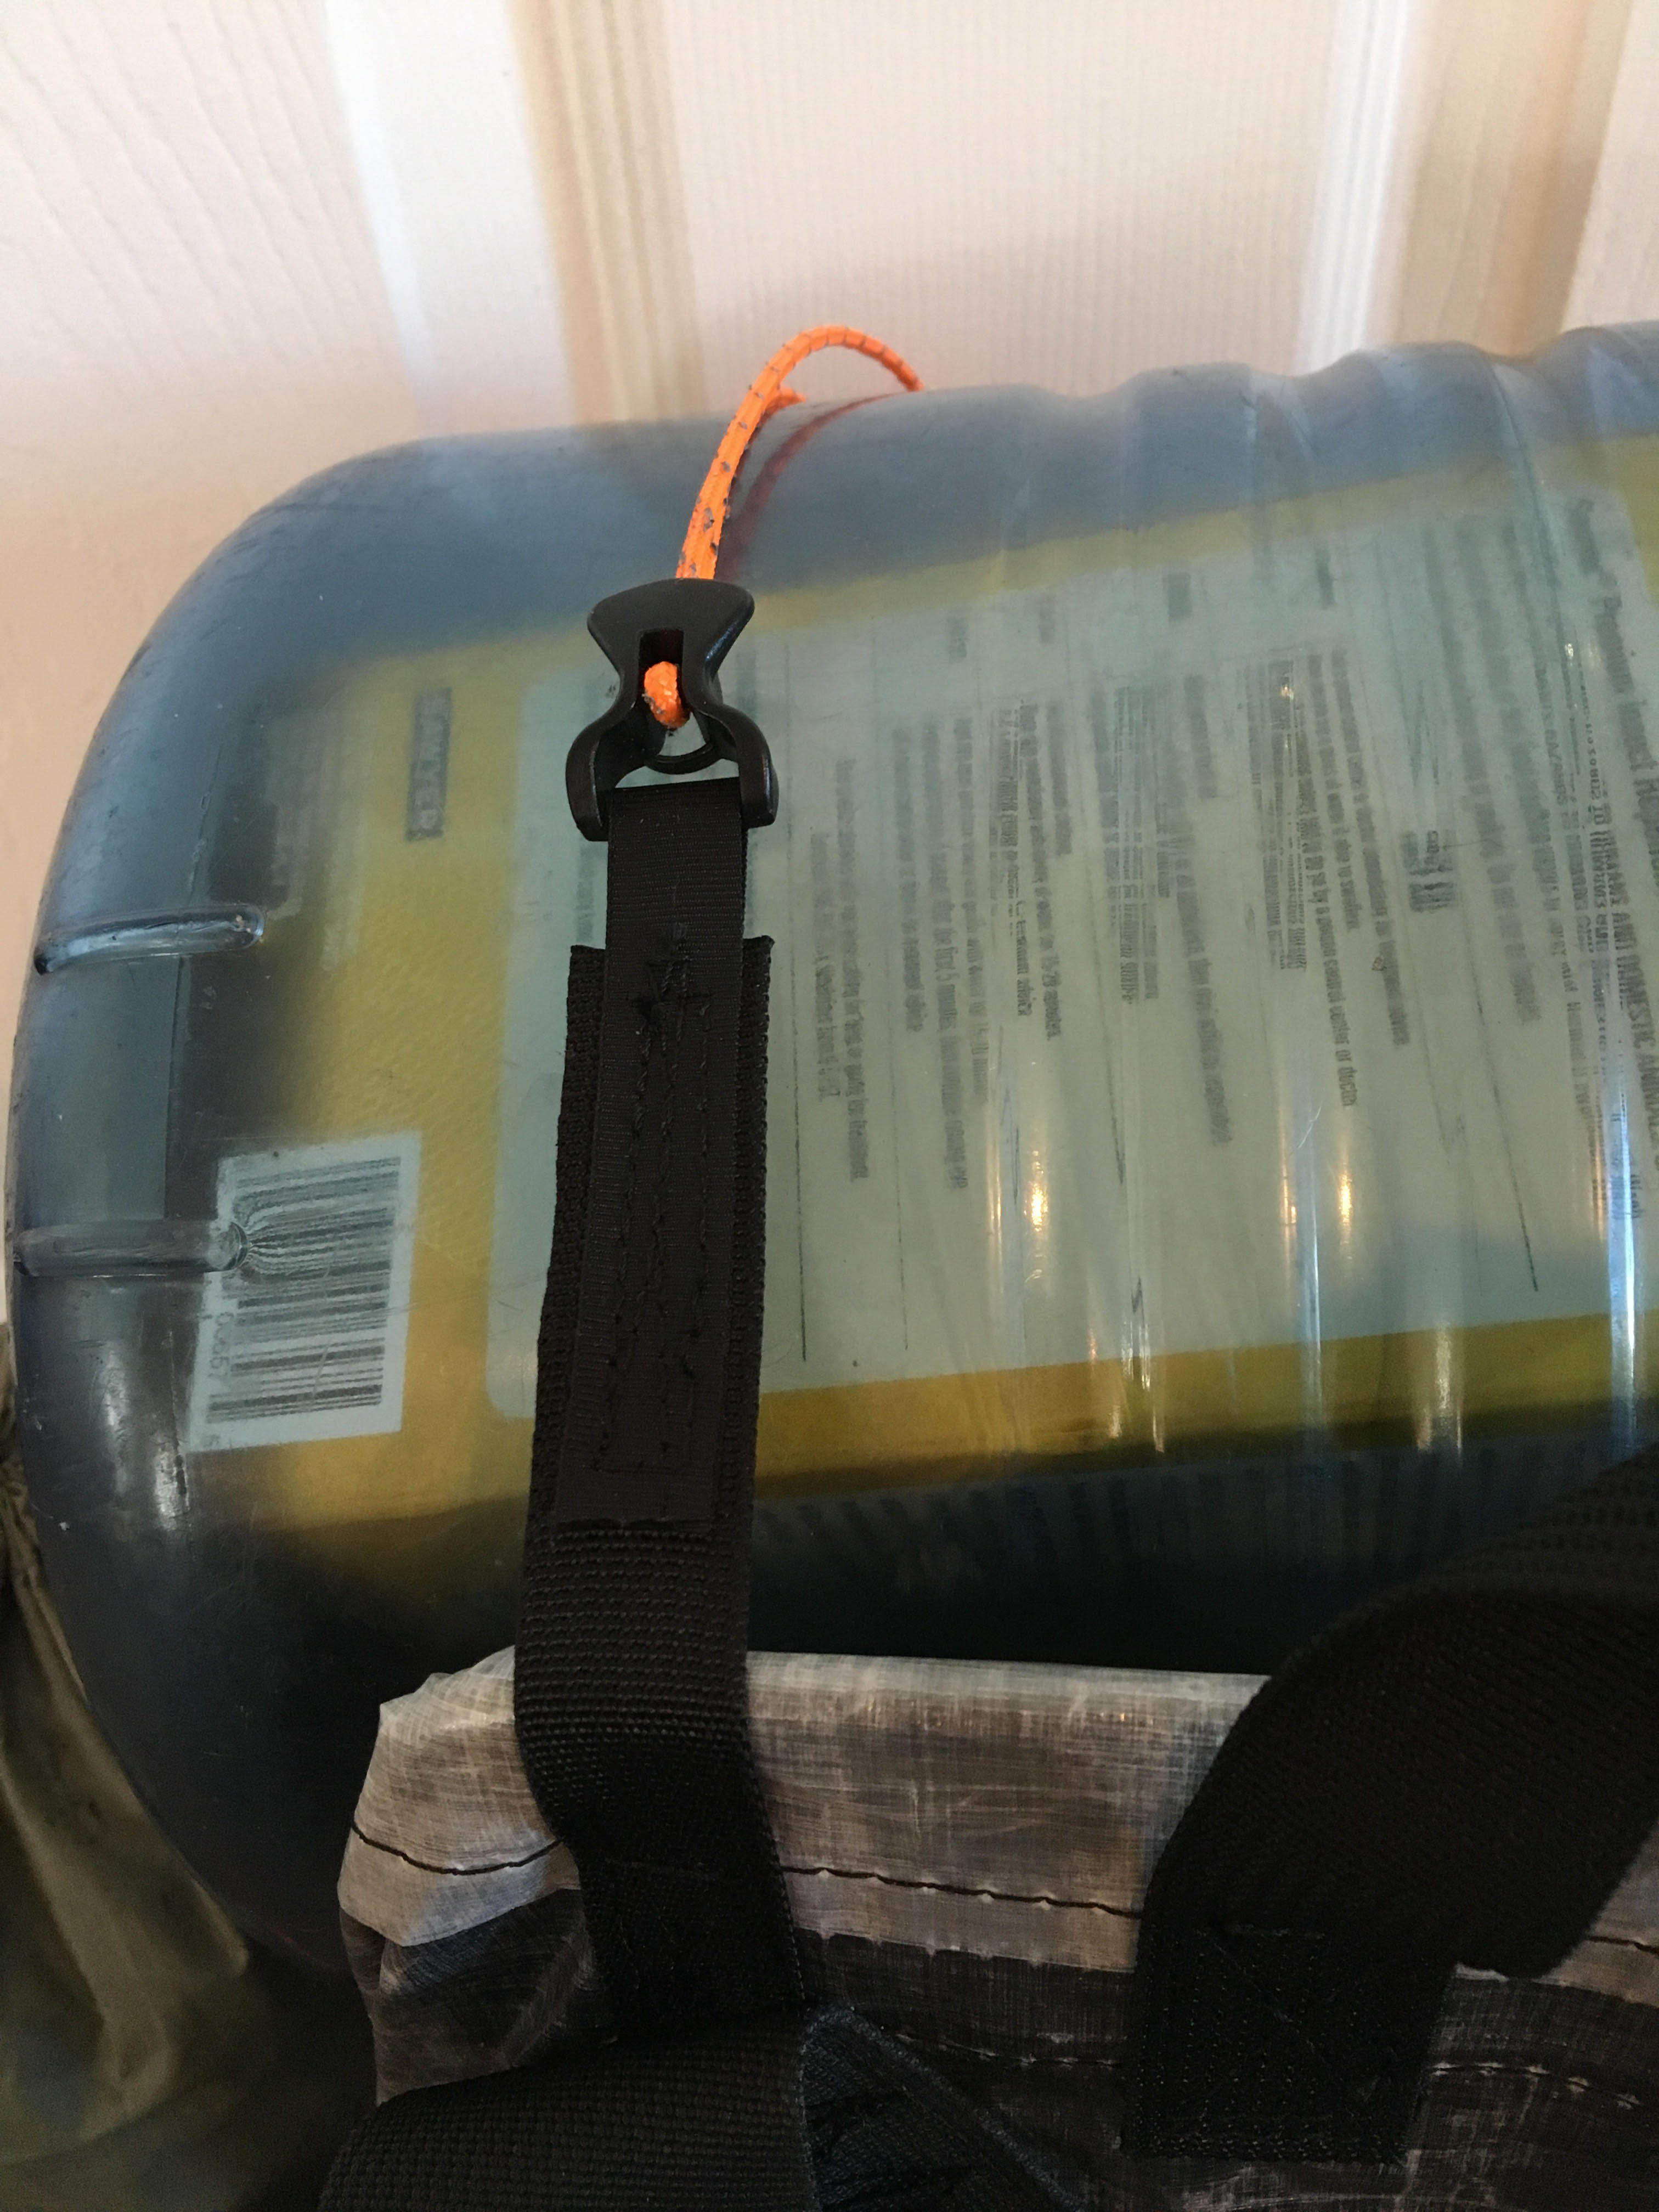
Reflective tent guyline was used (along with Lineloc 3 and Lineloc quick release buckles) to create the side compression straps, sternum strap, canister tie down/compression straps.
I used Tera 40 thread from DIY Gear supply for everything. No problems with #16 needle on my machine.
Body dimensions are approximately 12″ x 32″ x 6.5″, or about 40 L. Side and rear pockets add another 9 L.
Final weight is 21.3 ounces, including the 1/4″ solid aluminum rod frame, bent in an inverted U shape. With the aluminum frame removed (frameless “peak bagging” mode), the pack weights 17.4 ounces.
I have carried up to 35 lbs with the pack, and it feels as comfortable as my ULA. Durability is still unknown, but I fully expect it to last 4 years or so, at about 500 miles per year (30% off trail, 70% on).
Total cost was about $125 per pack (I made 2, one for me and one for my wife. This includes the cost of the prototype, distributed equally. I decided to keep my prototype, but parts could be reused and some money saved by disassembling the prototype).
Total time to create? Ha ha. Good one! ;-)
Some photos:
Side view
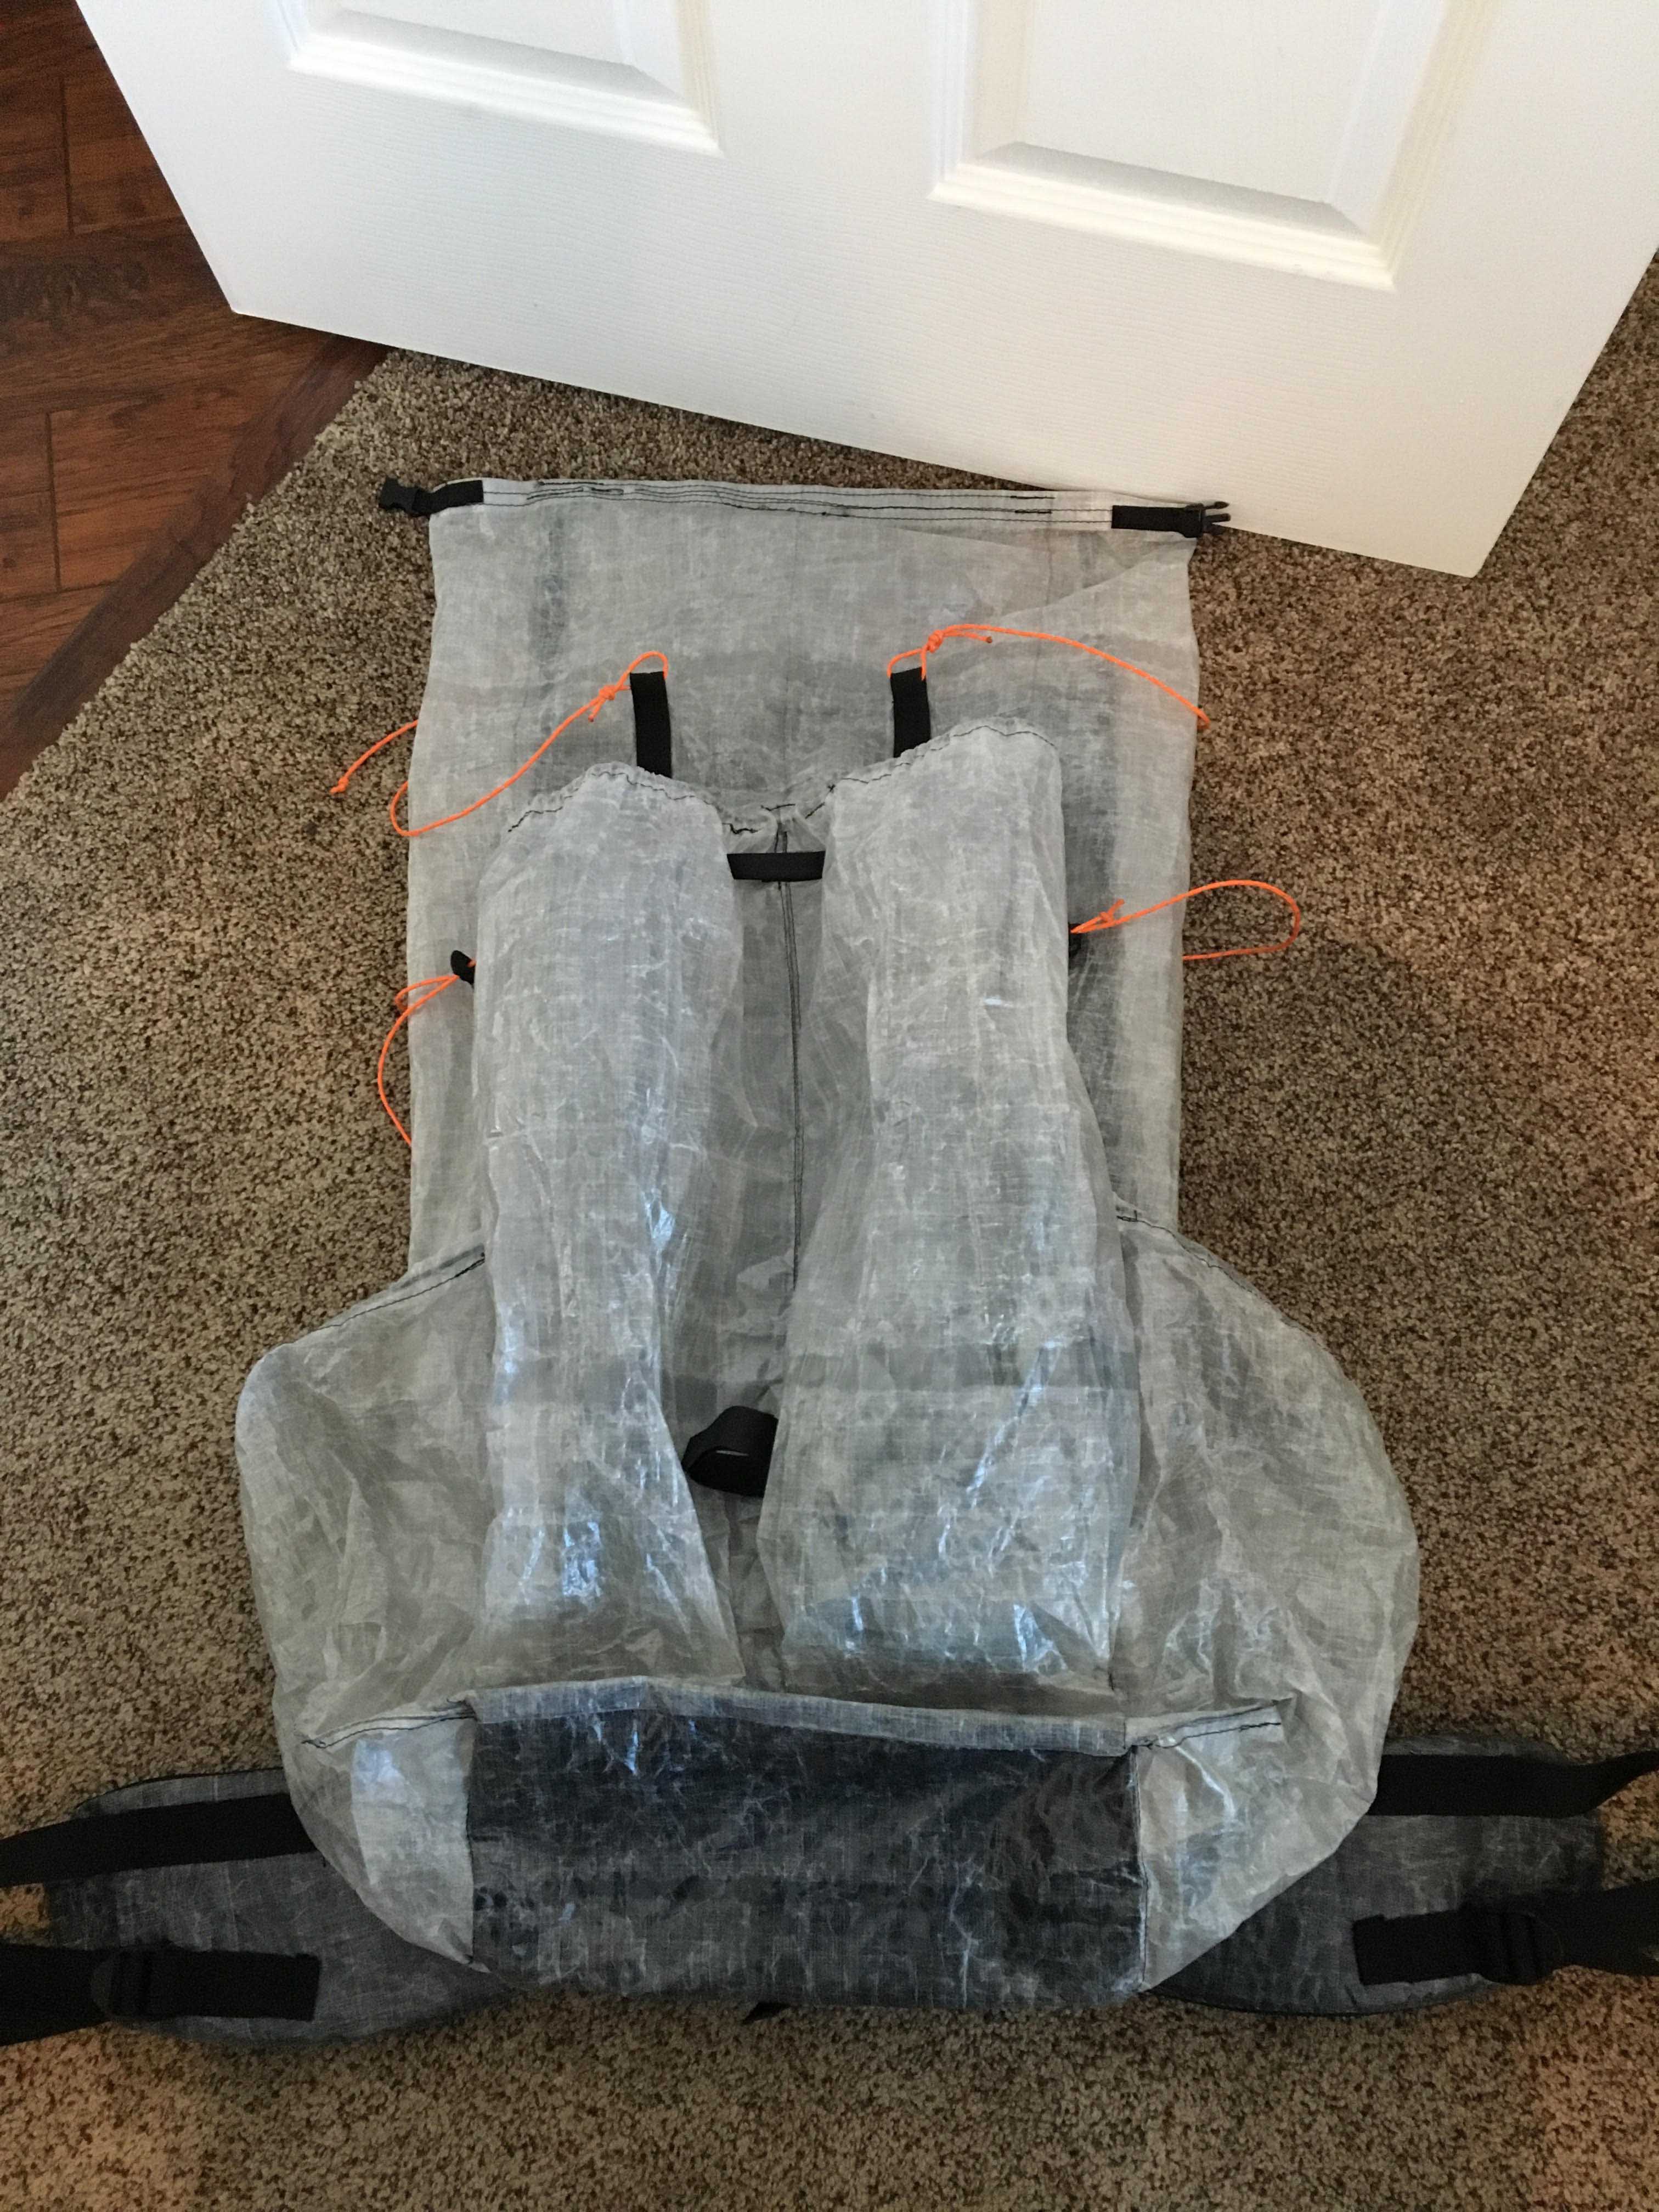
Front unloaded:
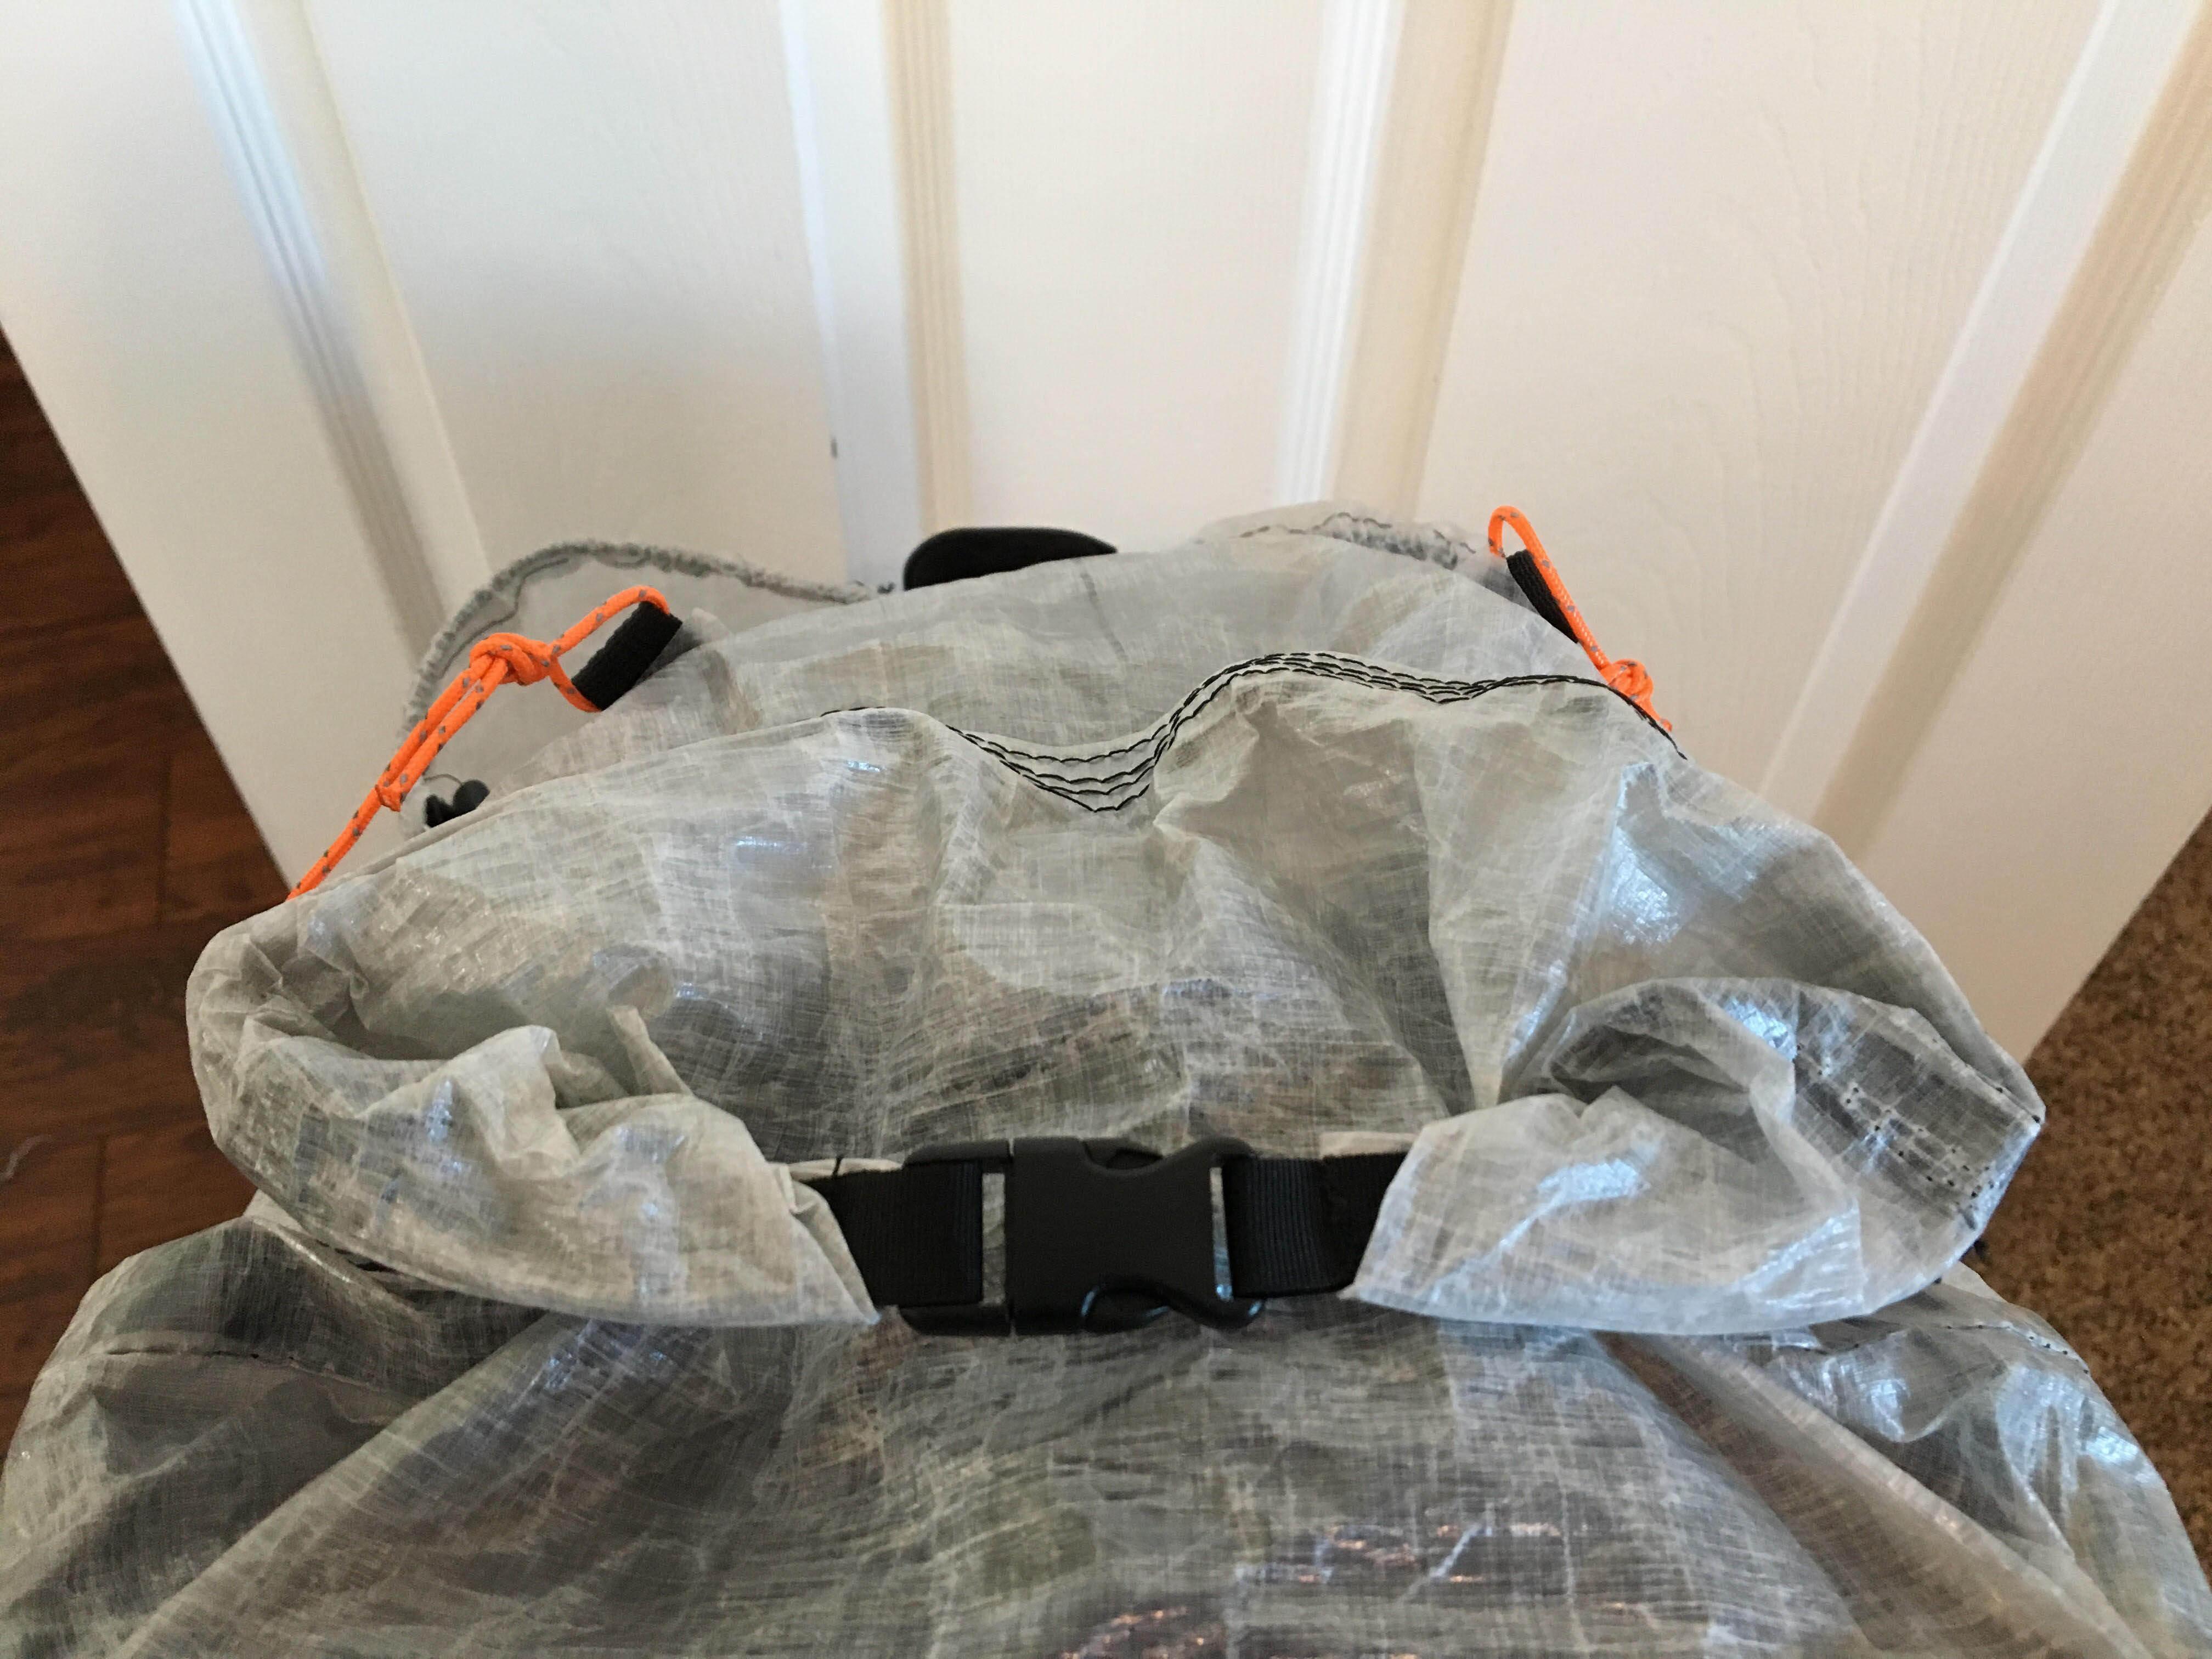
Rolltop with velcro and qr buckle:
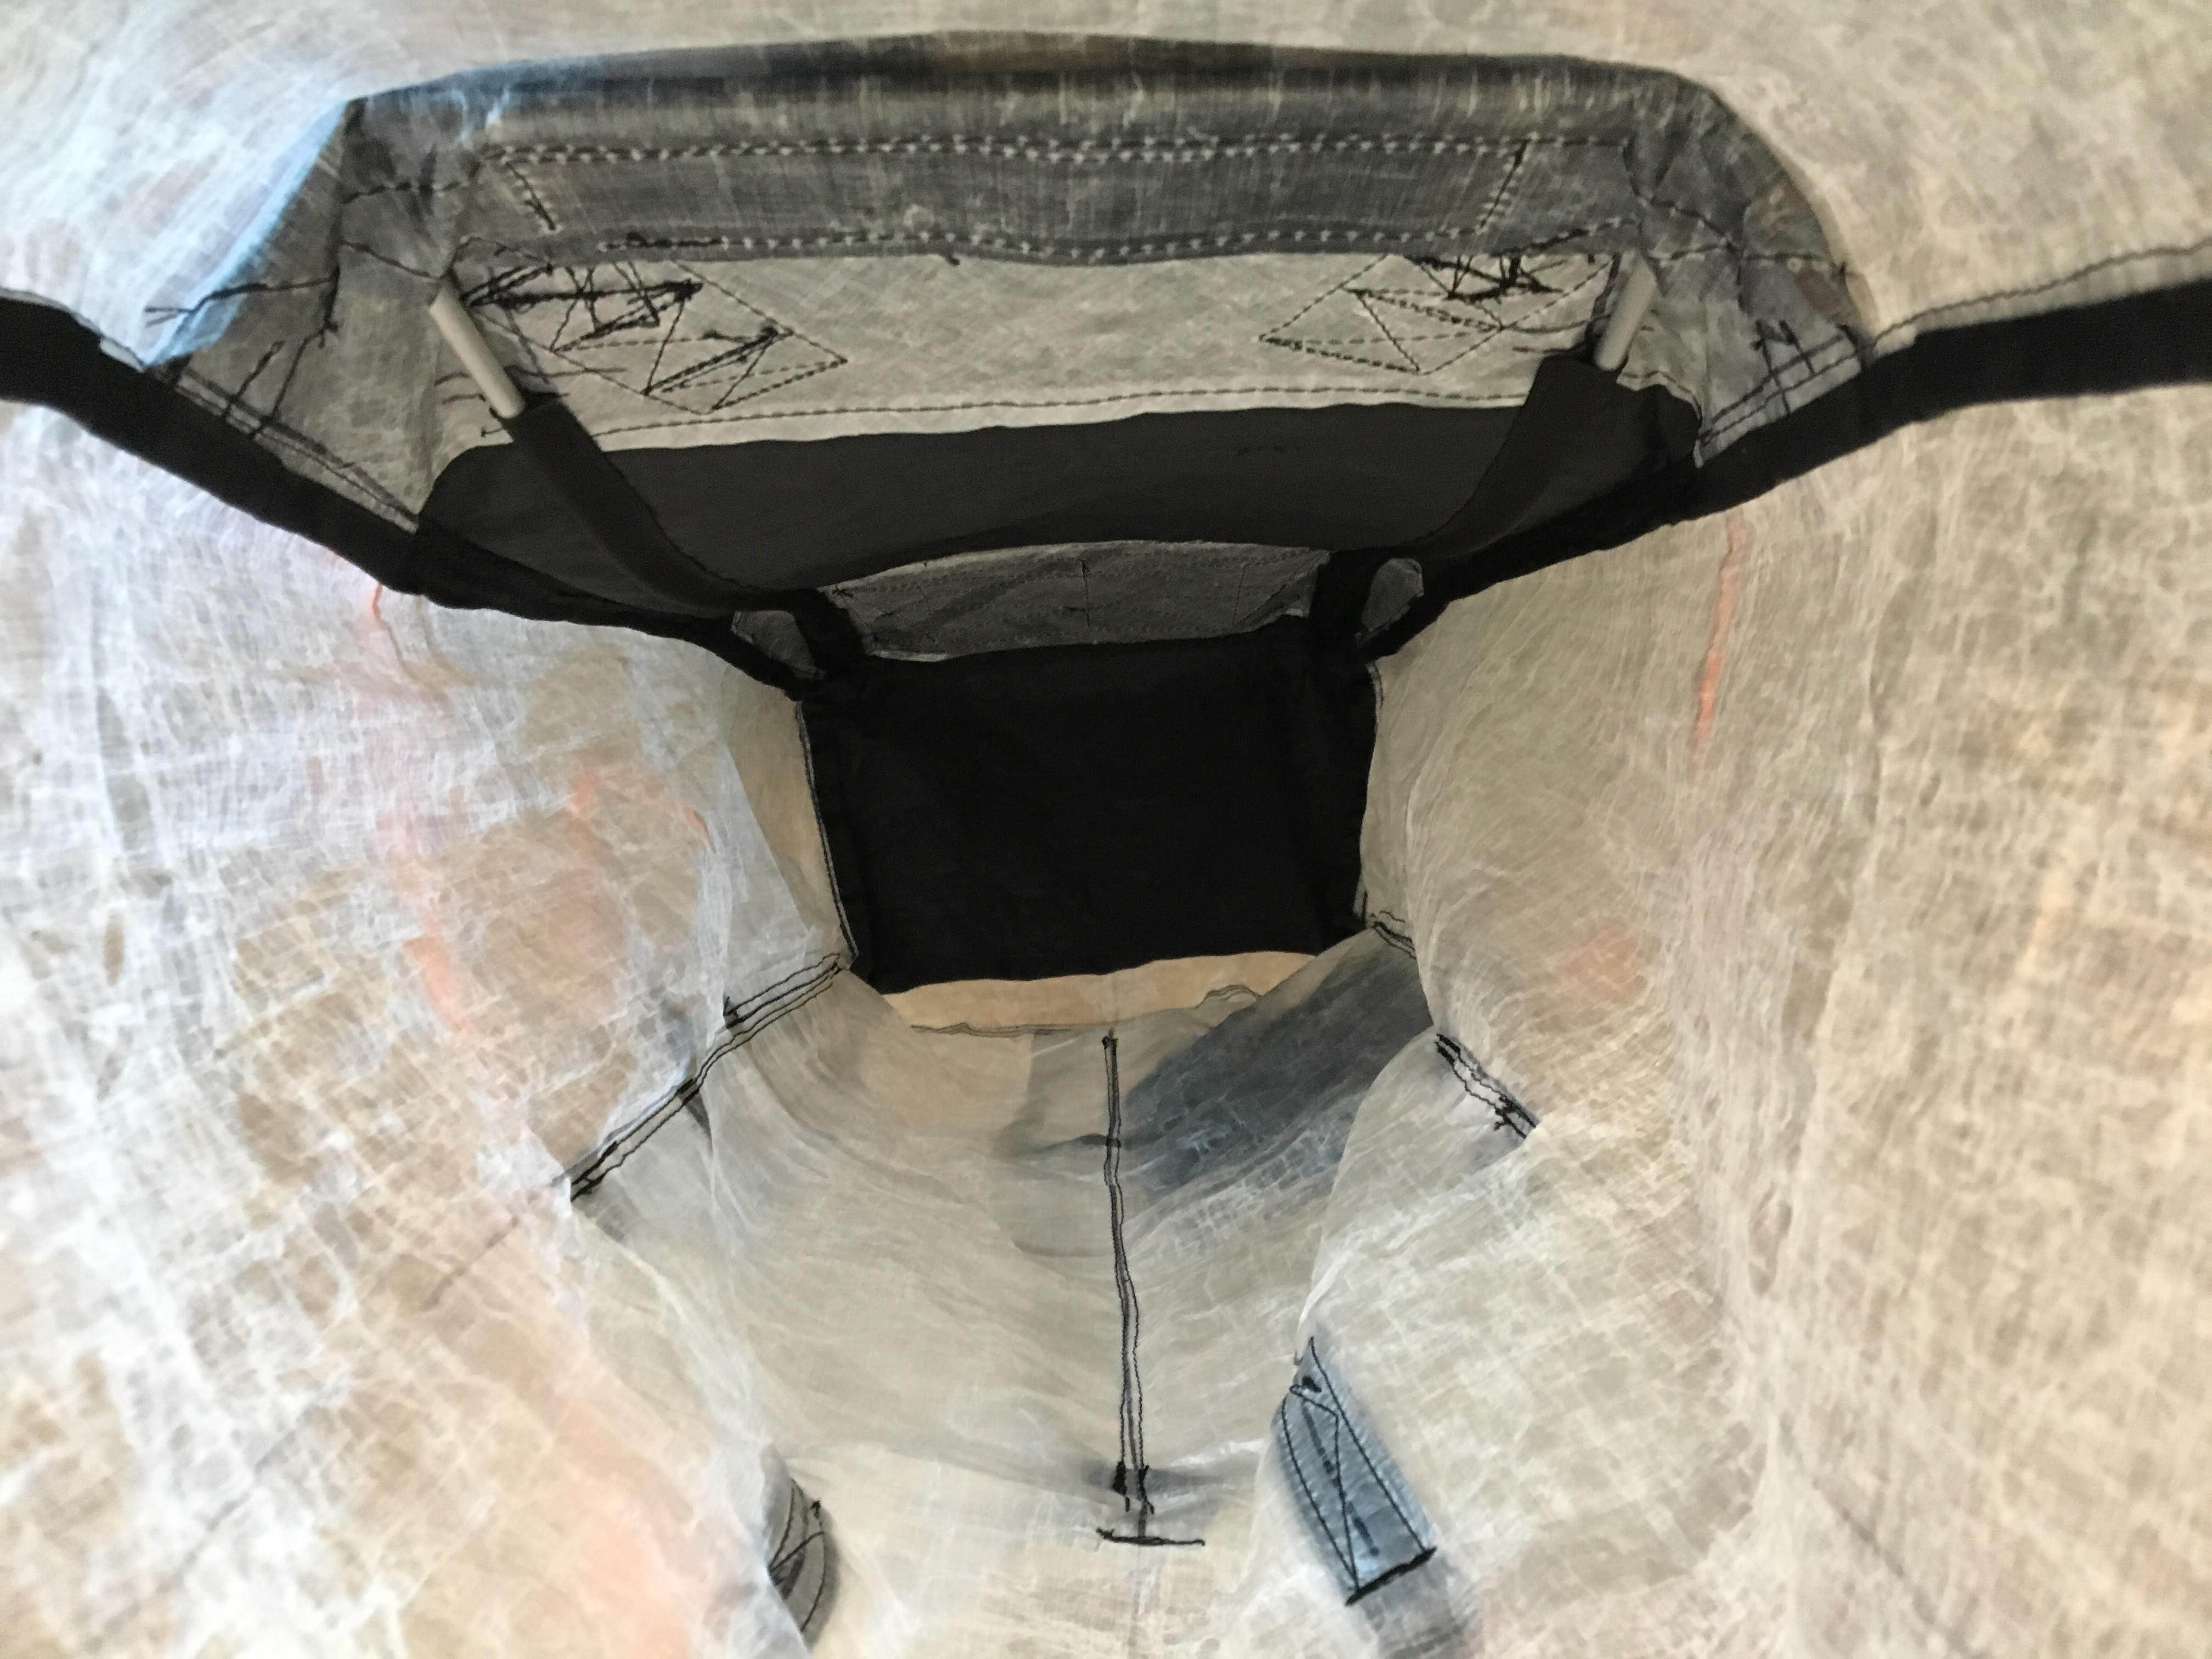
Inside with inverted U frame. Note the velcro top closure over the frame, which holds the frame in place and transitions from the 3.0 oz CF to the 1.5 oz CF.
Sternum buckle with guyline:

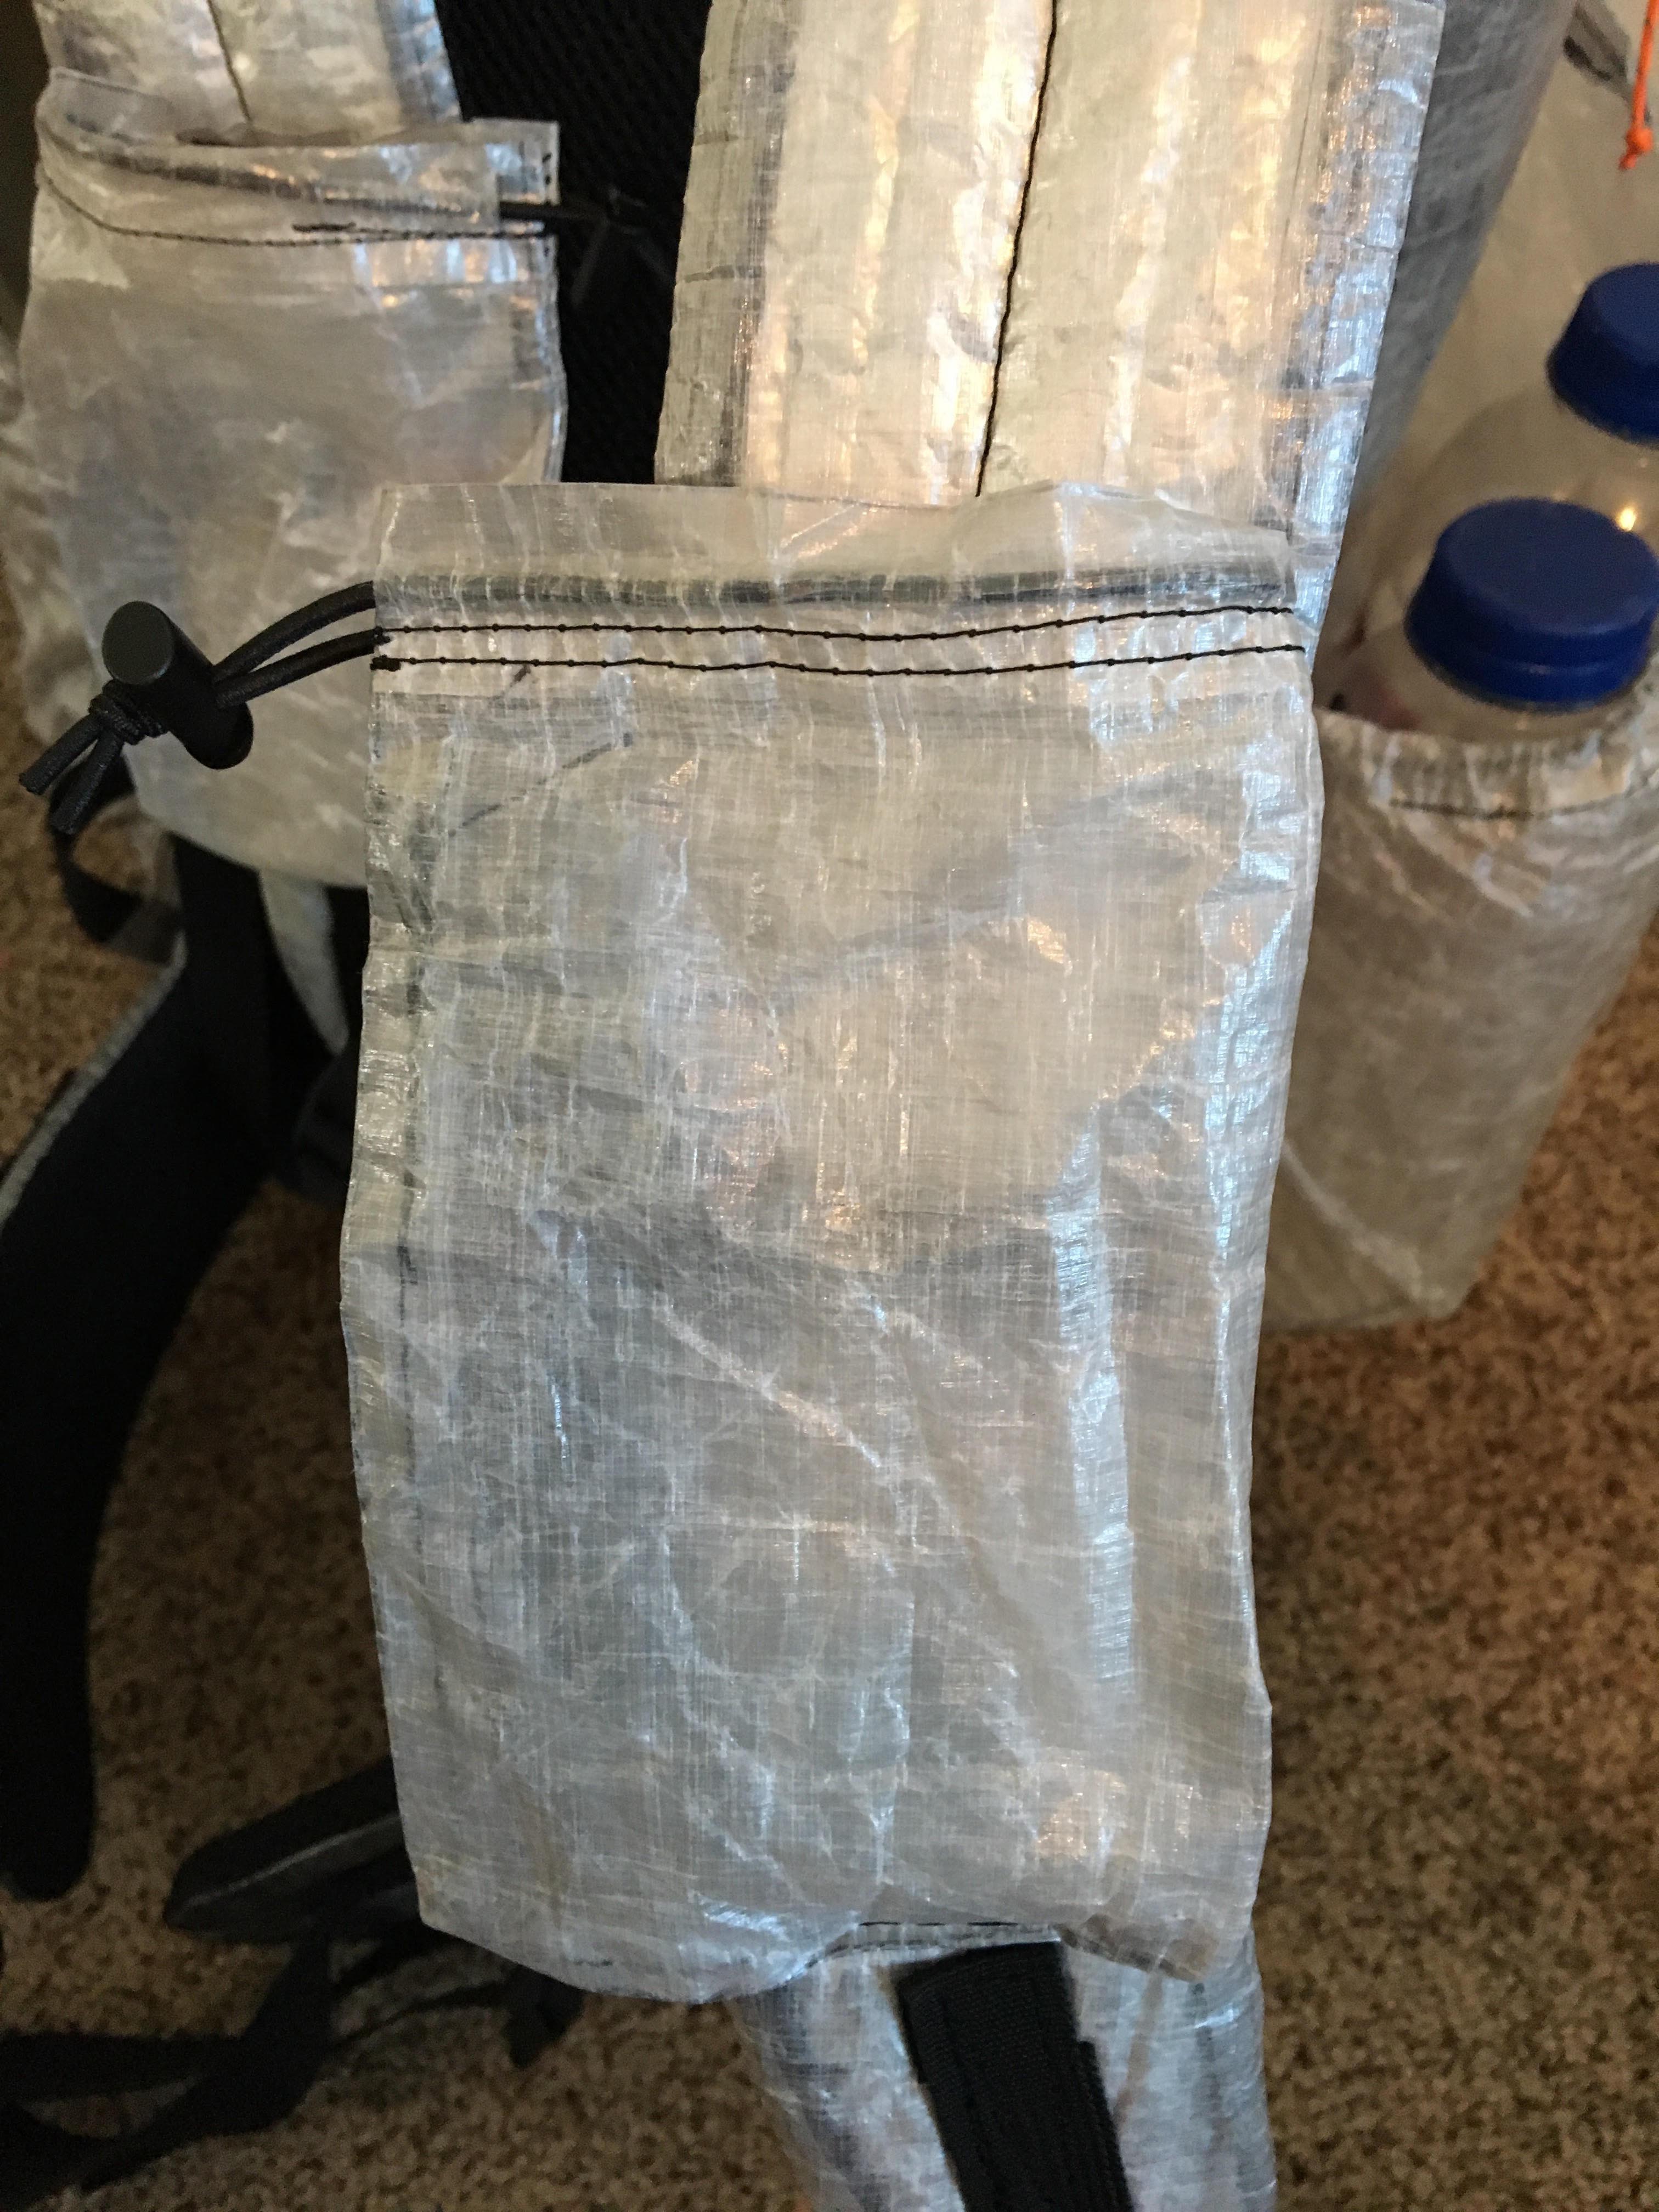
Shoulder strap pouch, just big enough for and iPhone 6 in it’s case:
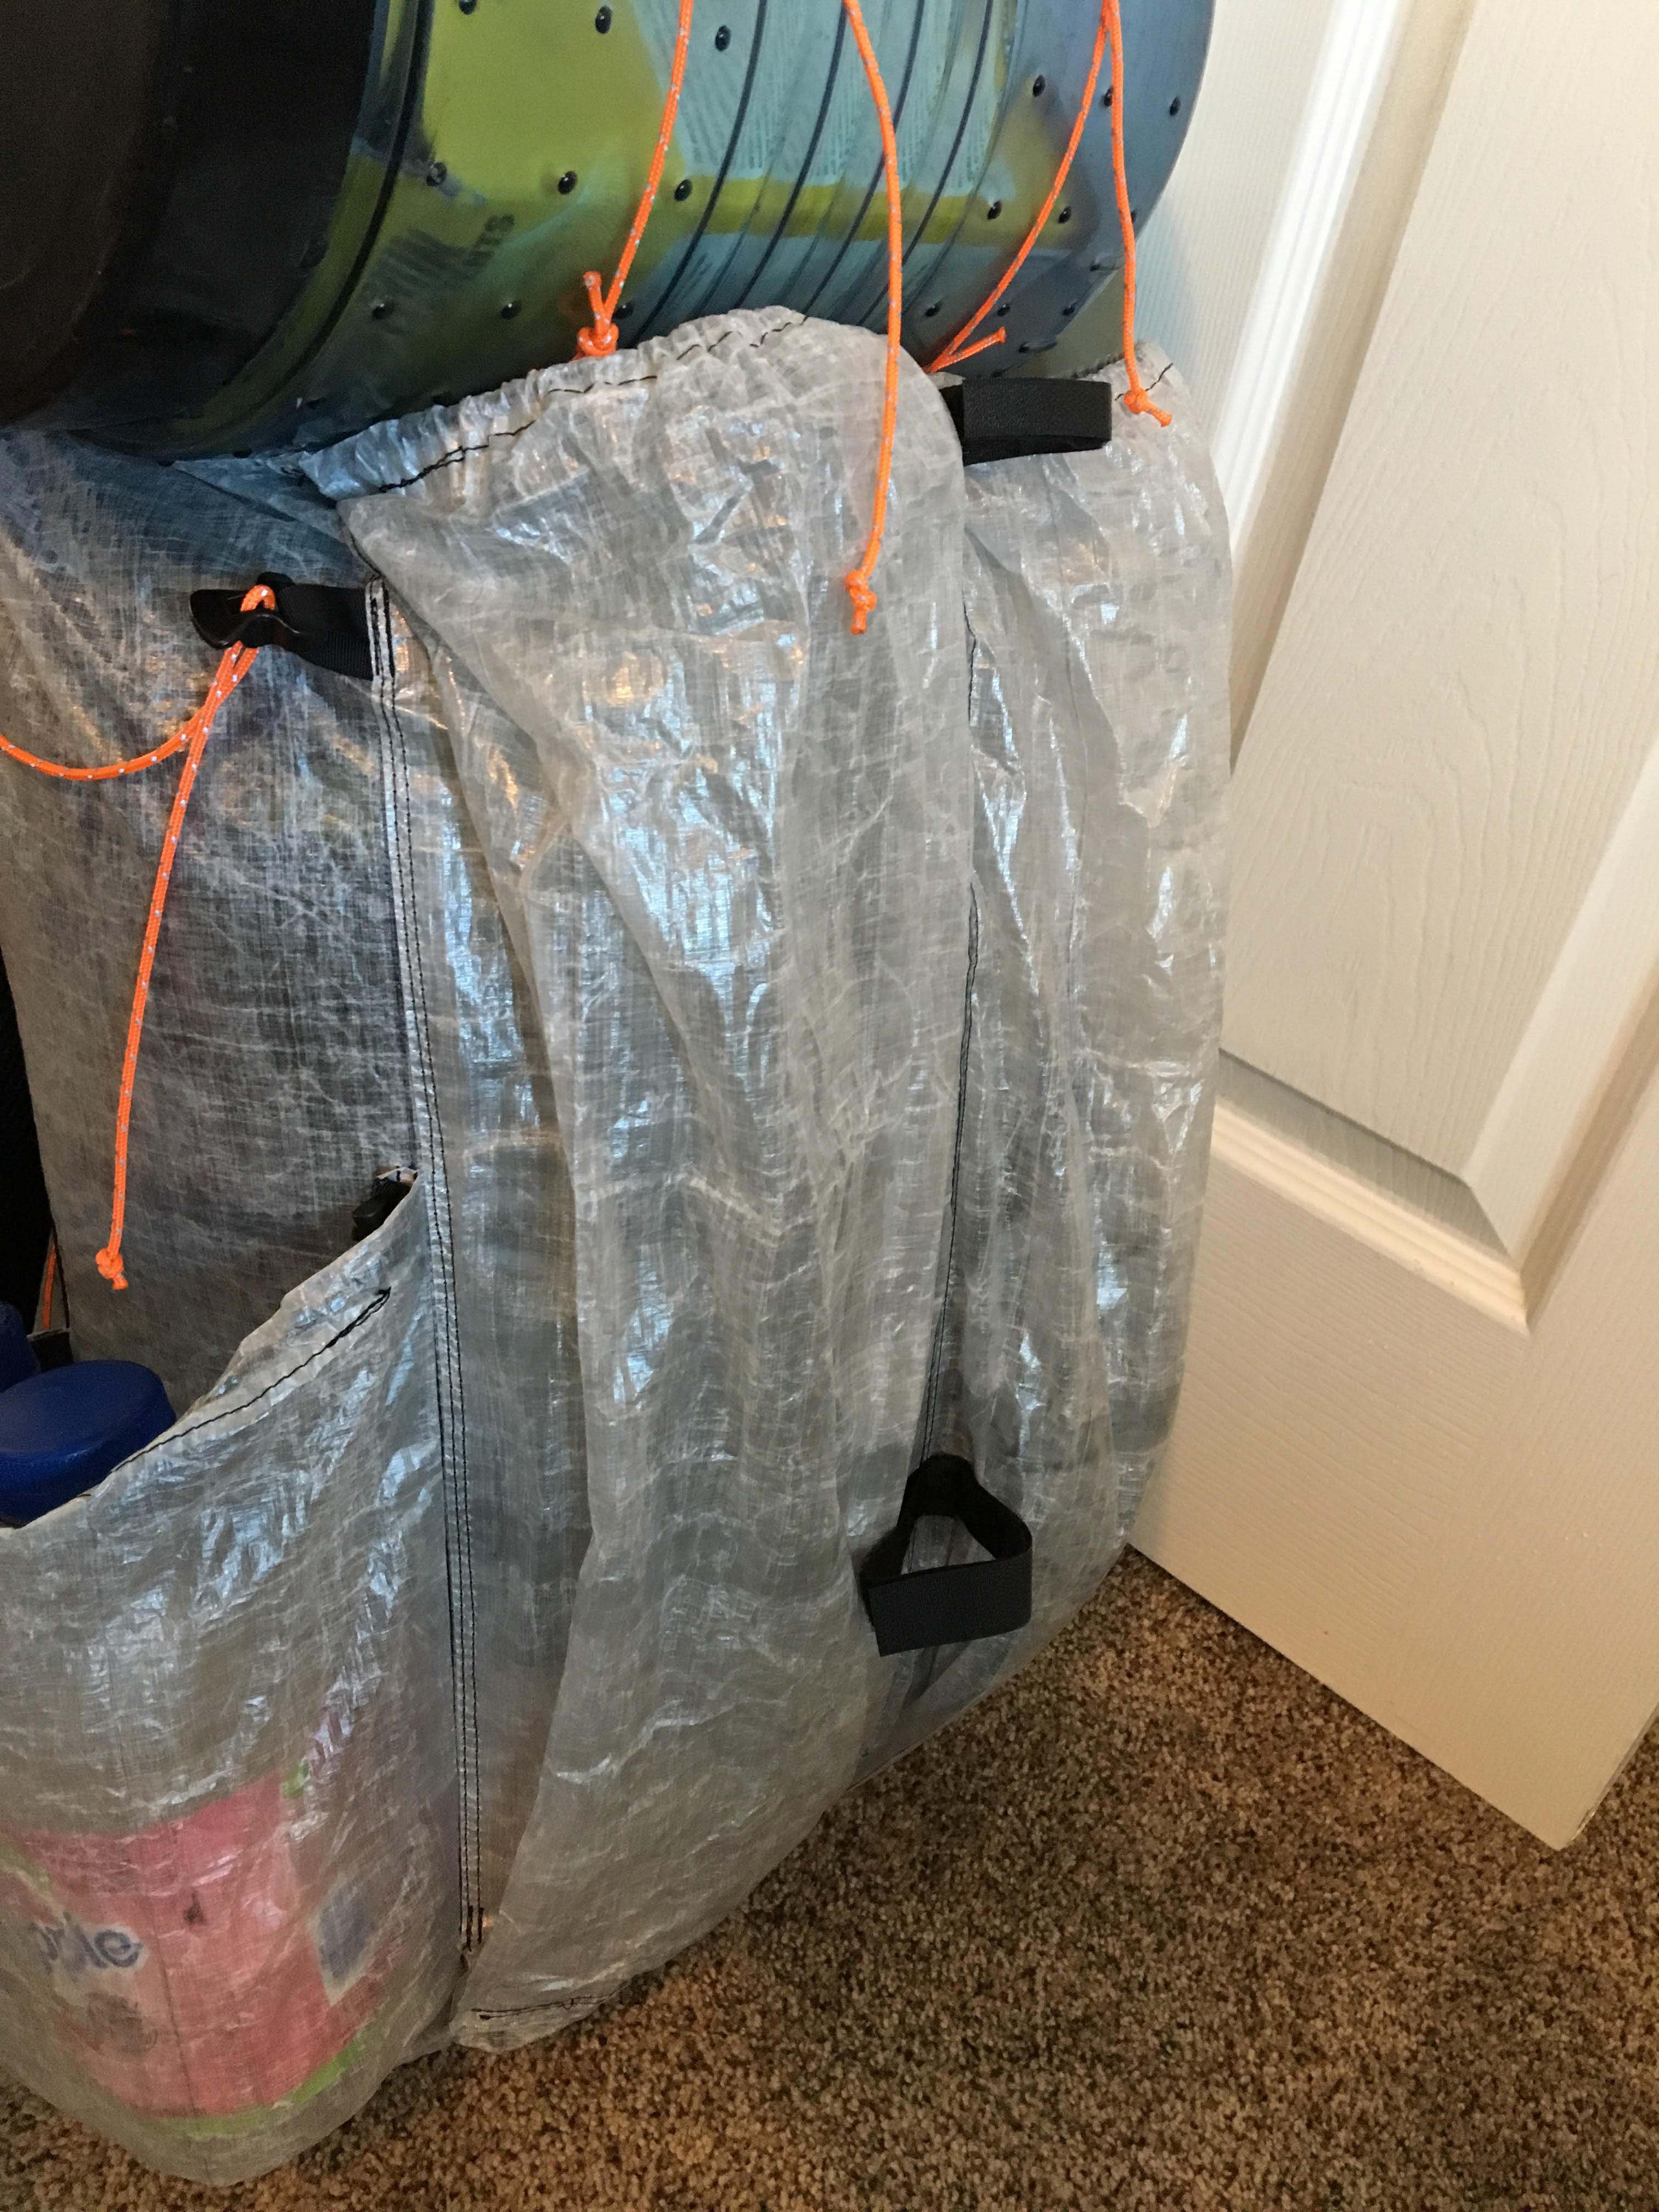
Front tube pockets, inspired by Dana Designs. Note that they can be accessed even with the canister on top.
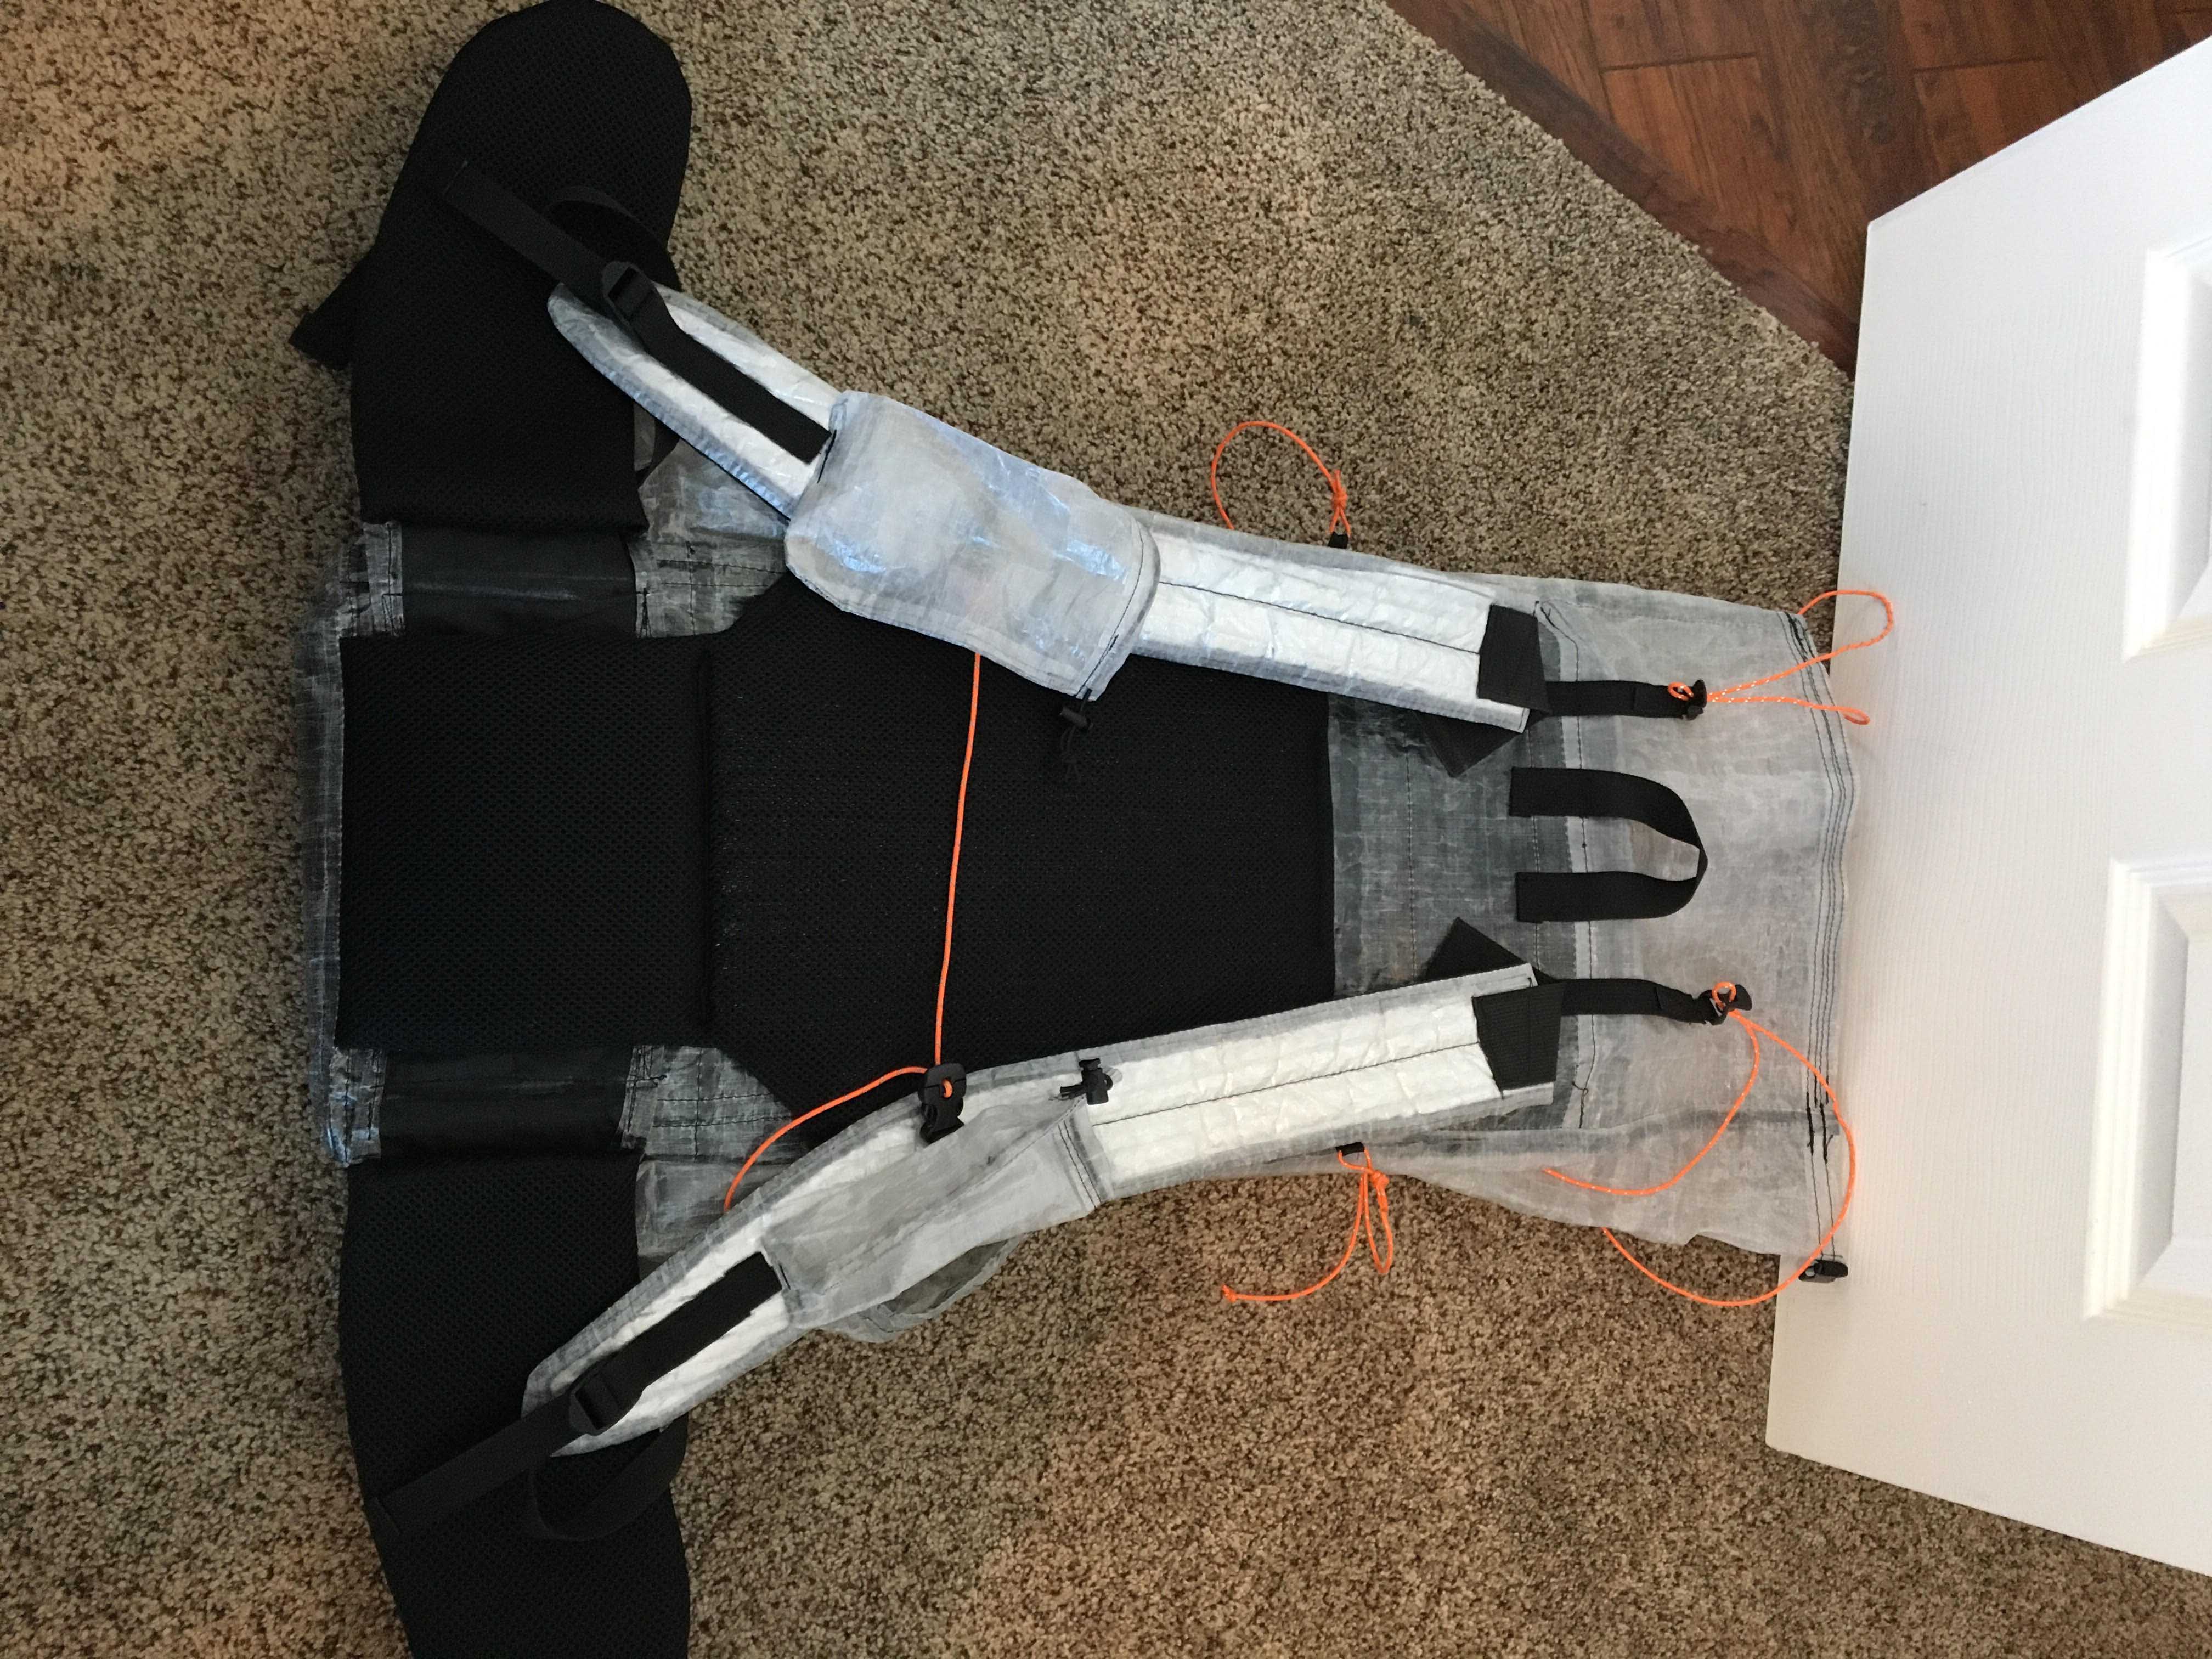
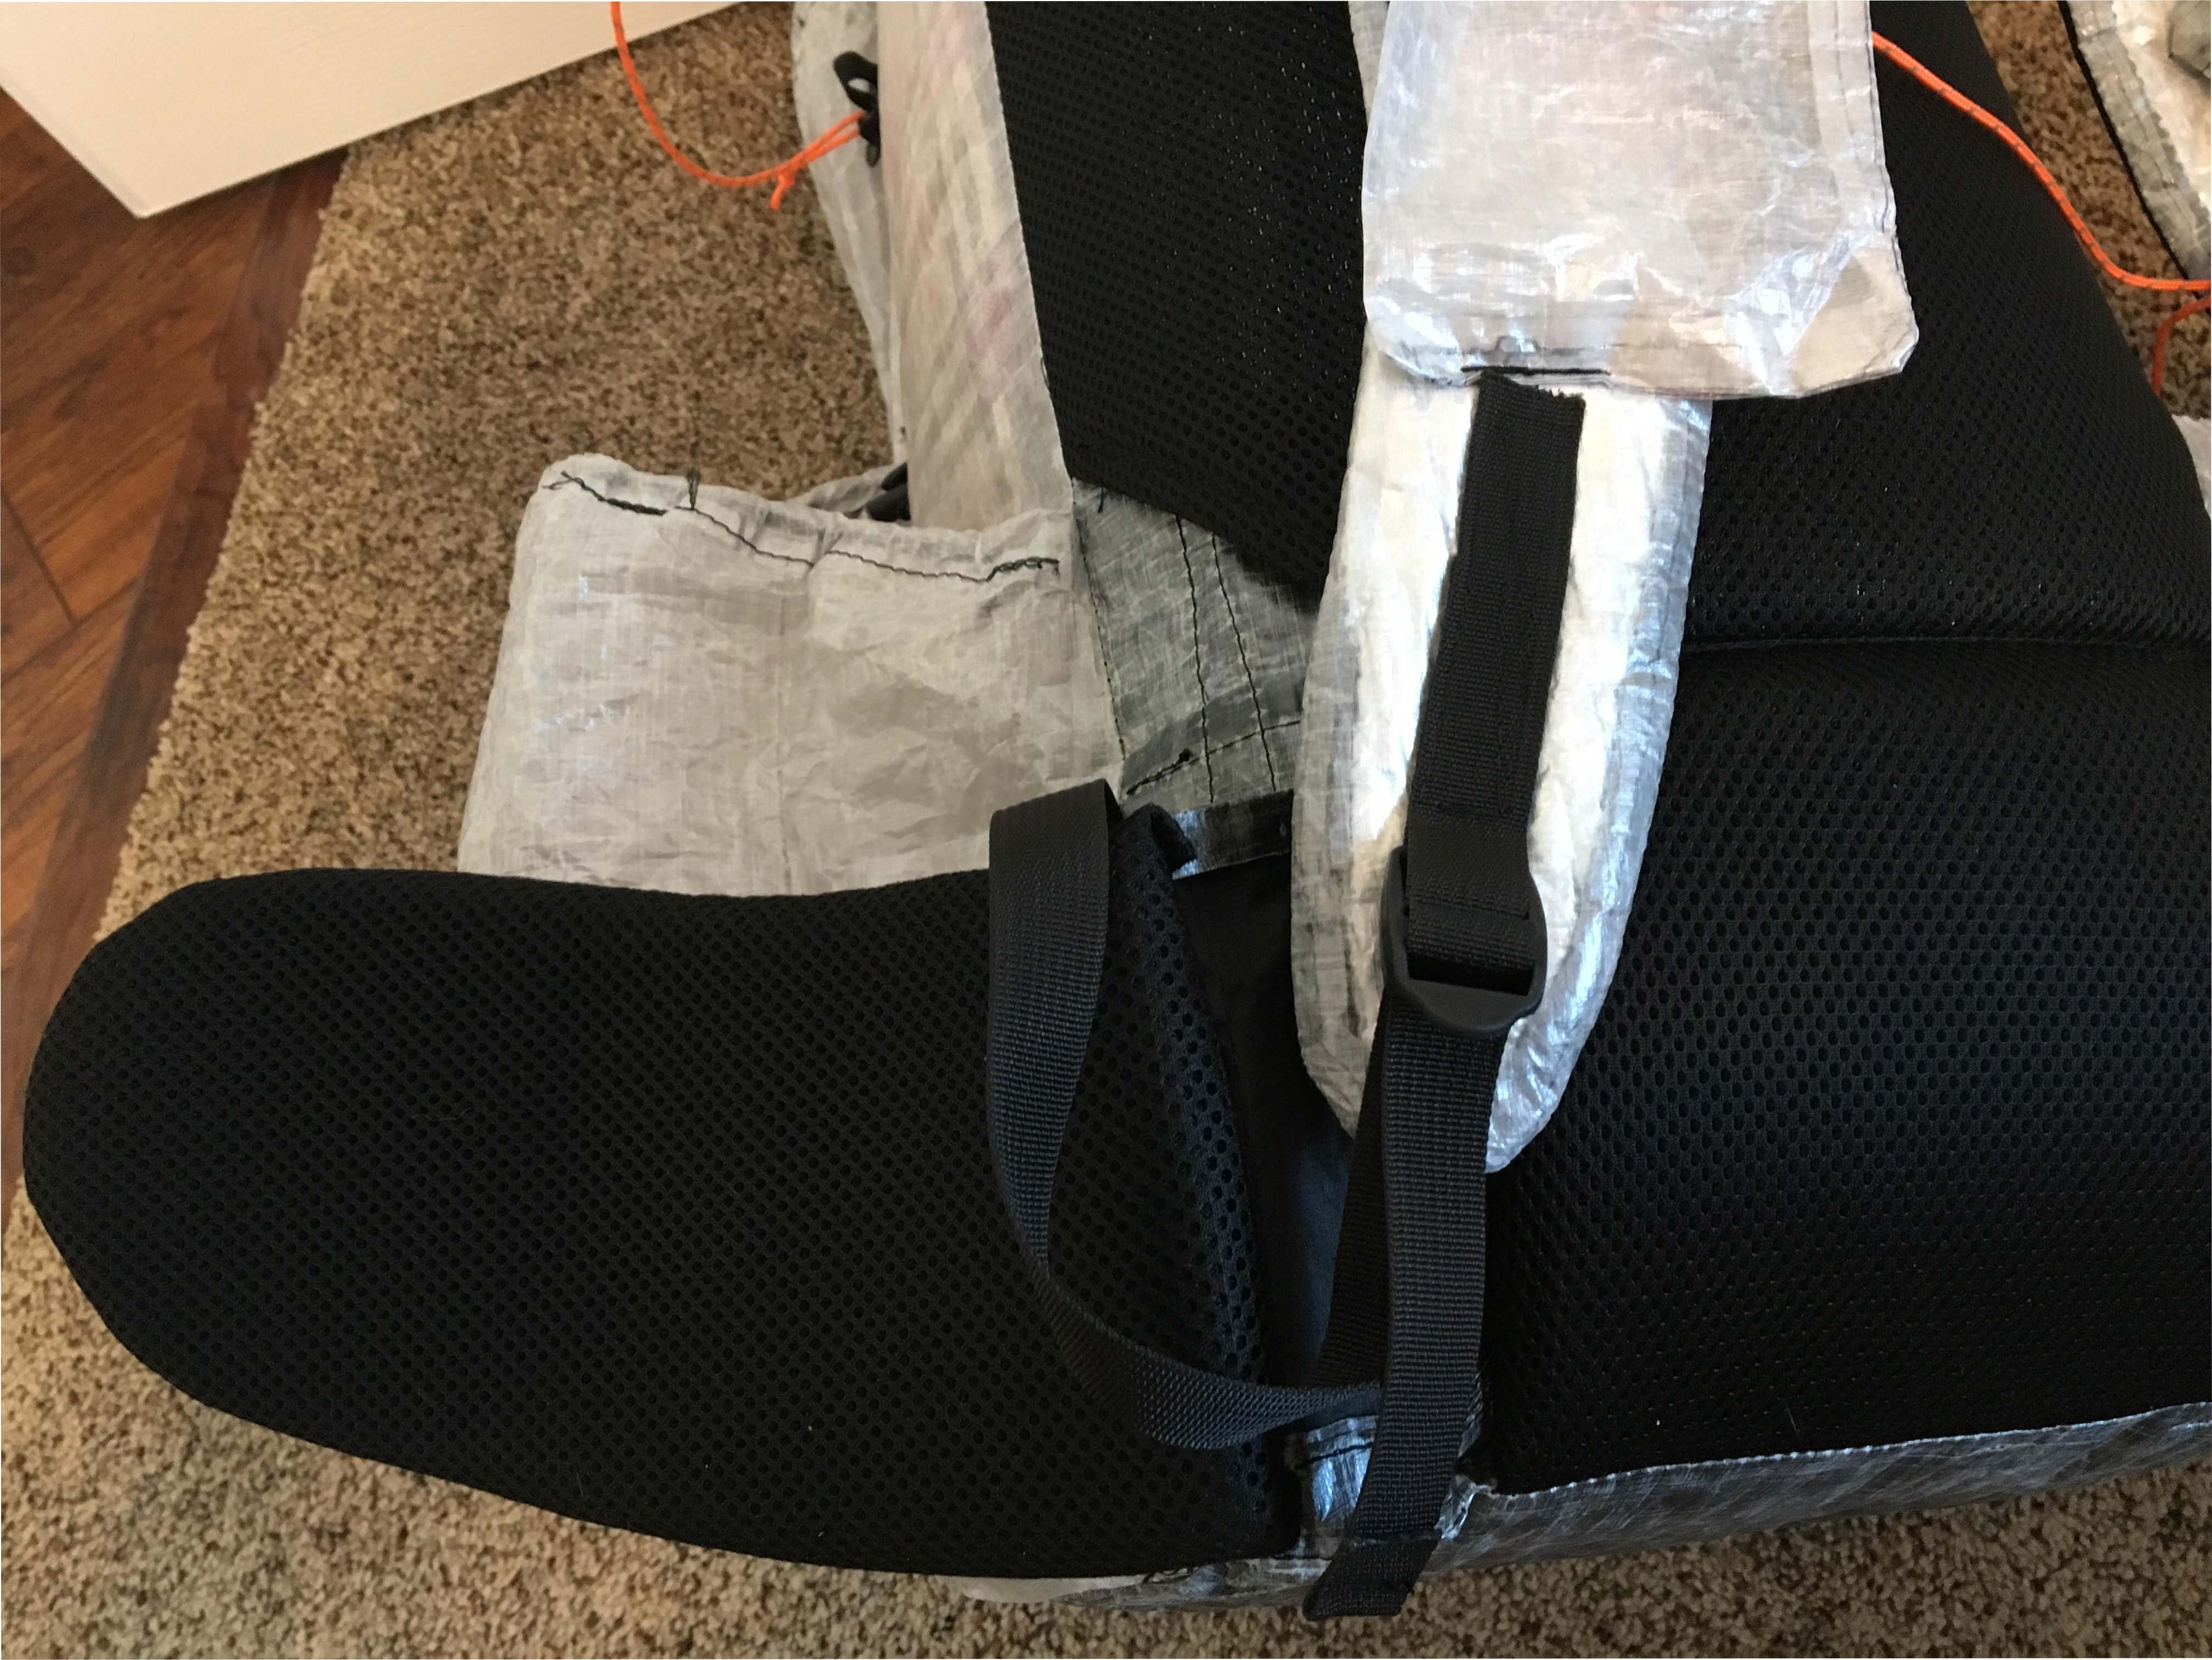
Back, with full 3D mesh and CF shoulder straps:
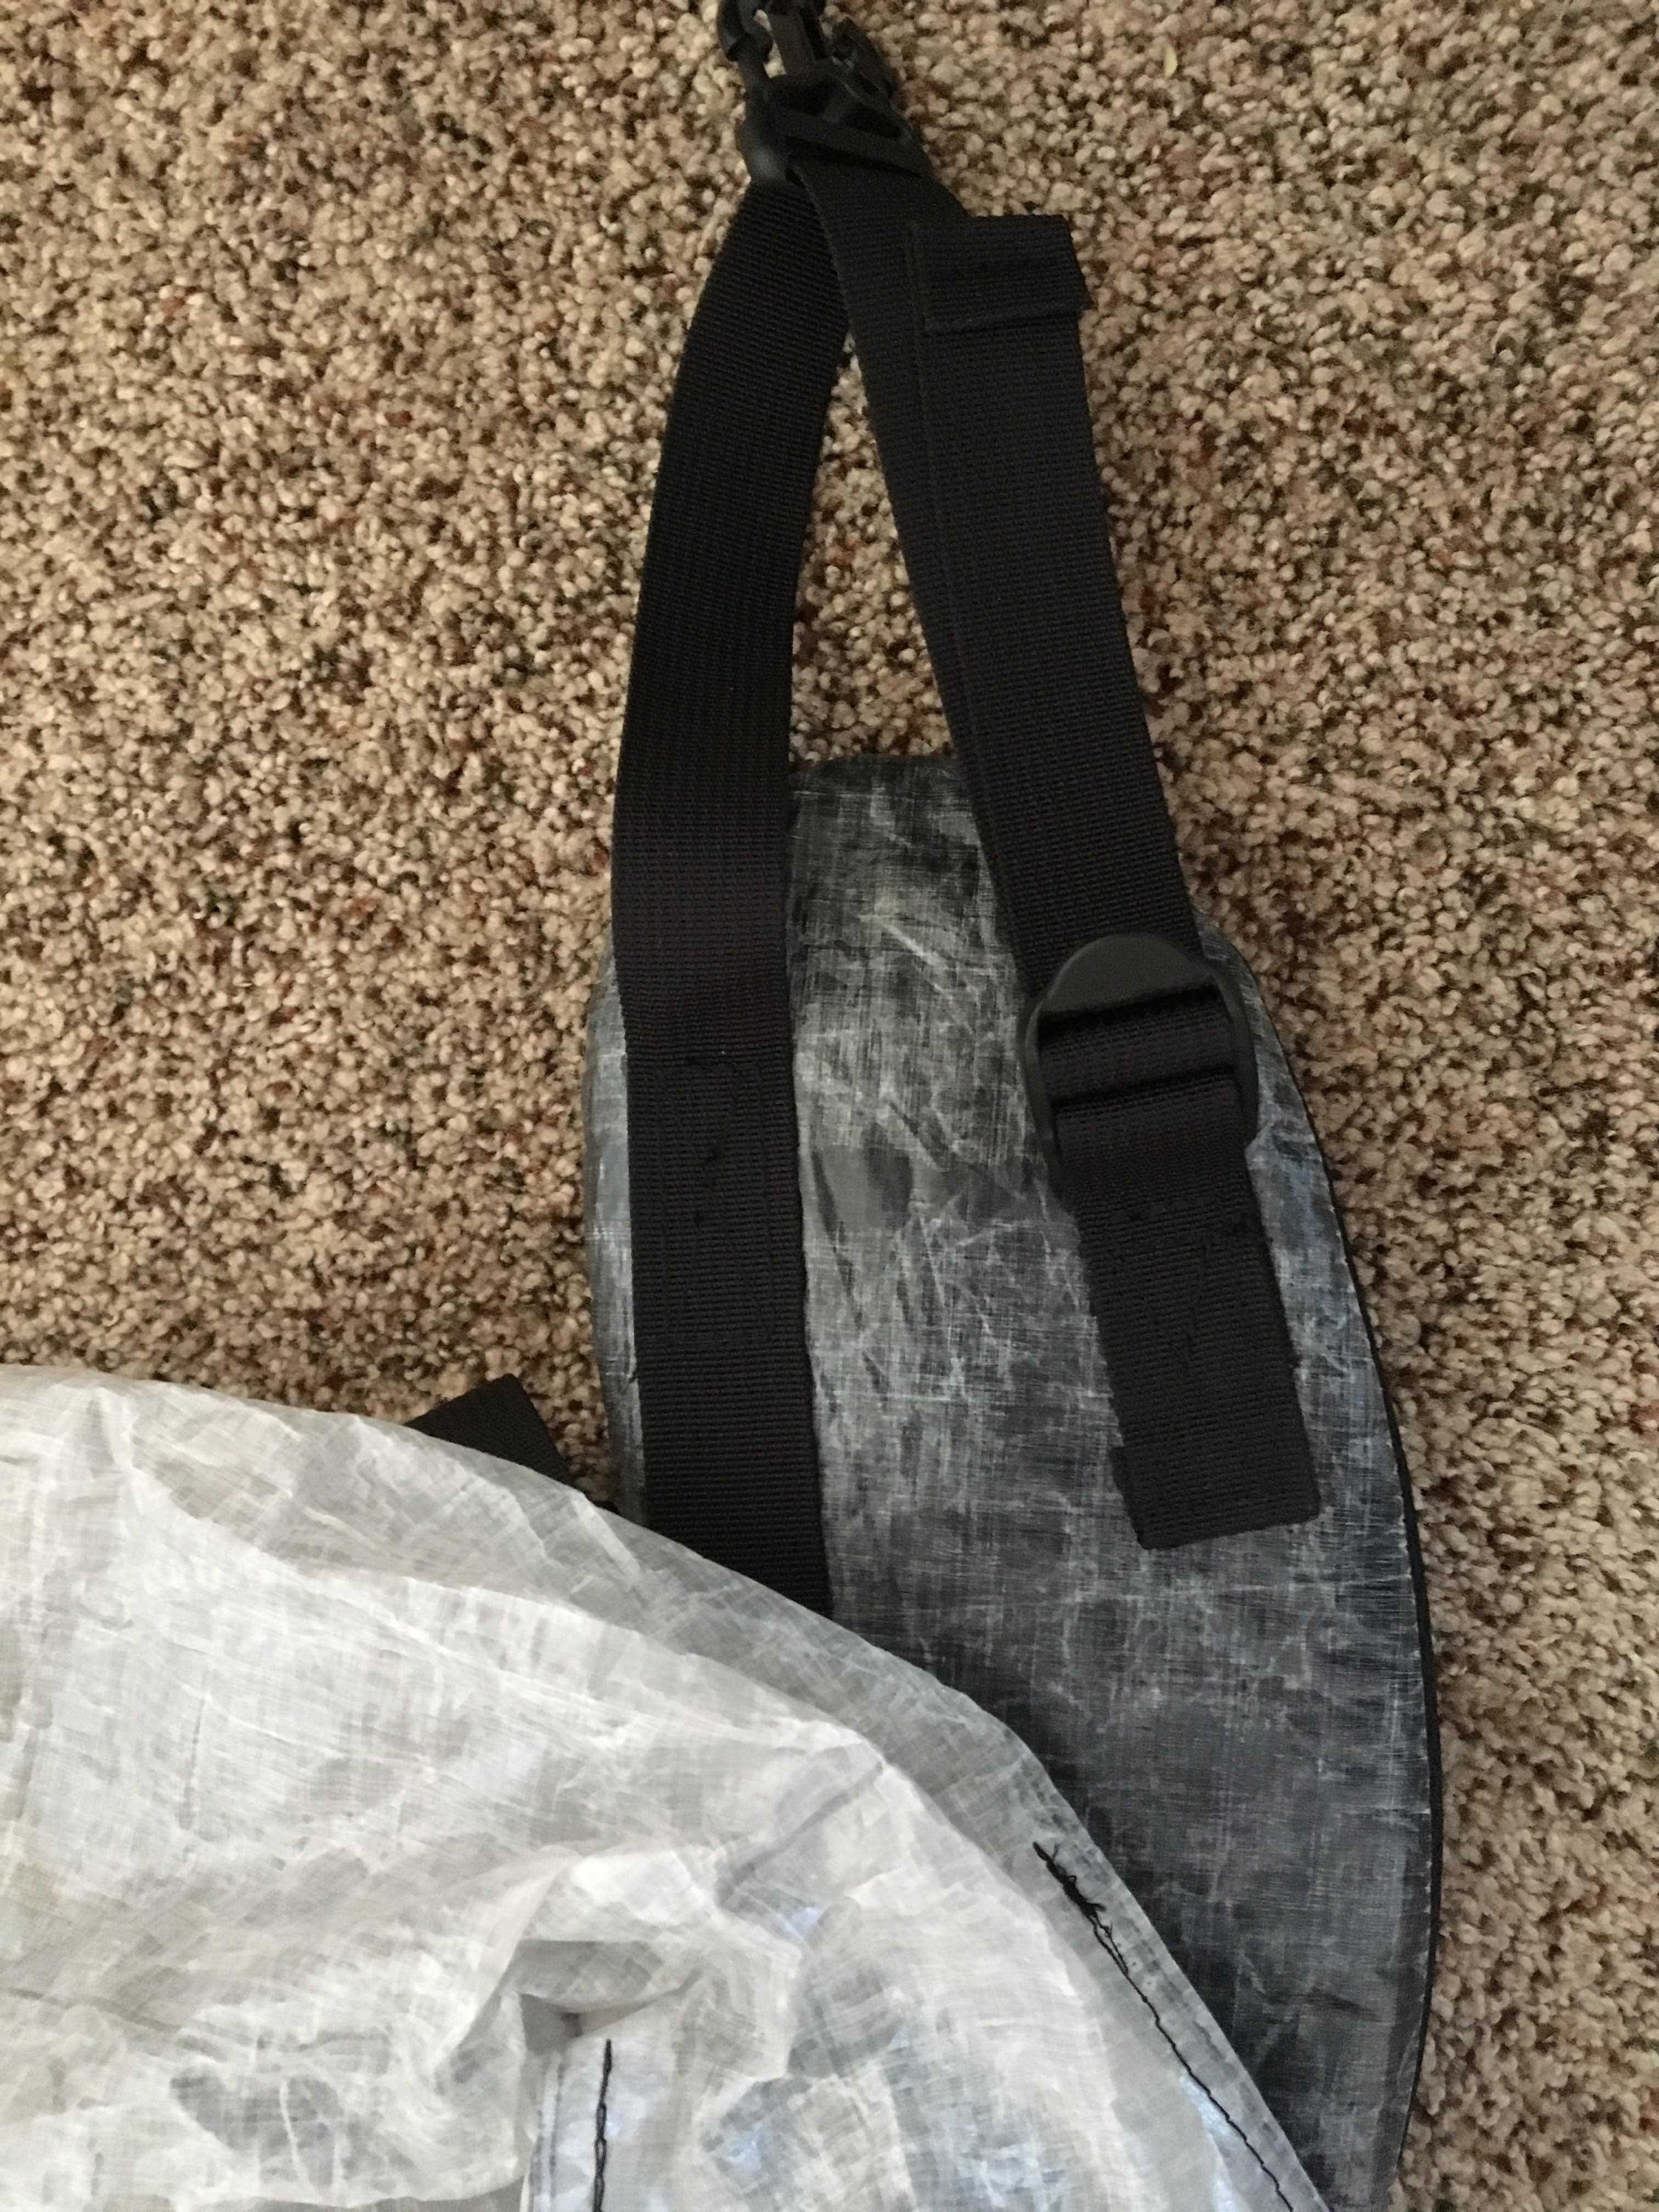
Canister strap close up:
Hip belt strapping. Note that bar tacking makes it possible to attach hip belt pocket aka Zpacks. I don’t want them, but my wife’s pack has them!
Hip belt interior. 3D mesh with pocket for foam padding. Just a copy of the fabulous ULA design.
If you are planning to take on a project like this, here’s a few hints:
- Read everything you can! BPL has the best info, but there are other sites with pretty good stuff too.
- Plan carefully.
- Prototype. It’s well worth the time and cost!
- Use a good sewing machine. And again. Use a good sewing machine!
- Use the right needles and thread.
- Have fun!
Good luck, and thanks for reading!

