As seen above, he’s just accessing a smaller image file, not necessarily a reducing it via html.
Using “View > Source” in the IE toolbar, we can find his line of html, which looks like this:
img src=”//i15.photobucket.com/albums/a351/ryanfaulkner1/P1010438.jpg” </img
(I took away the opening and closing brackets, of course.)
With some tweaking, I made the image display at 1/4 the size, by specifying each side half as small.
First, find out the dimensions of the image.
You can do this by right-clicking the image in IE and going to “Properties.”
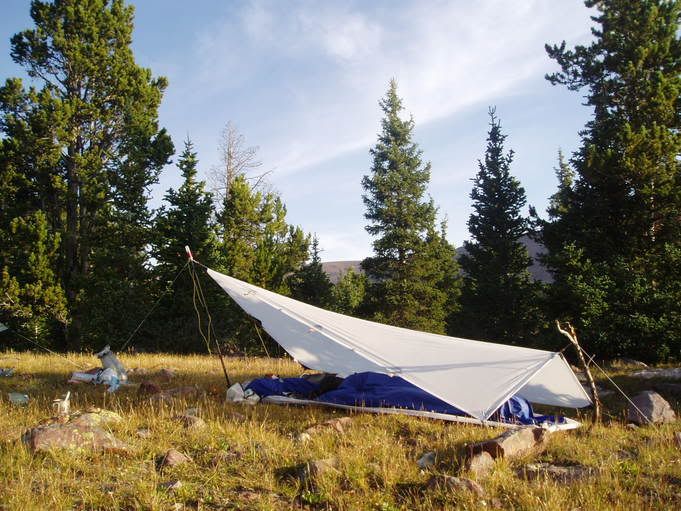
In this case the image is 284×213.
To make it quarter-size, I re-wrote Ryan’s html, and specified the dimensions.
So the line now reads as follows:
img src=”//i15.photobucket.com/albums/a351/ryanfaulkner1/P1010438.jpg” width=”142″ height=”106″
Don’t forget your opening and closing bracket thingies.
-Mark
I just got back from my 71 mile trek yesterday at 2.
anyway all I did to reduce the photos is save form the internet to my computer then to photo bucket. in photo bucket there is a link called edit, here you can change the size of the pictures
Backpacking Light community posts are moderated and here to foster helpful and positive discussions about lightweight backpacking. Please be mindful of our values and boundaries and review our Community Guidelines prior to posting.
This feature requires an active Backpacking Light Membership.
Premium Articles
You're currently viewing a free preview of a member exclusive premium article. Our premium articles include in depth journalism and insights from the Backpacking Light editorial team.
Get full article access by subscribing to a Premium or Unlimited Backpacking Light membership!

 rei.com/media/40943.jpg"
