Topic
Shortening a Thermarest Neoair
Forum Posting
A Membership is required to post in the forums. Login or become a member to post in the member forums!
Home › Forums › Gear Forums › Make Your Own Gear › Shortening a Thermarest Neoair
- This topic has 3 replies, 3 voices, and was last updated 8 years, 5 months ago by
 J R.
J R.
-
AuthorPosts
-
Sep 5, 2016 at 3:19 pm #3424528
I’d been wanting to shorten my Thermarest Neoair All Season: http://www.cascadedesigns.com/Therm-A-Rest/Mattresses/Trek-And-Travel/NeoAir-All-Season/product
<span style=”font-size: 14px;”>I’d bought the extra large to fit the footprint of the a particular tent, but I no longer need the extra length. Then it turned out that my wife wanted a roll-up travel cushion of the size of the offcut for a trip, so I decided to cut it down. </span>
I found a number useful articles, here and elsewhere, but it still seemed worthwhile to document my efforts. I’ve actually got two of these mattresses, and I also hoped it would remind me to do when I do the second.
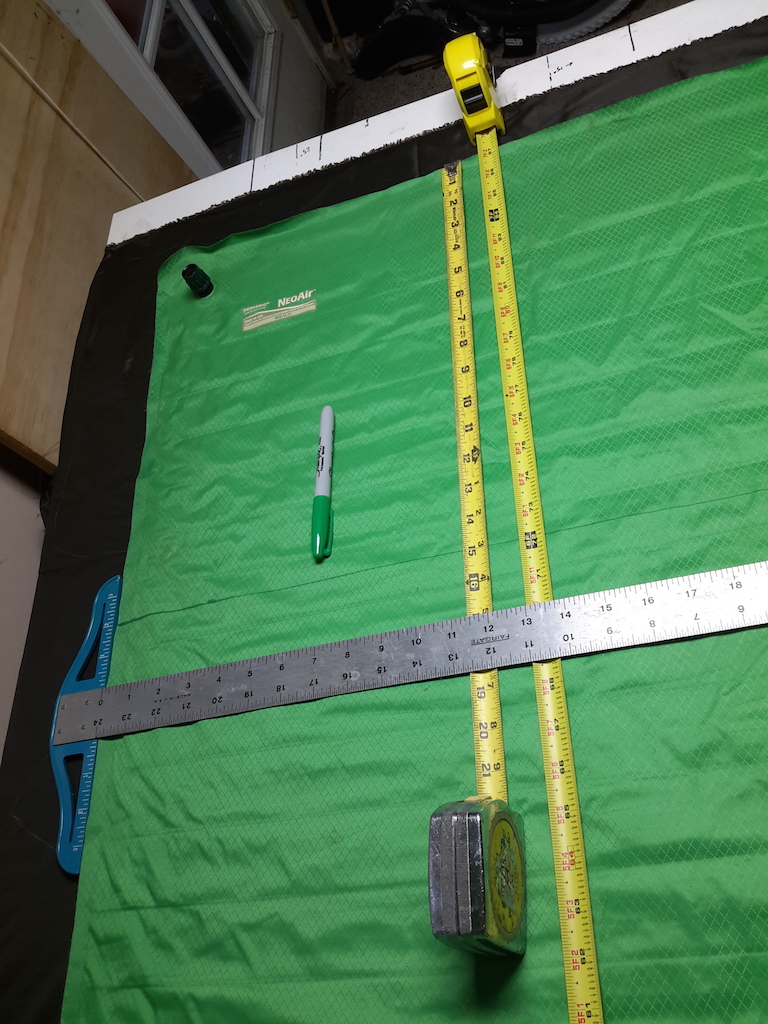
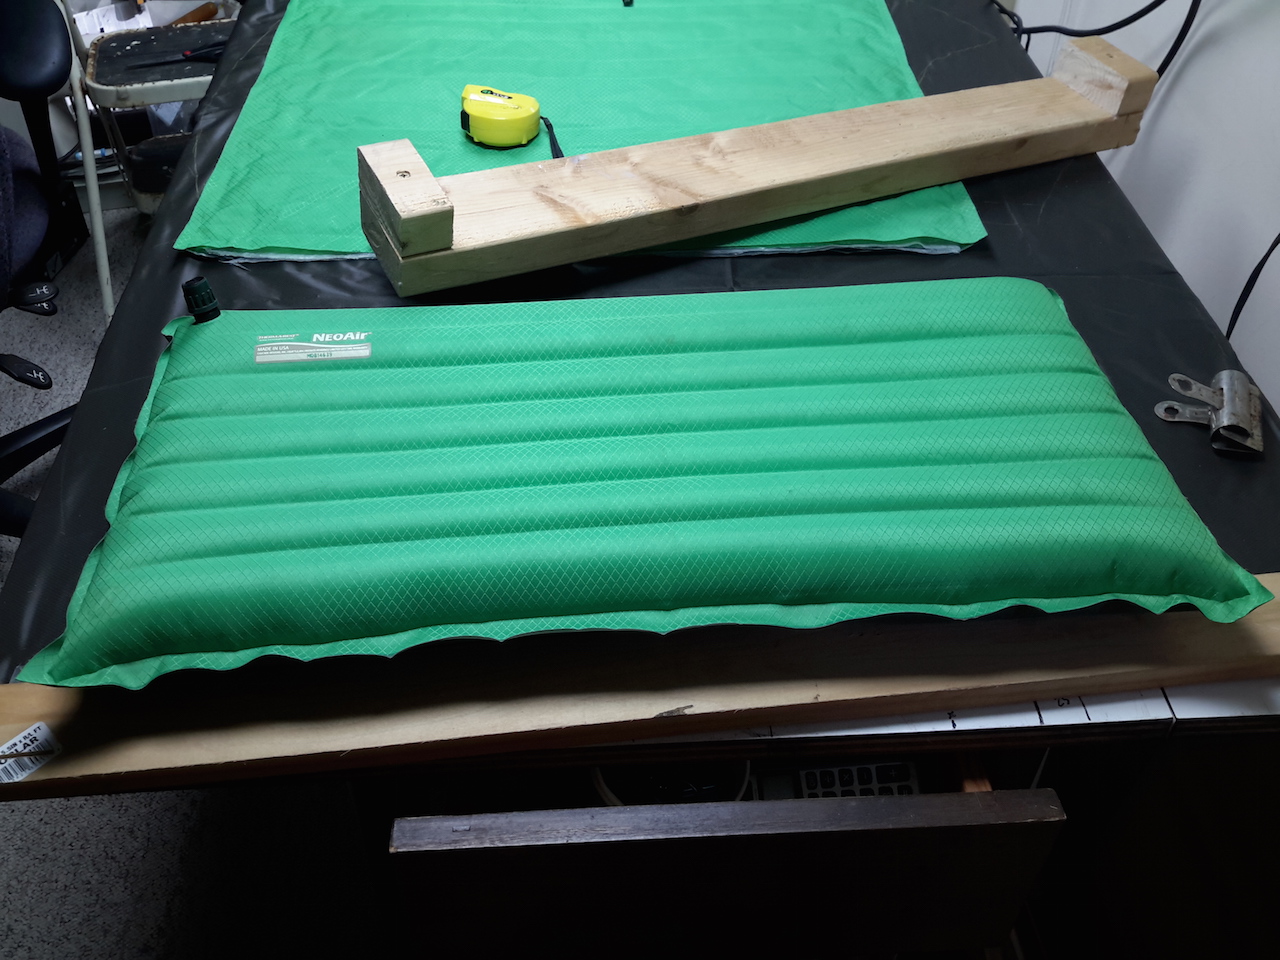
First, choose the sizes you want. If you’ll be using both the large and small pieces, cut midway between two of the “bond lines” that form the interior baffles. I chose to cut 15″ from the top, and 72″ from the bottom.

Draw a line with a straight edge and a permanent marker, then cut along the line. Do your best to cut straight, but don’t worry too much as you’ll be trimming later. Note again that I have the valve on the short section — unless you have immediate need of a travel cushion, you might want to do it the other way.
<span style=”font-size: 14px;”>
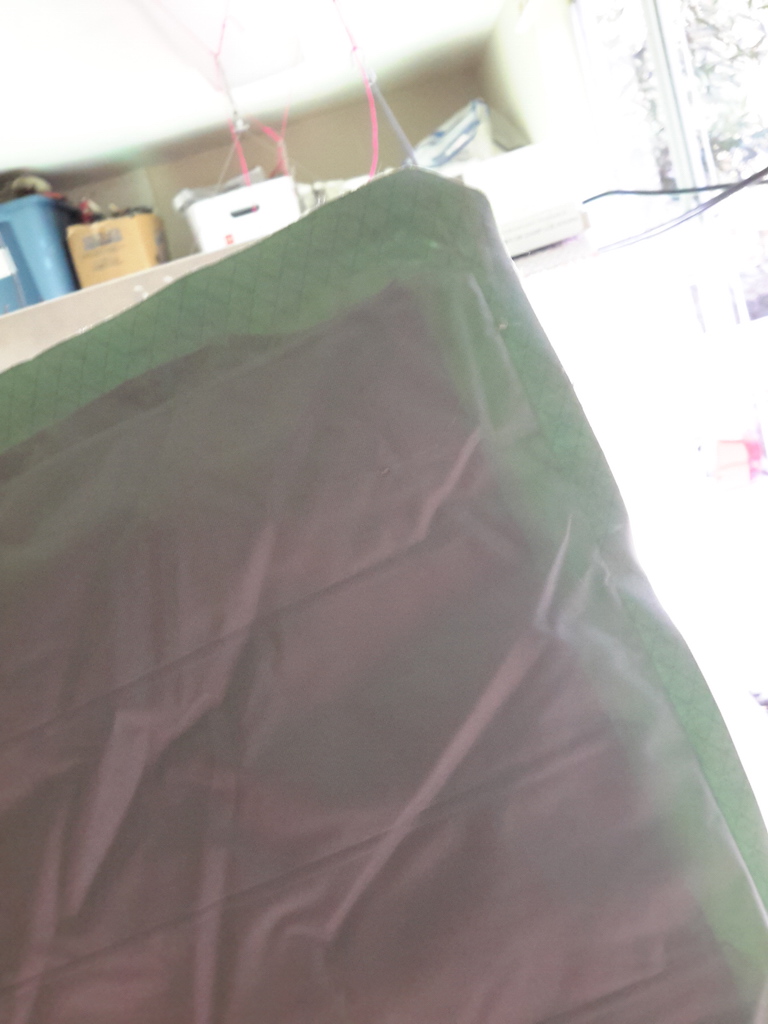
</span>Roll back the outer material (green and gray in my case), and trim away everything except the outer layer. It’s better to trim too much rather than too little here. If you leave excess material, it might get caught between the layers you are going to bond. O<span style=”font-size: 14px;”>bviously, be careful not to make any nicks in the outer layer. I used binder clips to hold the outer layer out of the way. </span>
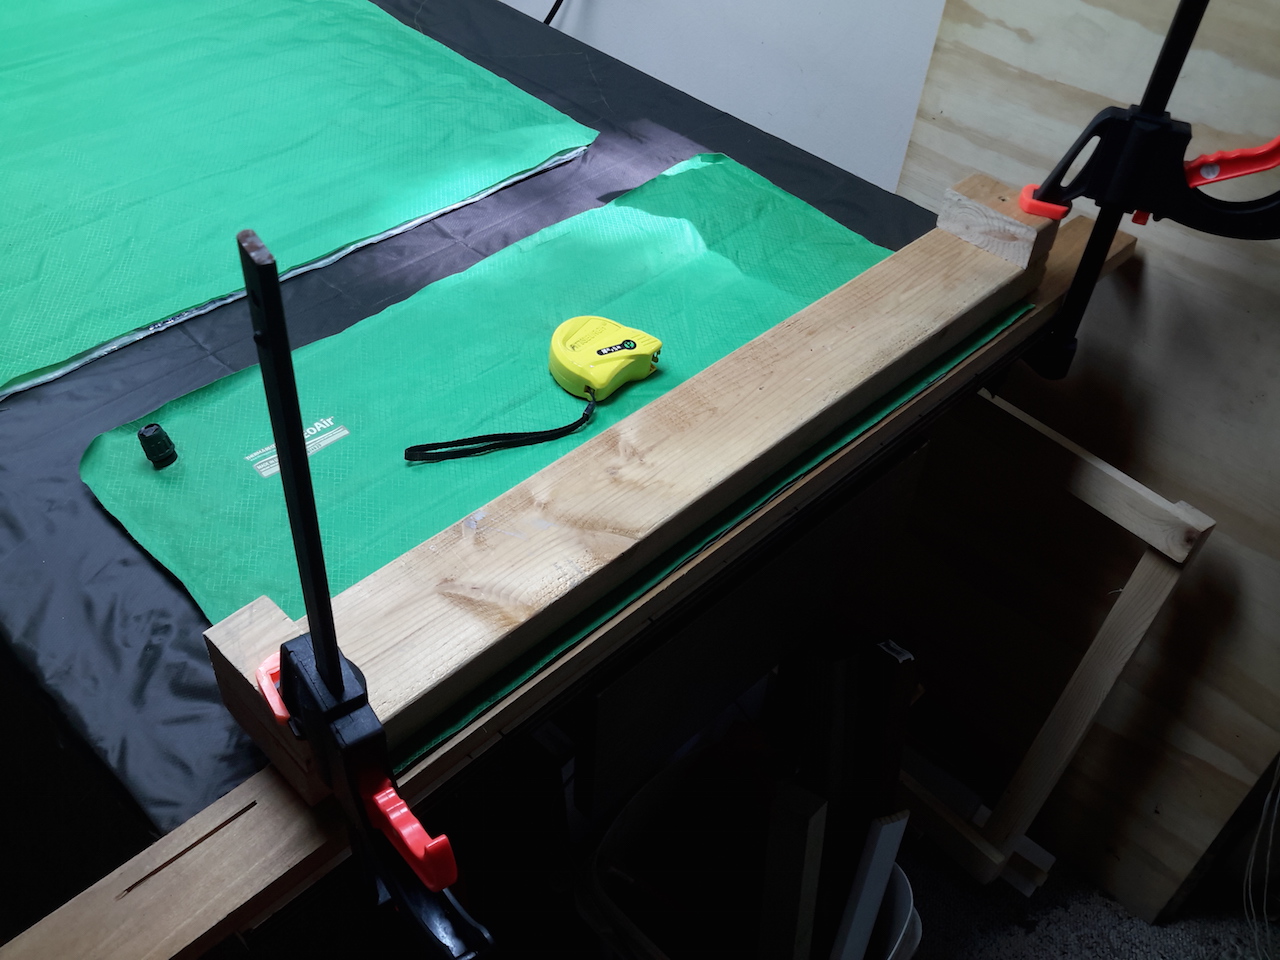
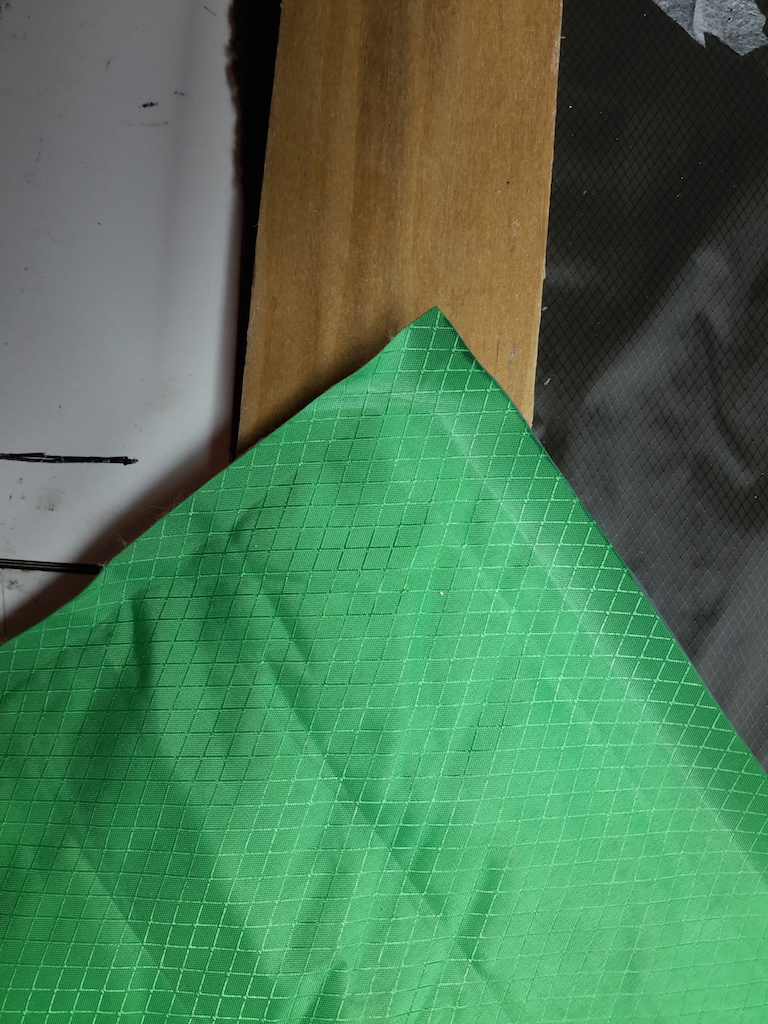
After you have trimmed away the inner films, unroll the outer fabric so the “shiny” inner sides of the top and bottom are touching. Make sure that the no mylar fragments remain between them. Clamp between two flat boards, offset so that you will have room to iron the seam. Match the seam width of the factory seam (or slightly wider) taking into account that your iron may not get quite to the edge.
Set your iron to high, and preheat for a few minutes. I measured this with an infrared thermometer to be about 340F / 170C. Lower did not work well, possibly higher would work better.
Iron from the center to edge, pressing very firmly. I did about 5 passes on each half, taking about 5 seconds per pass. Finish with a couple passes across the middle (1/3 from left to 1/3 from right), so that you don’t miss that area.
Contrary to the clamping photo shown, I ended up ironing from the bottom (gray) side. I’m not sure if that makes a difference for the bond, but it made it slightly easier to see how the bond was progressing.
Check your bond, and if you see any irregularities, try ironing them out.
Hold the seam up to the light, looking at it from the bottom to the top. You should be able to see the “diamond” pattern through the seam in all places. If you can’t, iron again.
Inflate and apply light pressure.
It was at this point that I realized that that I hadn’t ironed the very middle sufficiently. It held air, but when I pushed down, the seam bulged out slightly in the middle. I considered just re-ironing it in place, but then I realized that along part of the seam I’d partially trapped a bit of the mylar that I hadn’t sufficiently trimmed. So I ended up peeling apart the entire seam and re-ironing.
The second stress test held well. Once satisfied, t<span style=”font-size: 14px;”>rim the new seam with a scissors to be even along the length. I first tried trimming with a hot soldering iron, it didn’t work well. It worked, but left a raised scratchy ridge. I’d recommend sticking with scissors for the final trim. </span>
<span style=”font-size: 14px;”>Open questions:</span>
What is the best time and temperature for bonding these layers? For that matter, what’s the actual material that’s being used? Is it designed to be resealable?
What’s the best way to add a valve to the remaining large piece that will be used as a sleeping pad? Part of the reason I put the valve on the small piece was that inflating the large pad through the small single valve was always a chore. Is there a better solution?
Sep 11, 2016 at 7:54 pm #3425618Thanks for this overview, nice work. This is very similar to the step-by-step in this video: https://youtu.be/kumSl-cbLlY
You may have looked at that in your research.
Question: I believe you’re saying that you didn’t want to just trim your air pad length but wanted to end up with two usable segments, a long one for sleeping and small cushion. Is that right? But you have only one valve, and in your project you trimmed so the valve is now part of the small cushion. So how do you inflate/deflate the sleep pad segment?
Sep 11, 2016 at 8:13 pm #3425624Therm-a-rest has a replacement valve kit. You could put one in each corner for faster deflate.
Sep 12, 2016 at 10:45 am #3425703I only see a kit to replace one piece of a two-piece valve assembly (this, see the video on this page starting at 2:45). But you can’t use that by itself to install a valve in a spot there isn’t one already, it needs a “seat” that isn’t sold and probably would have to be installed from the inside of the pad.
-
AuthorPosts
 </span>
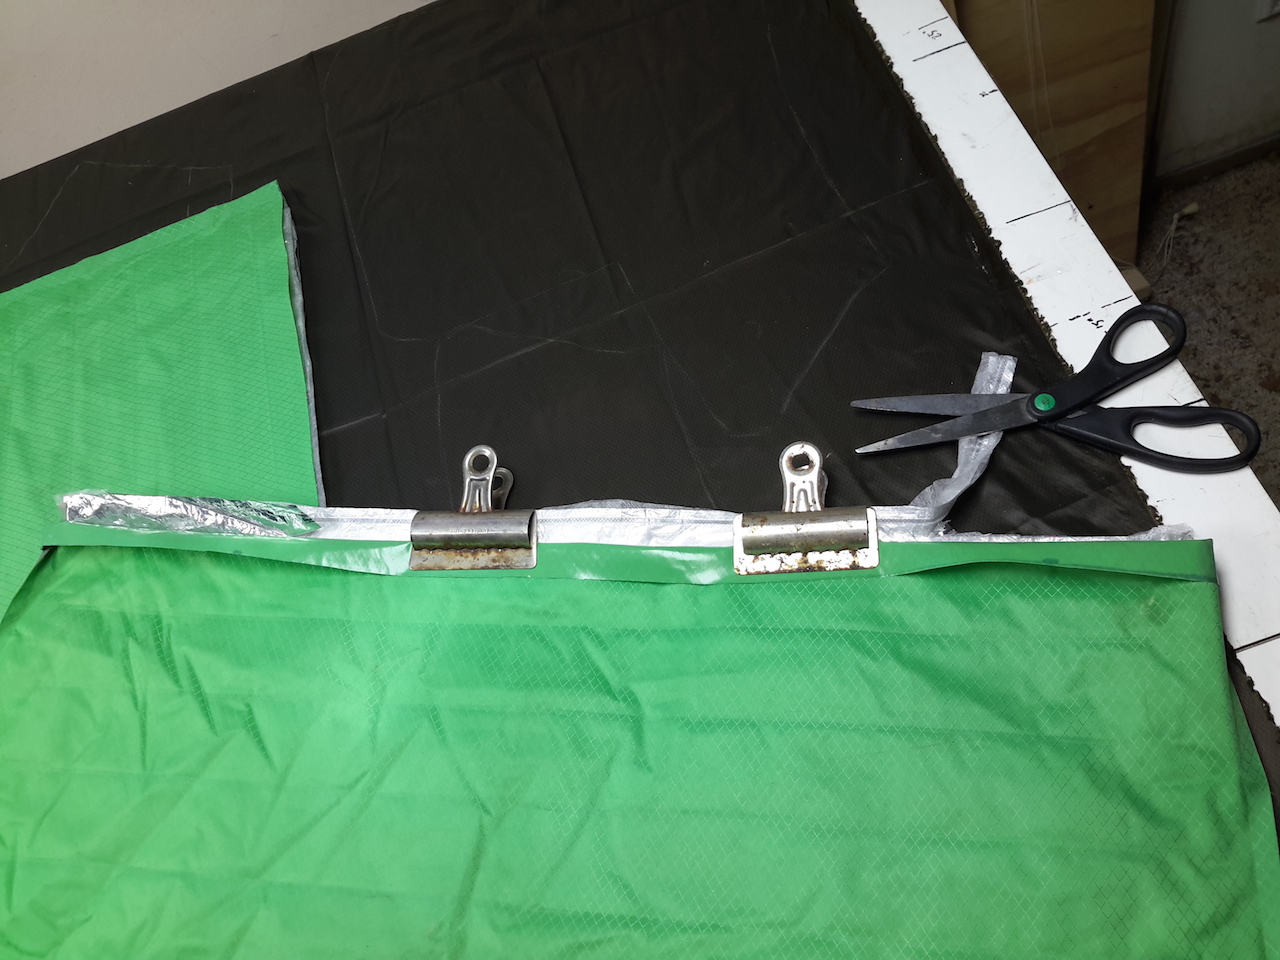


- You must be logged in to reply to this topic.
Forum Posting
A Membership is required to post in the forums. Login or become a member to post in the member forums!

Our Community Posts are Moderated
Backpacking Light community posts are moderated and here to foster helpful and positive discussions about lightweight backpacking. Please be mindful of our values and boundaries and review our Community Guidelines prior to posting.
Get the Newsletter
Gear Research & Discovery Tools
- Browse our curated Gear Shop
- See the latest Gear Deals and Sales
- Our Recommendations
- Search for Gear on Sale with the Gear Finder
- Used Gear Swap
- Member Gear Reviews and BPL Gear Review Articles
- Browse by Gear Type or Brand.
