Topic
'mid set up issues, got advice?
Forum Posting
A Membership is required to post in the forums. Login or become a member to post in the member forums!
Home › Forums › General Forums › General Lightweight Backpacking Discussion › 'mid set up issues, got advice?
- This topic has 44 replies, 12 voices, and was last updated 8 years, 1 month ago by
 Emmanuel Romo.
-
AuthorPosts
-
Dec 30, 2016 at 12:11 pm #3442398
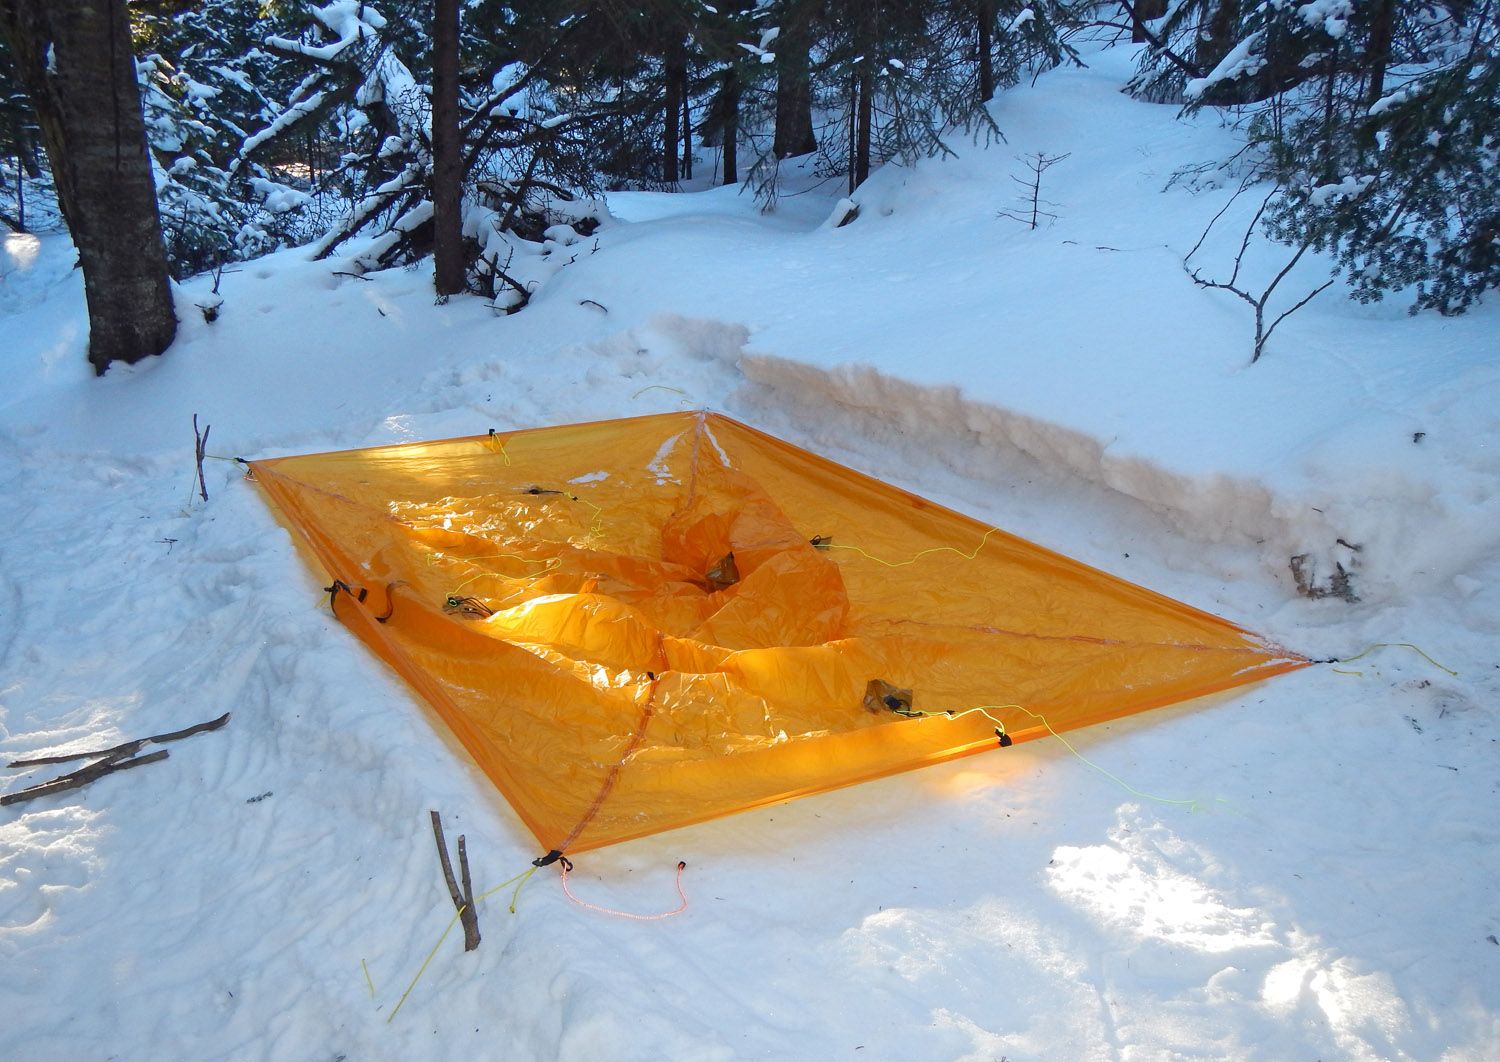
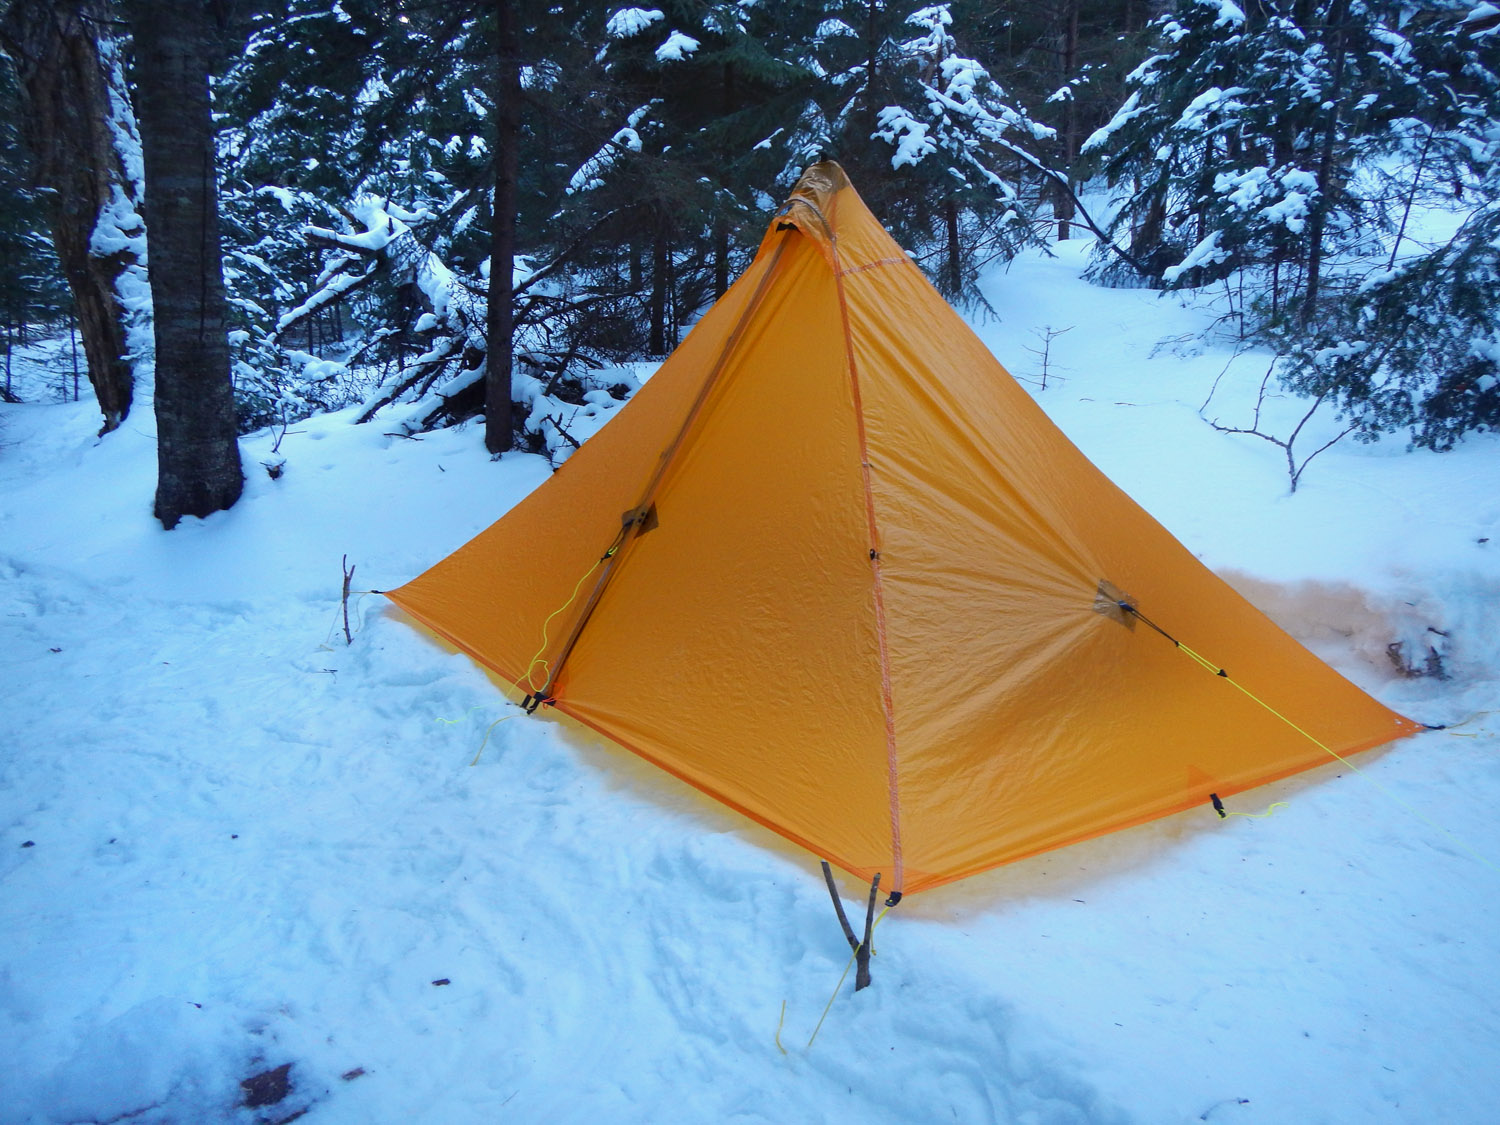
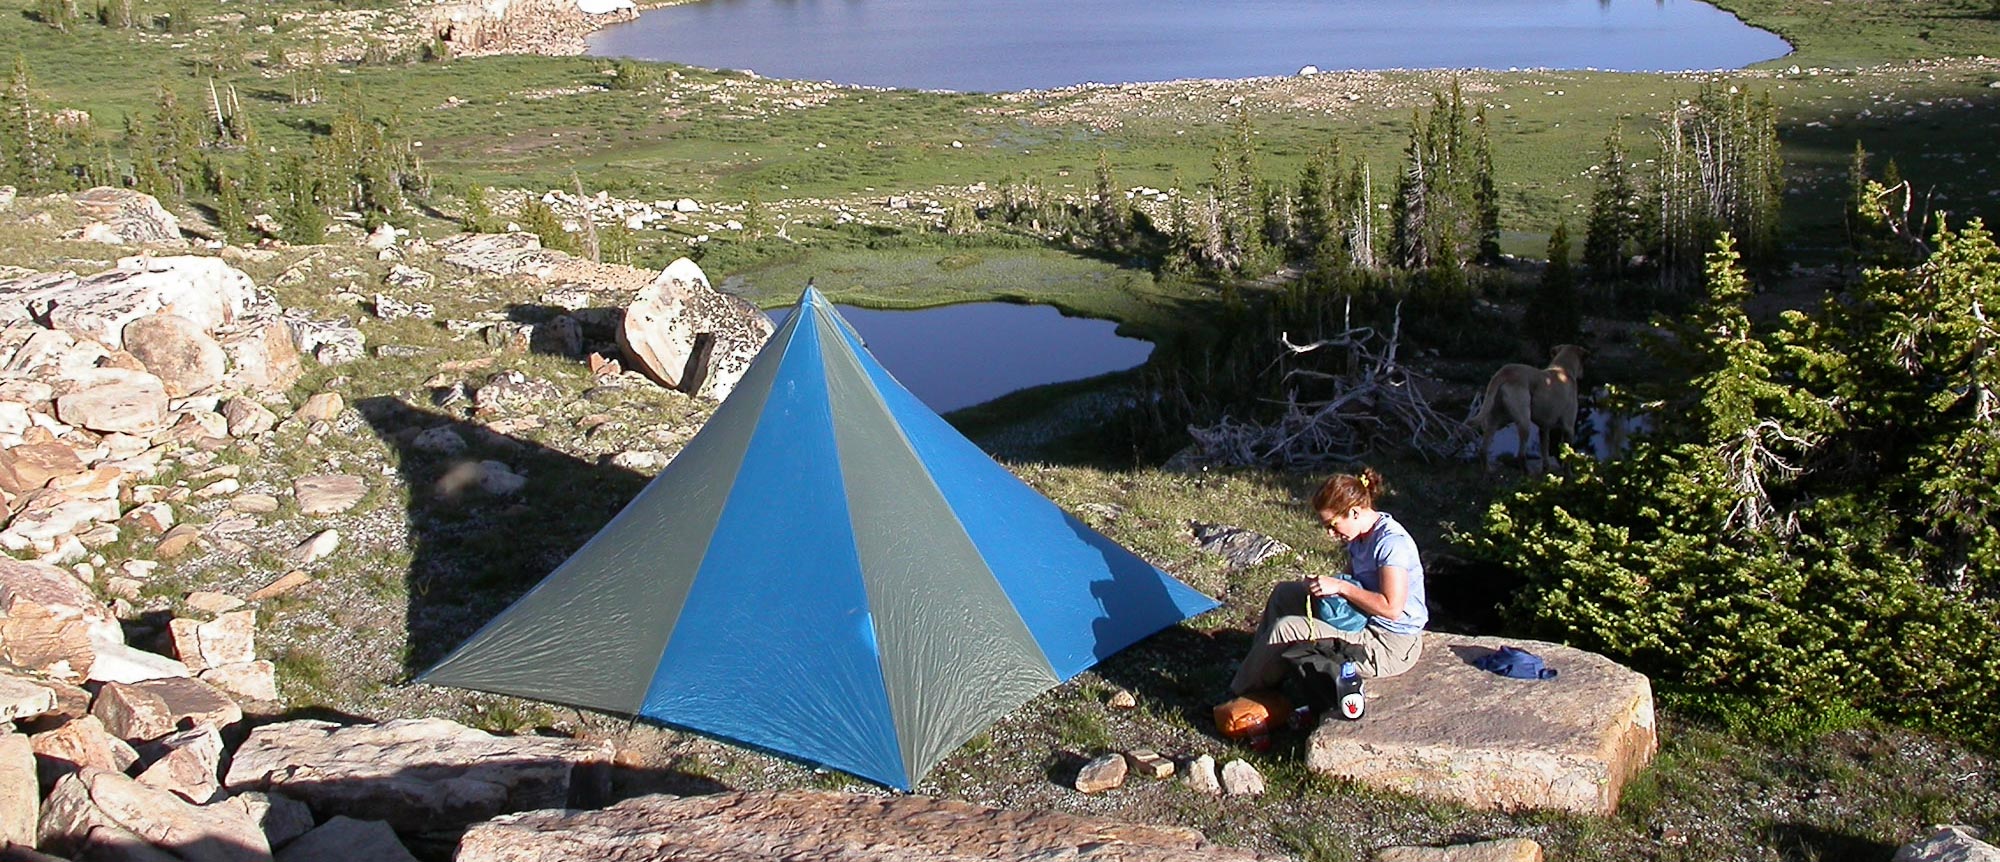
I got a Black Diamond Megamid. No matter how I pitch it, I can’t get full tension in the side panels. The four seams that run from peak to the corner are super taught, there’s no further tension that can be applied from pole, and the footprint is square. And yet, lot’s of slack in the side panels that both eats up head room and flaps in the wind. Am I doing something wrong? is the cut of the fabric off?
Staking the midpoints adds tension to the midpanel seams, but still slack in between.
Dec 30, 2016 at 12:13 pm #3442399Not sure how to get photos in, here’s a Dropbox link to them… https://www.dropbox.com/sh/ncto93gnrx9p4mi/AAAXeaHeA7G73ii4GOPpq_fqa?dl=0
Dec 30, 2016 at 1:56 pm #3442420Try lowering the center pole, perhaps?
Dec 30, 2016 at 2:07 pm #3442425To post photos here reduce them to less than 1MB then using the VISUAL option when replying click on the last icon above the box (the mountain /landscape symbol)
Dec 30, 2016 at 2:10 pm #3442426or maybe raise center pole? Take something flat like a board that’s 2 inches thick and stick it under pole
Dec 30, 2016 at 2:13 pm #3442428( I clicked on picture, right click, “copy image address”, clicked on the insert image ikon, pasted in the URL, clicked “insert image”
Dec 30, 2016 at 2:31 pm #3442432You have it too low. The fabric needs to needs to be about 3″ from touching the ground.
Watch this clip from about 4: 30 . You only need to see a minute or so of it .

The trick is to stake down a square but keep it loose so that when you insert the pole the bottom of the fly does not hug the ground. (or have the square somewhat taut but don’t pull the guyouts fully out…)
Dec 30, 2016 at 3:23 pm #3442441When I want a low pitch in the winter with the Duomid, I stake out the perimeter fairly tautly before inserting the poles (inverted V configuration).

 Dec 30, 2016 at 6:05 pm #3442474
There’s a design height for the tent. A pole at that height will make a taut pitch with edge of tent on ground level. You have to include the amount the fabric stretches.
If the pole is longer, then there’s an air gap all the way around. That can be okay – better ventilation. If it’s windy, dirt or snow can blow under.
If the pole is shorter it looks like those pictures.
What height are you using for a pole and what does Black Diamond recommend?
You could just put a board or whatever under the pole to raise it and see what’s good, then get a pole of that height.
Dec 30, 2016 at 6:13 pm #3442475It’s an adjustable pole that starts at 6 ft. I struggle to get it vertical (ie, it doesn’t seem too short) with the corners staked to the ground. The overall tension is better if I stake it out by the longer loops like Franco suggests. But then I’ve to a three inch airgap, which is fine when it’s raining, but not when it’s blowing snow sideways.
I also tried staking it very taut along the perimeter, but then really can’t get pole in, and It gets a weird conical shape in center, with sidewall edges very low angle.
I do think there’s something to the pole height issue – it’s kind of like an umbrella that hasn’t been fully extended. But, I’d like to be able to extend it fully and still have seams at ground level if conditions require.
Dec 30, 2016 at 8:22 pm #3442491You can think of it this way:
In order to stop the sides sagging, you need the footprint to form a larger square, in other words the corners need to be further apart. With the edges already at full tension, the way to achieve this is for the edges to descend at a less steep angle from the peak. There are two ways to achieve this:
(1) Keep the current pole height. Lengthen the guy lines, and anchor them further out, allowing the corners and bottom edges to rise a few inches. Now your footprint is a slightly larger square and everything is taught, but you have a ventilation gap all the way around the bottom of the tent.
(2) If you don’t want the ventilation gap, it’s easy now to see that you can get the same result without the air gap by shortening the pole. The lower peak height allows the edges to descend at a shallower angle to form the same larger square footprint but closer to the ground.
Dec 30, 2016 at 11:19 pm #3442510that makes sense – pole shorter
Black Diamond says exterior height is 66 inches, maybe 6 foot pole is too tall. You’d have to have a 6 inch air gap on the edges
Dec 31, 2016 at 9:21 am #3442541My only quibbles with the video are 1) don’t leave the side panel/door unzipped when staking out the perimeter and 2) always clip the bottom of the door panels together before zipping… especially important when closing the zipper, but also for opening the zipper since that also puts stress on the zipper teeth.
Dec 31, 2016 at 3:08 pm #3442595The video was shot and edited in a very short time (as a reply to a forum question) to show how not to have a pyramid tent set up looking like this :

(that is of course unless you don’t mind losing all that peripheral space and like the look of it)
At 3:40 I specifically mention that a tent should always be set up with the door (panels) closed. That particular mid has no clip at the bottom of the fly to keep the two panels together . It has two loops that need to be staked down.
But yes my accent is not all that easy to decode.
(last time I was in Italy I asked for a room in Italian , the answer came in English…)
Dec 31, 2016 at 3:13 pm #3442596I thought I made a mistake once
but I was wrong…
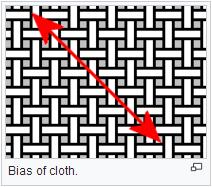
Jan 2, 2017 at 8:14 am #3442809It’s a design issue. BD doesn’t orient the fabric bias towards the seams, so there’s a bunch of stretch in the panels. No way to get around it.
Jan 2, 2017 at 8:25 am #3442813I don’t understand what you mean

Bias is at an angle to warp and weft threads
Should the ridges of a mid be on the bias, or should the center of the mid be on the bias?
Jan 3, 2017 at 2:36 pm #3443050Fabric (generally) stretches more along the warp and weft. You want to be intentional about where you put that stretch, so it helps keep the shelter taut rather than the opposite (given that seams stretch very little). The reason companies don’t do this is I presume because cutting panels like this can make for a bit more fabric waste.
Jan 3, 2017 at 3:14 pm #3443055I thought fabric stretches more on the bias. and it’s more elastic on the bias
https://en.wikipedia.org/wiki/Grain_(textile)
My experimental determination is that the middle seam of my mids are along the grain, the ridges are on the bias. The polyester thread (which stretches less) breaks on the ridge seam but not on the middle seam. Only near the bottom though, where the fabric stretches more. I now use a zigzag stitch so the seam stretches even if the thread doesn’t.
But maybe that’s just geometry, the fabric is wider on the middle seam so the load is better carried by a wider swath of fabric.
I wonder what would happen if the middle seam of a mid was on the bias and the ridge seam was along the grain? I think you’re saying it would set up more taut.
Jan 4, 2017 at 4:53 pm #3443231Stake out the perimeter fairly tight and form a square with good 90º angles at the corners. When setting the stakes, make sure to pull the tieout straight back from the path of the seam, not along the path of the hem towards your last stake. Next, unzip the door, step in, and “raise the roof” till all of the slack is out.
Jan 4, 2017 at 5:47 pm #3443244Thanks all for the tips, photos, and video. I tried it w/ lower pole, and got this result.
Then I tried staking to the outer guy loops instead of inner, just to test, even though I want to be able to stake it to ground. Got this:
Lost pyramid shape, and lots of headroom inside. Suitable for two people max, and even then feet/head are gonna be rubbing on tarp. Only viable application I can see is on snow, when I can dig out the floor.
Last thing to try when I get home tonight is outer guy loops, staked loose like Franco said. But, I’d really like to be able to stake this to the ground when it’s windy out. Hoping to use this for a three person trip in Iceland.
Appreciate you all’s advice, only reason I belabor this is cuz I know much burlier adventurers than I love the mids for lightweight shelter in bad conditions. At moment thinking it must be user error rather than the tarp… but it sure seems fiddly at best. And this is with ideal staking conditions…
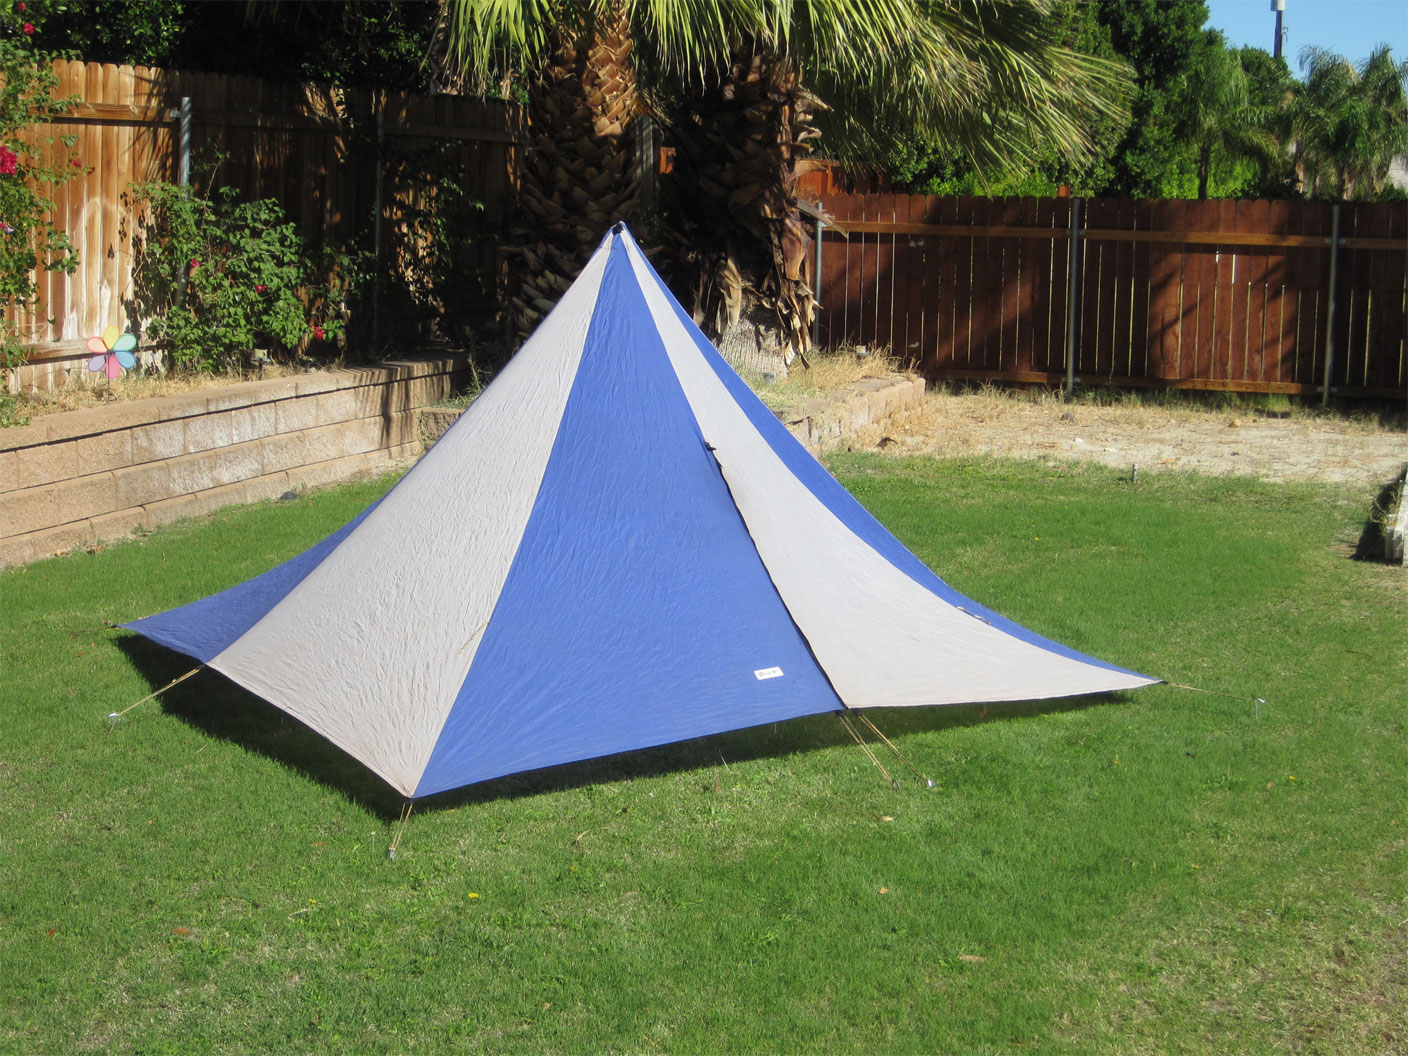
Jan 4, 2017 at 7:02 pm #3443256Found this pic on Dave C’s site, this is what I aspire to, except sealed to ground.
 Jan 4, 2017 at 7:19 pm #3443262
If you don’t want the excessive catenary curve but still want the fabric hugging the ground , you need to bury the stake so as to carry on the line you see in that photo. (easy to do on snow…)
Jan 4, 2017 at 8:01 pm #3443269Restaking more loosely, to the outside guy loops, and raising pole correspondingly, just took me back to the original sag-between-panels. I give up. Please tell me I’m not the only one!
Jan 4, 2017 at 8:50 pm #3443272OK , it can be set up like this :

This might have been suggested already but just in case.
Have the guyouts pulled in very close to the corner. Stake the square down taut.
Now without touching the stake let the guyouts out by a couple of inches.
Insert the pole at the recommended height (66″)
Partially re-tension the guyouts and see how it works.
-
AuthorPosts
- You must be logged in to reply to this topic.
Forum Posting
A Membership is required to post in the forums. Login or become a member to post in the member forums!
Trail Days Online! 2025 is this week:
Thursday, February 27 through Saturday, March 1 - Registration is Free.
Our Community Posts are Moderated
Backpacking Light community posts are moderated and here to foster helpful and positive discussions about lightweight backpacking. Please be mindful of our values and boundaries and review our Community Guidelines prior to posting.
Get the Newsletter
Gear Research & Discovery Tools
- Browse our curated Gear Shop
- See the latest Gear Deals and Sales
- Our Recommendations
- Search for Gear on Sale with the Gear Finder
- Used Gear Swap
- Member Gear Reviews and BPL Gear Review Articles
- Browse by Gear Type or Brand.


