Topic
Installing zipper stops—Tools?
Forum Posting
A Membership is required to post in the forums. Login or become a member to post in the member forums!
Home › Forums › Gear Forums › Make Your Own Gear › Installing zipper stops—Tools?
- This topic has 13 replies, 7 voices, and was last updated 4 years, 7 months ago by
 Christian K.
-
AuthorPosts
-
Jun 14, 2020 at 7:05 pm #3653004
I’m working on a pack. I bought a length of #5 YKK coil Uretek zipper from OWF. And the two tiny top stops and one bottom stop to put on it.
I found a video showing how to install the top stops. It shows a #10 zipper, quite a bit bigger.
So, if I go buy needle-nose pliers to use as in the video, what size is small enough for those dang tiny top stops? (I might end up buying them online, so I need to get the size right.)
Jun 15, 2020 at 12:30 am #3653050Instead of pliers, you could use a small bolt, hit with a hammer on the top side as the bottom side rests on something firm (concrete, steel plate, etc). That’s how I set rivets and buttons in leather and tarps.
Jun 15, 2020 at 12:30 am #3653051I’ve also just stitched the two sides of the zipper together with large thread to form a stop.
Jun 15, 2020 at 2:15 am #3653054^^ Me too.
Jun 15, 2020 at 8:36 am #3653089buy needle nose pliers?
what person doesn’t have needle nose pliers? fairly useful
I was going to say what man doesn’t have needle nose pliers but that belongs in the 20th century : )
Yeah, I use stitches. Or a dab of epoxy.
Jun 15, 2020 at 1:15 pm #3653155I like the idea of using stitching—no need to buy a tool. (I did used to have needle nose pliers but rarely used them, so I sold them in a yard sale when lightening my load.)
Thanks, everyone.
Jun 20, 2020 at 5:24 pm #3654181OK, I’m slow (both on the project and mentally). I just looked at my zipper and realized the “stitch” method doesn’t make any sense for the open ends.
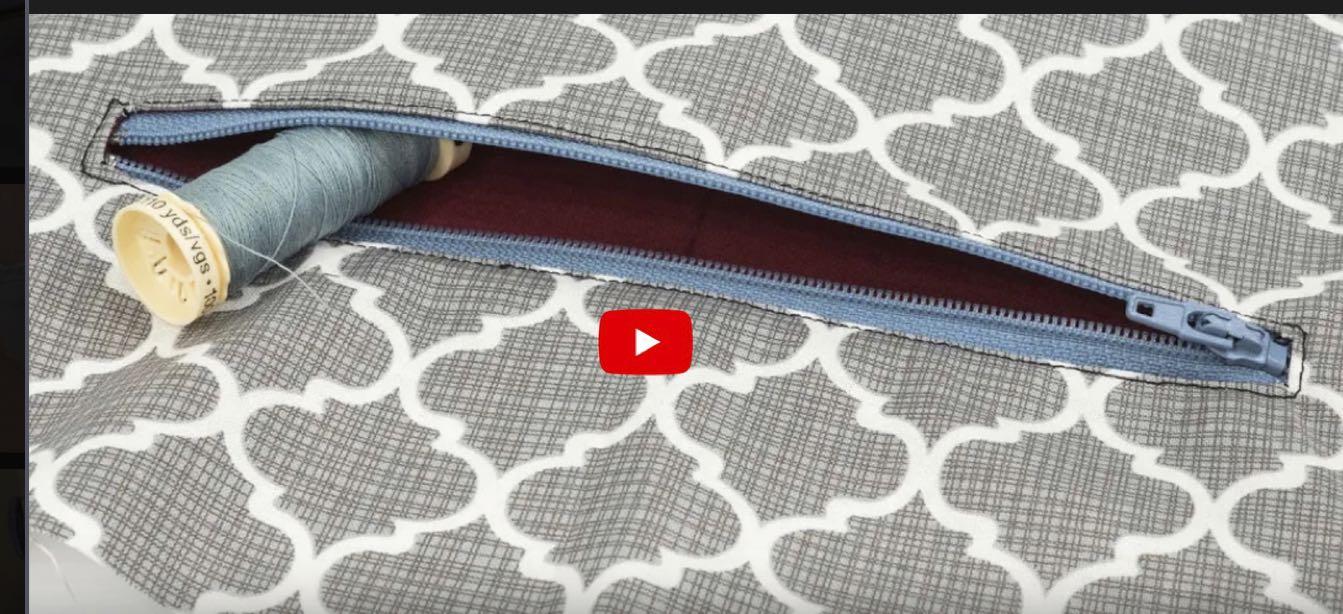
This photo shows the type of zippered opening I’m aiming for:

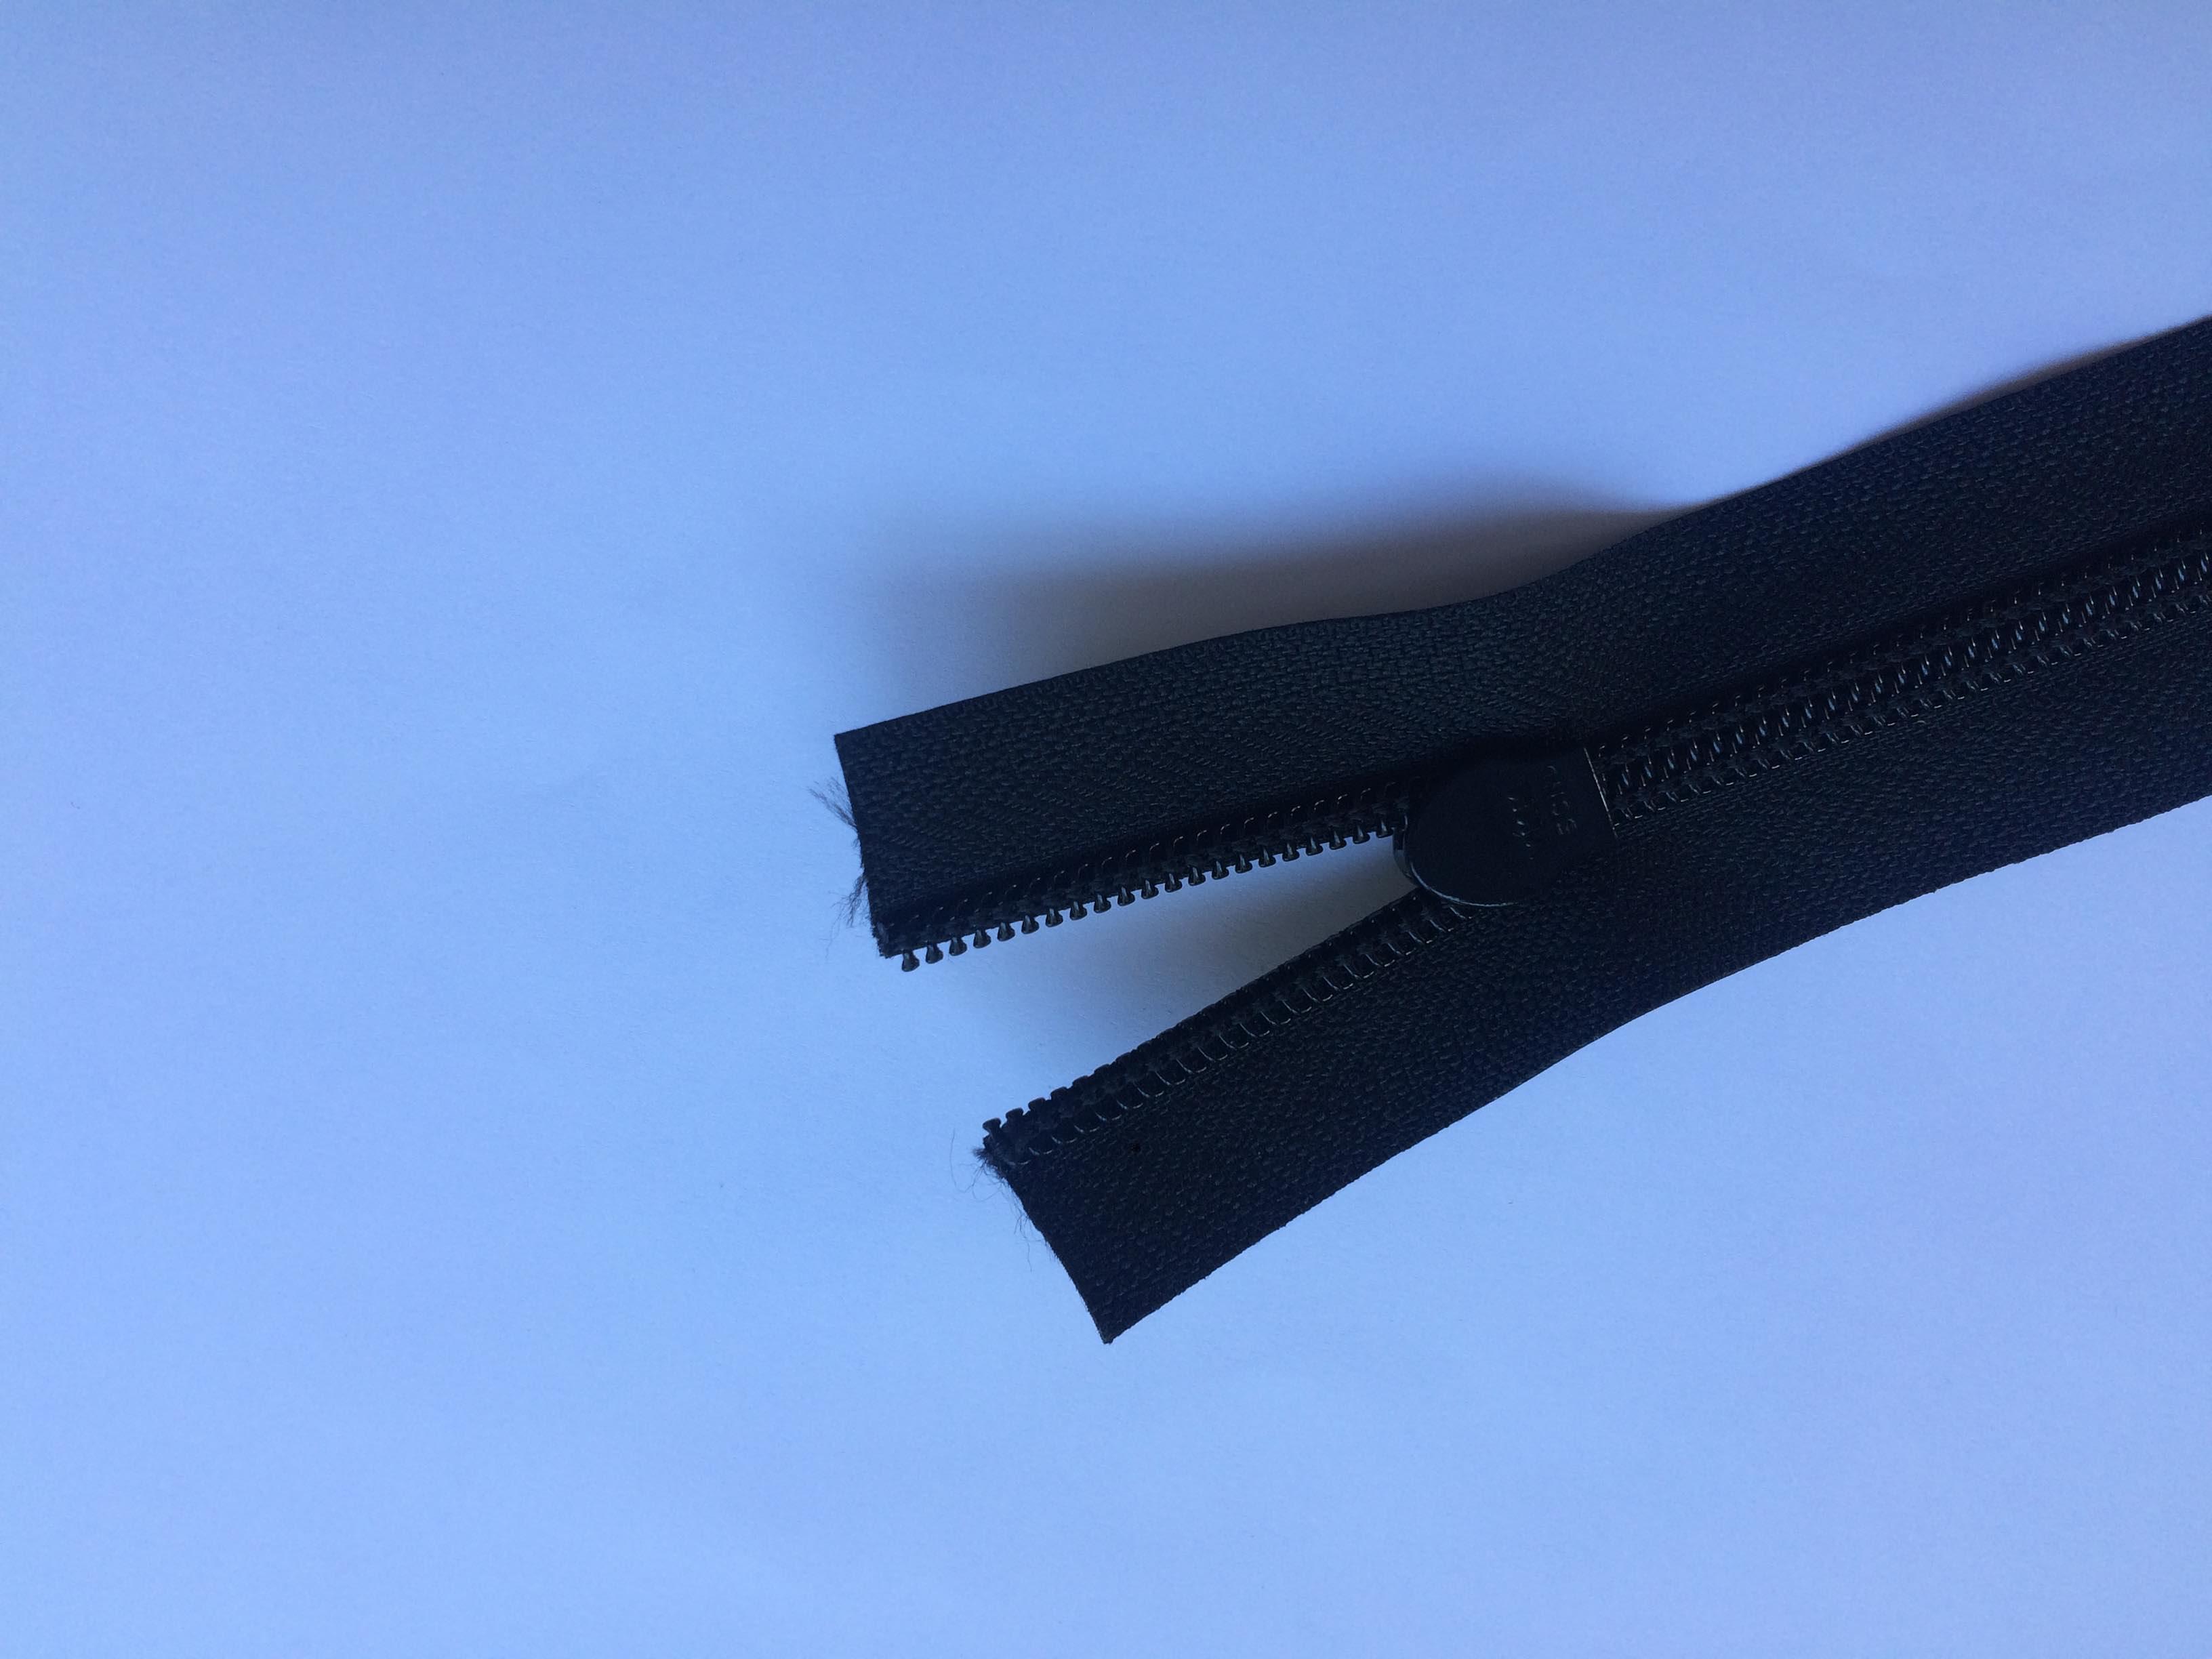
Here’s a photo of my zipper. It needs top stops: stops at each of the open ends so when I zip it up the slider won’t go off the end:

Any ideas for how to put stops right at these ends?
Jun 20, 2020 at 7:33 pm #3654207Doug, just guessing at what you mean here, but if that bottom photo is your actual zipper:
If both of the ends of the zipper are free (the other side isn’t already stitched/glued/fixed in some way) then slide the zipper all the way off the end until the whole length of the zipper is closed. Then, on the opposite end, slightly separate the zipper halves enough so you can slide the zipper back on. Make sure you slide it on so it’s closing the zipper back up.
So effectively you’ll have both ends of the zipper closed, and the slider in the middle. That way, after you attach your zipper stop (whatever method you use), it’ll be in a closed and not open zipper.
If that’s not possible because the other side is fixed then idk what you can do without detaching it.
Or, maybe I’m over analyzing your question… I do that a lot on here :)
Jun 21, 2020 at 3:53 am #3654221Patagonia posted this zipper stop installation video on their WornWear Instagram account .
Jun 21, 2020 at 1:52 pm #3654274Christian—I think that just might work. I wouldn’t have thought of that way of getting both ends closed with the slider in the middle. I was stuck on what to do about the open ends used when using metal top stops.
Zippers are mysterious devices.
Jun 21, 2020 at 8:41 pm #3654314I guess what I described works for places where both ends are sewn, like a zippered pouch or hip belt pocket. I would think the metal stops are ideal for a place where the zipper is only fixed at one end, like a zippered rainfly, and the zipper pull needs to stop at the bottom.
I’m thinking the first option would be what you’d need for pack pockets?
Of course the metal stops are just to stop the zipper pull itself. They don’t do anything to hold the zipper halves together.
Jun 22, 2020 at 12:58 pm #3654382In your photo, one side of the zipper is closed. That should be easy to sew over and put a stop. The other end should be free. I would just pinch them together and hand sew a loop over both sides. Once you get it tight, you can run over it with a machine.
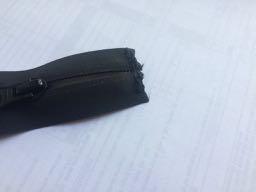
Jun 22, 2020 at 1:22 pm #3654384Yeah, it’s kind of messy looking after sewing across the end and then opening the zipper right up to the stitching (see photo below).
So, I’m going to bury a couple of “teeth” of the zipper in each end of the slot opening (see first photo for the slot in the gray fabric).
 Jun 22, 2020 at 1:29 pm #3654386
As long as it’s secure when you pull it, that’s what matters the most. Zippers can be intimidating at first, but pretty forgiving if you think about it IMO. No one cares how a zipper looks (unless you’re the type of person to notice all the “flaws” in your work, like I’m sure many of us tend to be). As long as it’s functioning, and durable, kudos.
Just do a slow backstitch once or twice across the zipper teeth and it should hold fine. I say slow because if you hit the teeth just right, you can break your needle. That’s always fun to have happen mid-stitch! :)
Looking forward to the final product!
-
AuthorPosts
- You must be logged in to reply to this topic.
Forum Posting
A Membership is required to post in the forums. Login or become a member to post in the member forums!
Our Community Posts are Moderated
Backpacking Light community posts are moderated and here to foster helpful and positive discussions about lightweight backpacking. Please be mindful of our values and boundaries and review our Community Guidelines prior to posting.
Get the Newsletter
Gear Research & Discovery Tools
- Browse our curated Gear Shop
- See the latest Gear Deals and Sales
- Our Recommendations
- Search for Gear on Sale with the Gear Finder
- Used Gear Swap
- Member Gear Reviews and BPL Gear Review Articles
- Browse by Gear Type or Brand.


