Topic
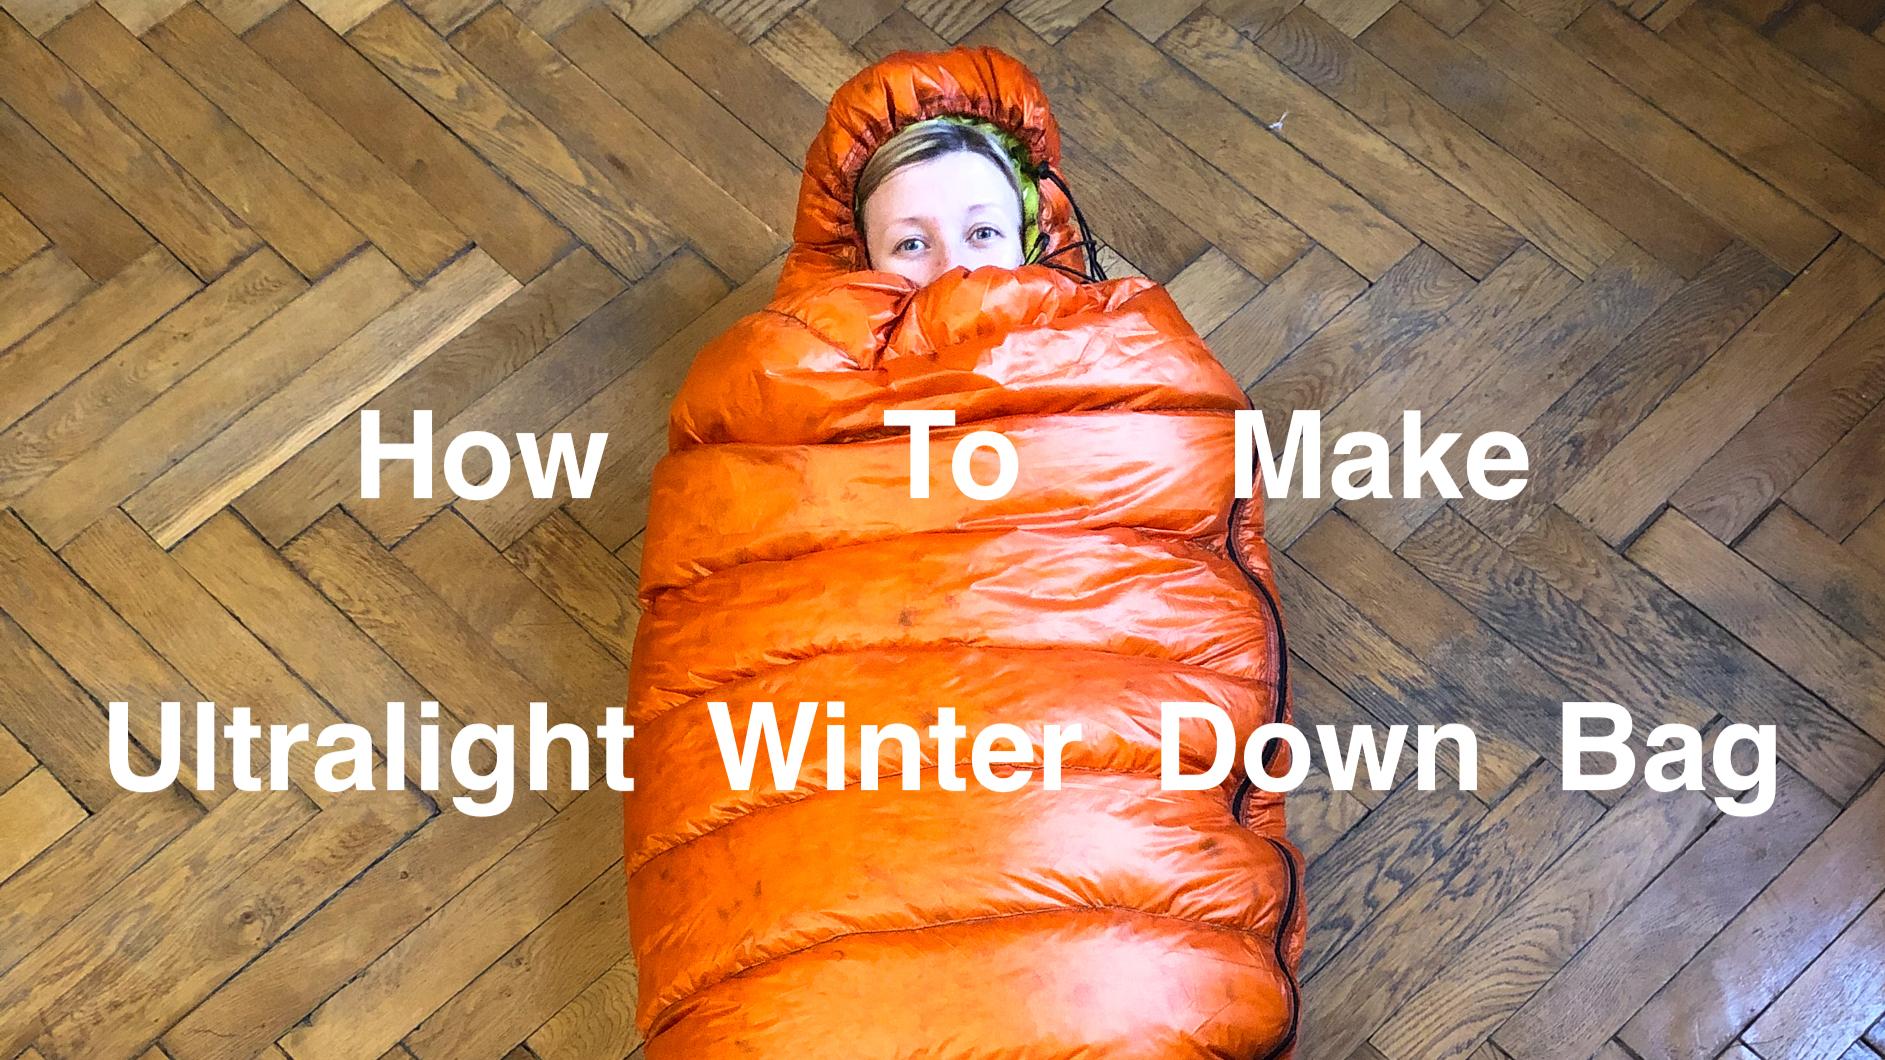
How to – MYOG 930g/ 33.5oz DOWN winter sleeping bag
Forum Posting
A Membership is required to post in the forums. Login or become a member to post in the member forums!
Home › Forums › Gear Forums › Make Your Own Gear › How to – MYOG 930g/ 33.5oz DOWN winter sleeping bag
- This topic has 3 replies, 3 voices, and was last updated 4 years, 10 months ago by
 Marko M.
-
AuthorPosts
-
Apr 17, 2020 at 9:23 am #3641746
Made this winter down sleeping bag and managed to test it before COVID lockdown. Been sorting this how to instructional video while on quarantine for anyone that wants to make one while we are all stuck. Hope you like it and give me more ideas or pointers. Cheers
HIGHLIGHTS:
-Total weight 930g or 33.5oz-Cold temperature rating range (-5-10C/15-20F) -High weight to warmth goose down fill (695g or 24oz)-Highly pack-able-All-in cost 100$
https://www.youtube.com/watch?v=WNxYEDioANo&t=12s
WHAT YOU’LL NEED:
-Lightweight synthetic fabric like nylon, (~2.5yrd inner and 2.5yrd outer)
-Down, preferably goose, and at least 700 fill rating
-Mosquito mesh (ie Noseum mesh) for buffles-Zipper (#5 YKK coil zipper)
-Polyester thread-Shock cord 1/8″ 1-2yrds-Cord locks (2)
-Sewing machine-Scissors-Fabric Pencil or marker
-Tape meter
-Fabric glue or tape-Lots of pins
-Patience
Got materials from http://www.Ripstopbytheroll.com
Mesh -0.5 oz NS50 Noseeum mesh × 3
Outer – 0.75 oz MEMBRANE 10 Ripstop Nylon
Inner – 0.66 oz MEMBRANE 10 taffeta nylon × 5
STEPS:
1. Decide on design and shape, total weight of down fill and weight to go in each section, width of sections and buffles size. Also, think if you like to make zipper flap to prevent heat loss, like in this video
2. Cut fabric into shape (both outer and inner parts). Use masking tape to hold fabric in place
3. Mark buffle sections locations with fabric pencil or chalk
4. Synge fabric to prevent fraying
5. Mark and cut buffles strips (unless you have mesh in a roll – highly recommended).
6. Hem outer and inner fabrics on ALL sides. Use 1/2 inch or 1.25cm seam allowance. 1 stitch line is enough
7. Add vertical buffle if you plan on adding zipper flap. 1/4″ allowance
8. Sew in horizontal buffles
9. Sew in buffles to outer/inner fabric connecting them both
10. Use fabric glue to catch vertical buffle on one side of the outer. Using glue is very helpful in holding all fabrics together and really helps during stitching together later on.
11. Make reinforcing triangle to go between end of zipper and foot box. It should be of same fabric as upper but folded twice to make it stronger.
12. Add this triangle to a place where end of zipper going to be and attach to outer fabric. You may also add a strip of reinforcing material to go between fabrics to make it stronger. Use fabric glue or pins. Once in place stitch it in
13. Measure out zipper you like to use. Attach one side of zipper to upper fabric in step 10. Again, use glue to catch parts together. Also, using pliers to press fabric together helps create stronger bond
14. Attach inner fabric, to outer fabric in step 10 (if using flap , than to flap). Again use glue or pins
15. Stitch inner and outer and zipper fabrics together. Go slow and take your time. Do at least two lines of stitching. Keep zipper closed not opened, otherwise one side might be longer and it would be hard to match lengths of each side when doing the opposite side.
16. Reinforce the ends well, both at the end of bag and the top
17. Close the bottom of the bag by stitching the lowest section shut. Do at least two lines
18. Make a shock cord sleeve for the hood. It should be 2-2.5 inches (6-7cm) in width. Just fold once and stitch along one side. Once done sew it in at the top of bag and close top section
19. Cut fabric for foot box. Easiest is round or oval foot box. In this case 35cm x 25cm or 15 x 10″. Cut buffle mesh for mid section
20. Connect both outer and inner together using buffle.
21. Use pins or glue to catch most of foot box material shut and then stitch closed everywhere except very top. Leave few 2-3 inches open at one end where you will add down.
22. Weigh desired amount of down and fill foot box sections. Close with clips or pins
23. Fill zipper flap with appropriate amount of down. Using paper towel or other tube works well. Close with pins.
24. Before filling the main sections I recommend to first stitch zipper flap
25. Fill in main bag sections. Folded cardboard paper in a form of a cone works well. Use tape to keep paper in shape. Fill by handfuls and use something like hiking stick to push into section. Once filled with desired amount, close off sections with pins.
26. Stitch foot box sections close
27. Turn bag inside out and attach foot box to main body of the bag. Use pins to hold in place while stitching. Do at least 2 lines here, preferably more
28. Move back to side with pin closed sections. Open one by one and add other side of zipper. Use glue to catch it in place and hold with pins.
29. Stitch the other side together. Make sure to do at least two lines and reinforce the ends like in step #16
30. Open zipper and add sliders. Make sure you use thinner end of slider on the bottom. Add 2nd slider if desired, but using opposite side of it to get on zipper
31. Feed shock cord through hood sleeve. Using old pen or wire helps here.
32. Add cord locks at the ends and tie knots at the ends to prevent sliding off
 Apr 17, 2020 at 9:34 am #3641749
Looks good!
Will def be referencing later on when I make my own full zip winter bag. Will need to consider how to integrate the hood.
Apr 18, 2020 at 9:53 pm #3642014Marvelous! Thank you for all the extra work involved in making this post and video.
Apr 19, 2020 at 7:42 am #3642051You welcome. Hope you enjoyed and can find it useful
-
AuthorPosts
- You must be logged in to reply to this topic.
Forum Posting
A Membership is required to post in the forums. Login or become a member to post in the member forums!
LAST CALL (Sale Ends Feb 24) - Hyperlite Mountain Gear's Biggest Sale of the Year.
All DCF shelters, packs, premium quilts, and accessories are on sale.
Our Community Posts are Moderated
Backpacking Light community posts are moderated and here to foster helpful and positive discussions about lightweight backpacking. Please be mindful of our values and boundaries and review our Community Guidelines prior to posting.
Get the Newsletter
Gear Research & Discovery Tools
- Browse our curated Gear Shop
- See the latest Gear Deals and Sales
- Our Recommendations
- Search for Gear on Sale with the Gear Finder
- Used Gear Swap
- Member Gear Reviews and BPL Gear Review Articles
- Browse by Gear Type or Brand.


