Topic
Cat cut tarp ridgeline wrinkles
Forum Posting
A Membership is required to post in the forums. Login or become a member to post in the member forums!
Home › Forums › Gear Forums › Make Your Own Gear › Cat cut tarp ridgeline wrinkles
- This topic has 11 replies, 7 voices, and was last updated 5 years, 2 months ago by
 Brook / MtGL.
-
AuthorPosts
-
Nov 13, 2019 at 3:07 pm #3618487
Hey all
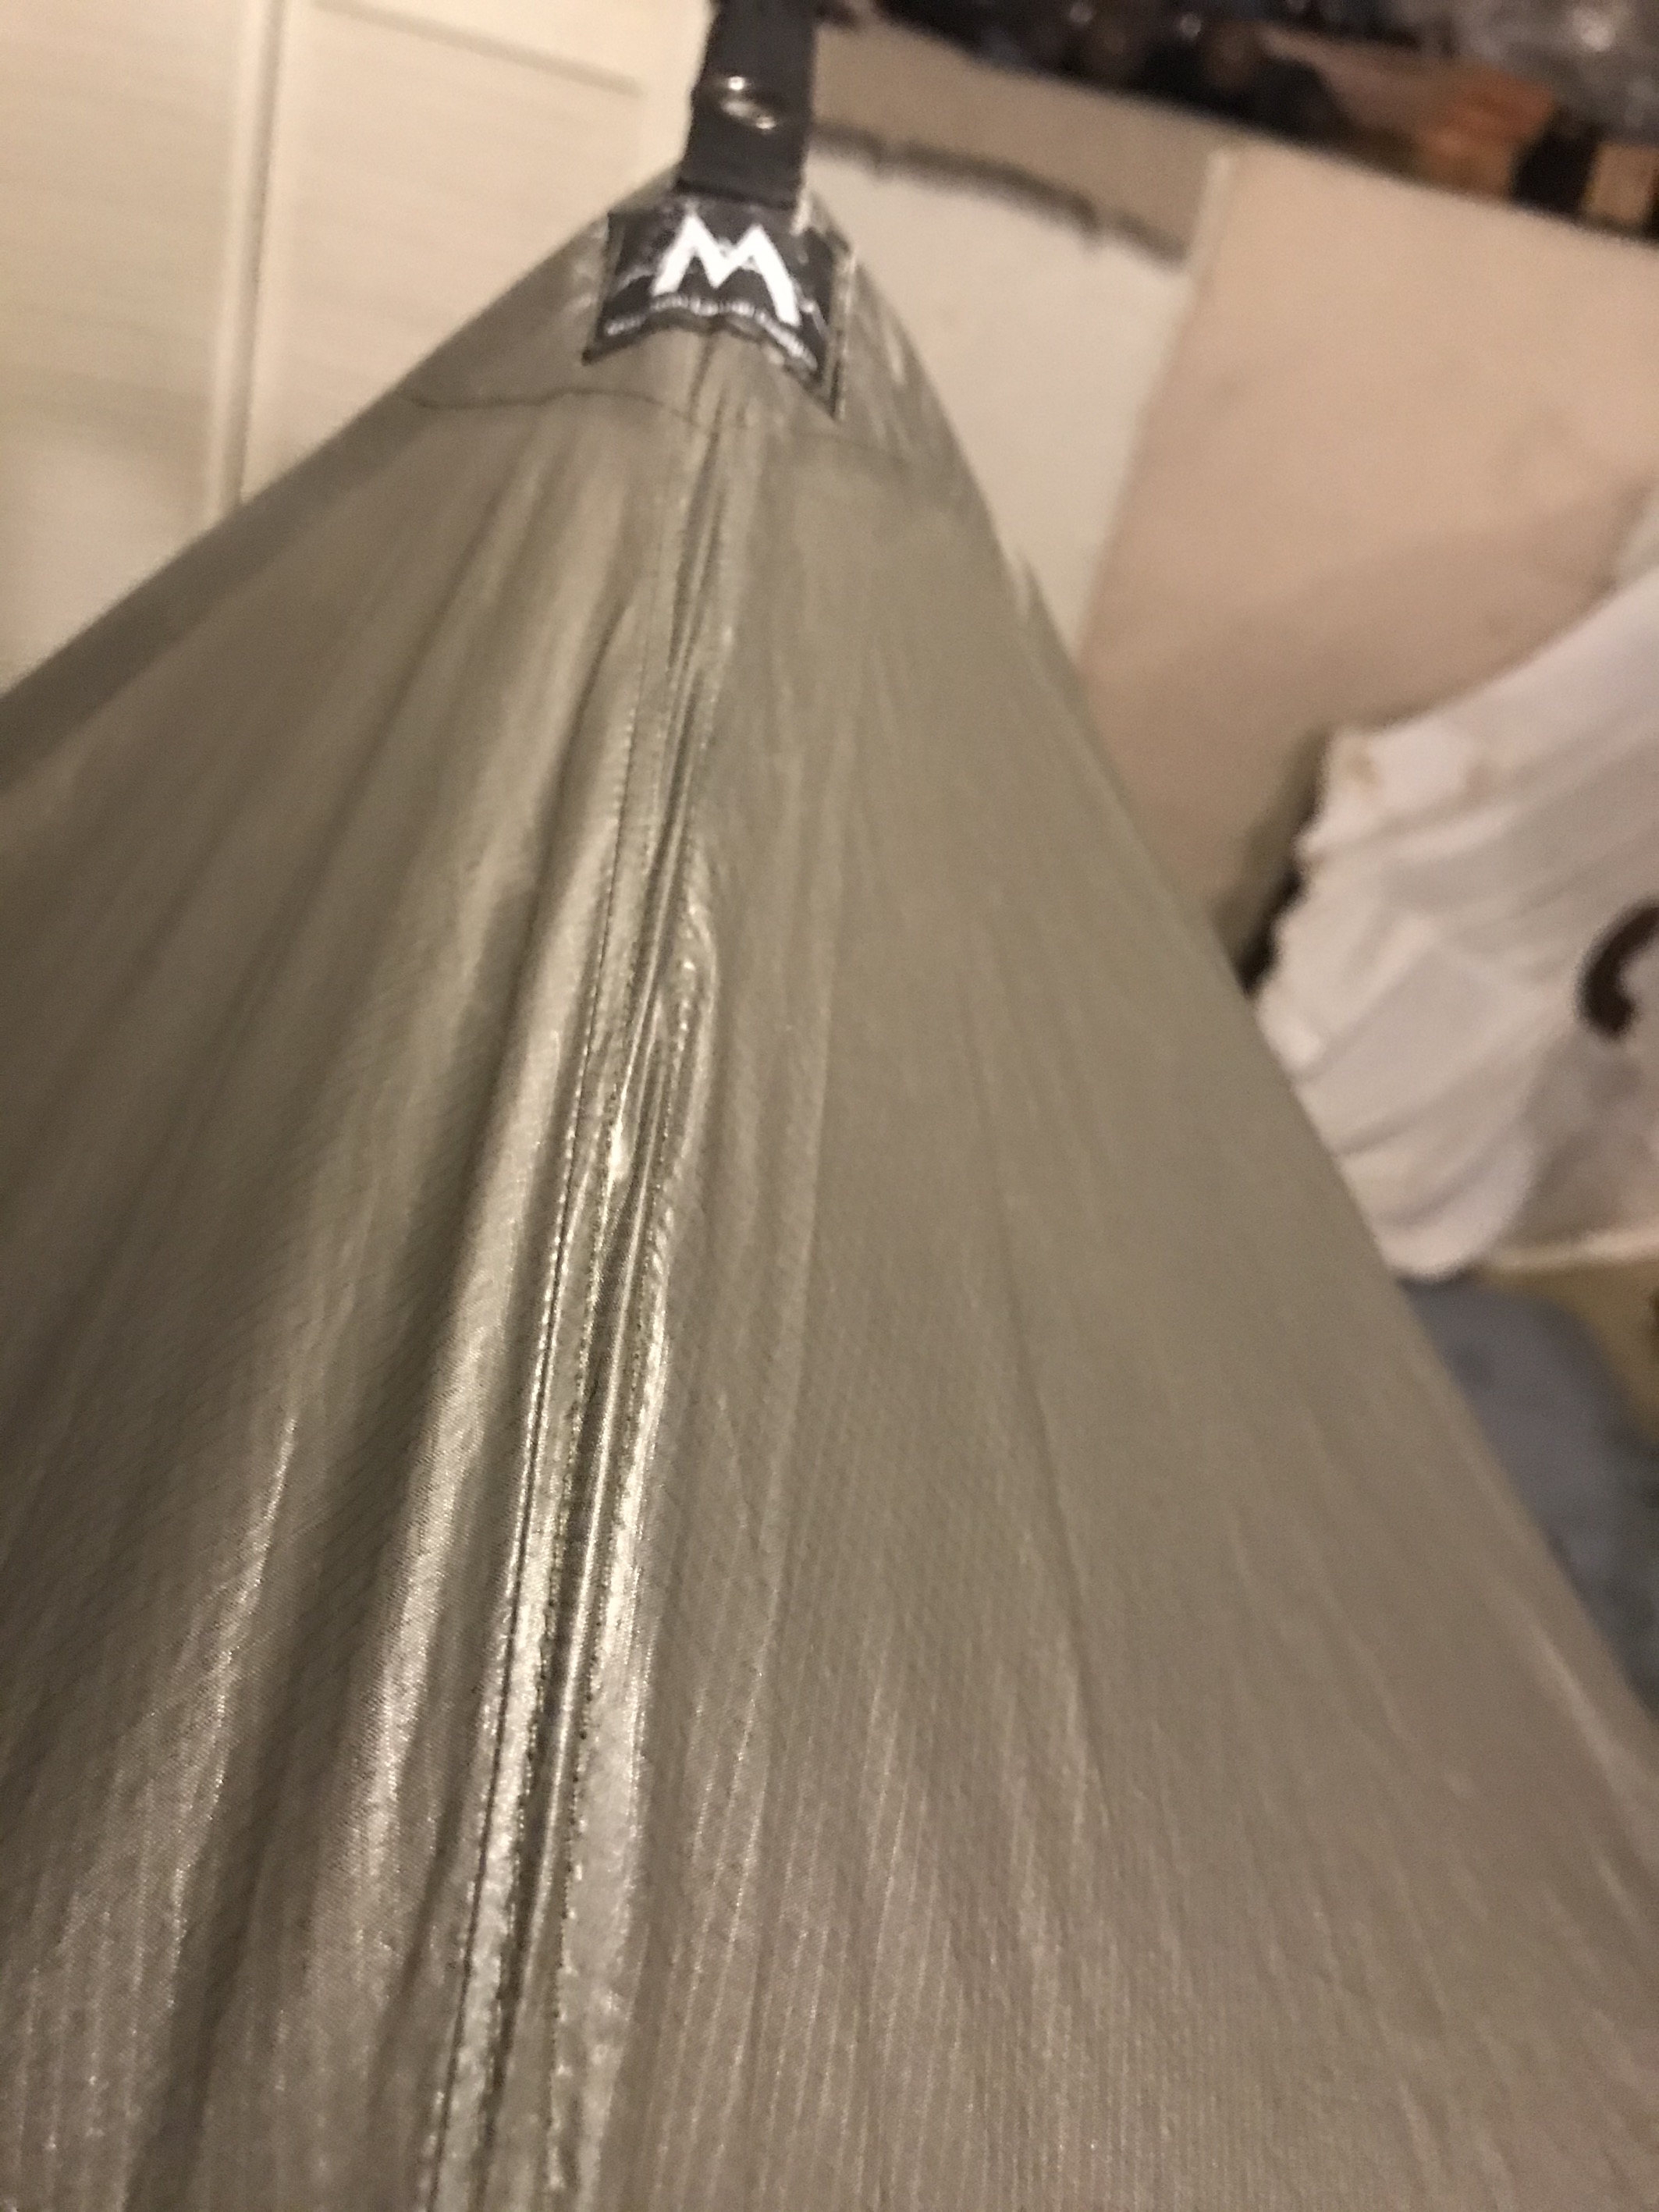
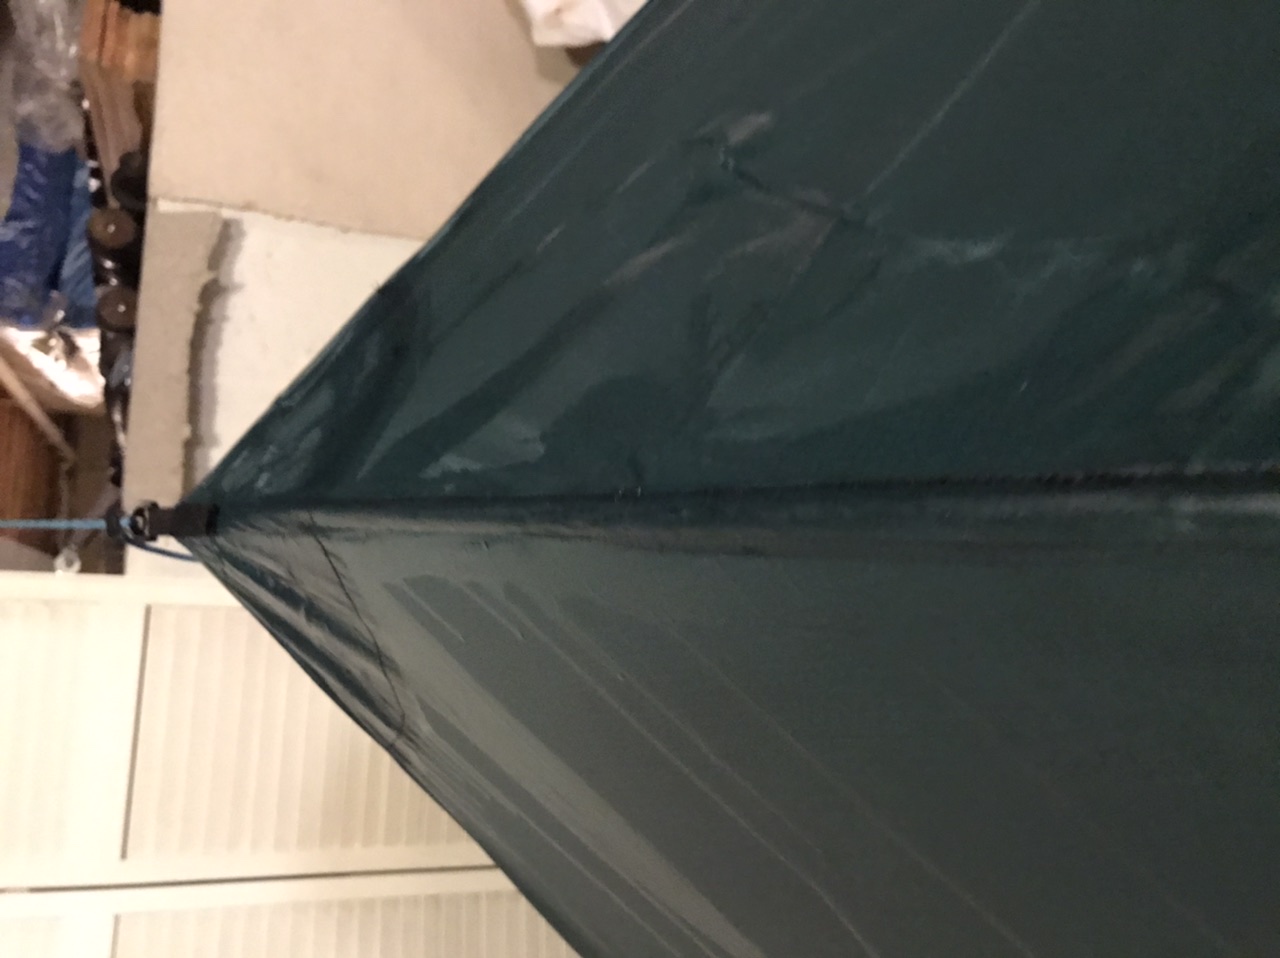
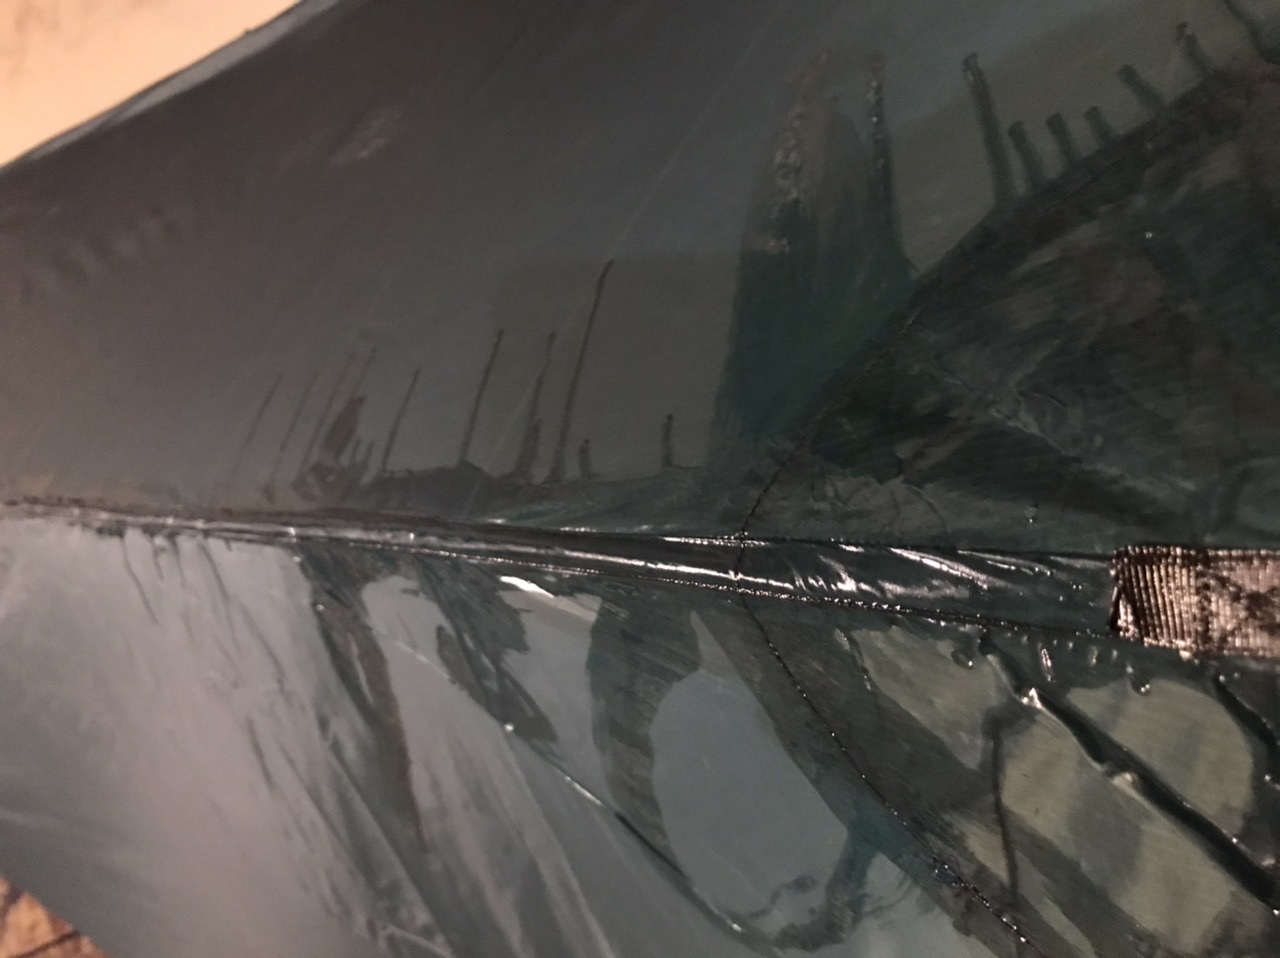
Made some cat cut tarps that have some wrinkles in the ridgeline. I sewed the ridgeline with this flat felled/ french seam hybrid. The tarps pitch nicely and seem functional. I wonder if the long term durability of the seam is compromised because of this apparently uneven tension. I have a MLD grace duo tarp that seems to use a similar stitch and it appears to have some pretty minor wrinkling in the ridgeline. So with MLD as the gold standard, maybe a little bit of wrinkling is unavoidable.

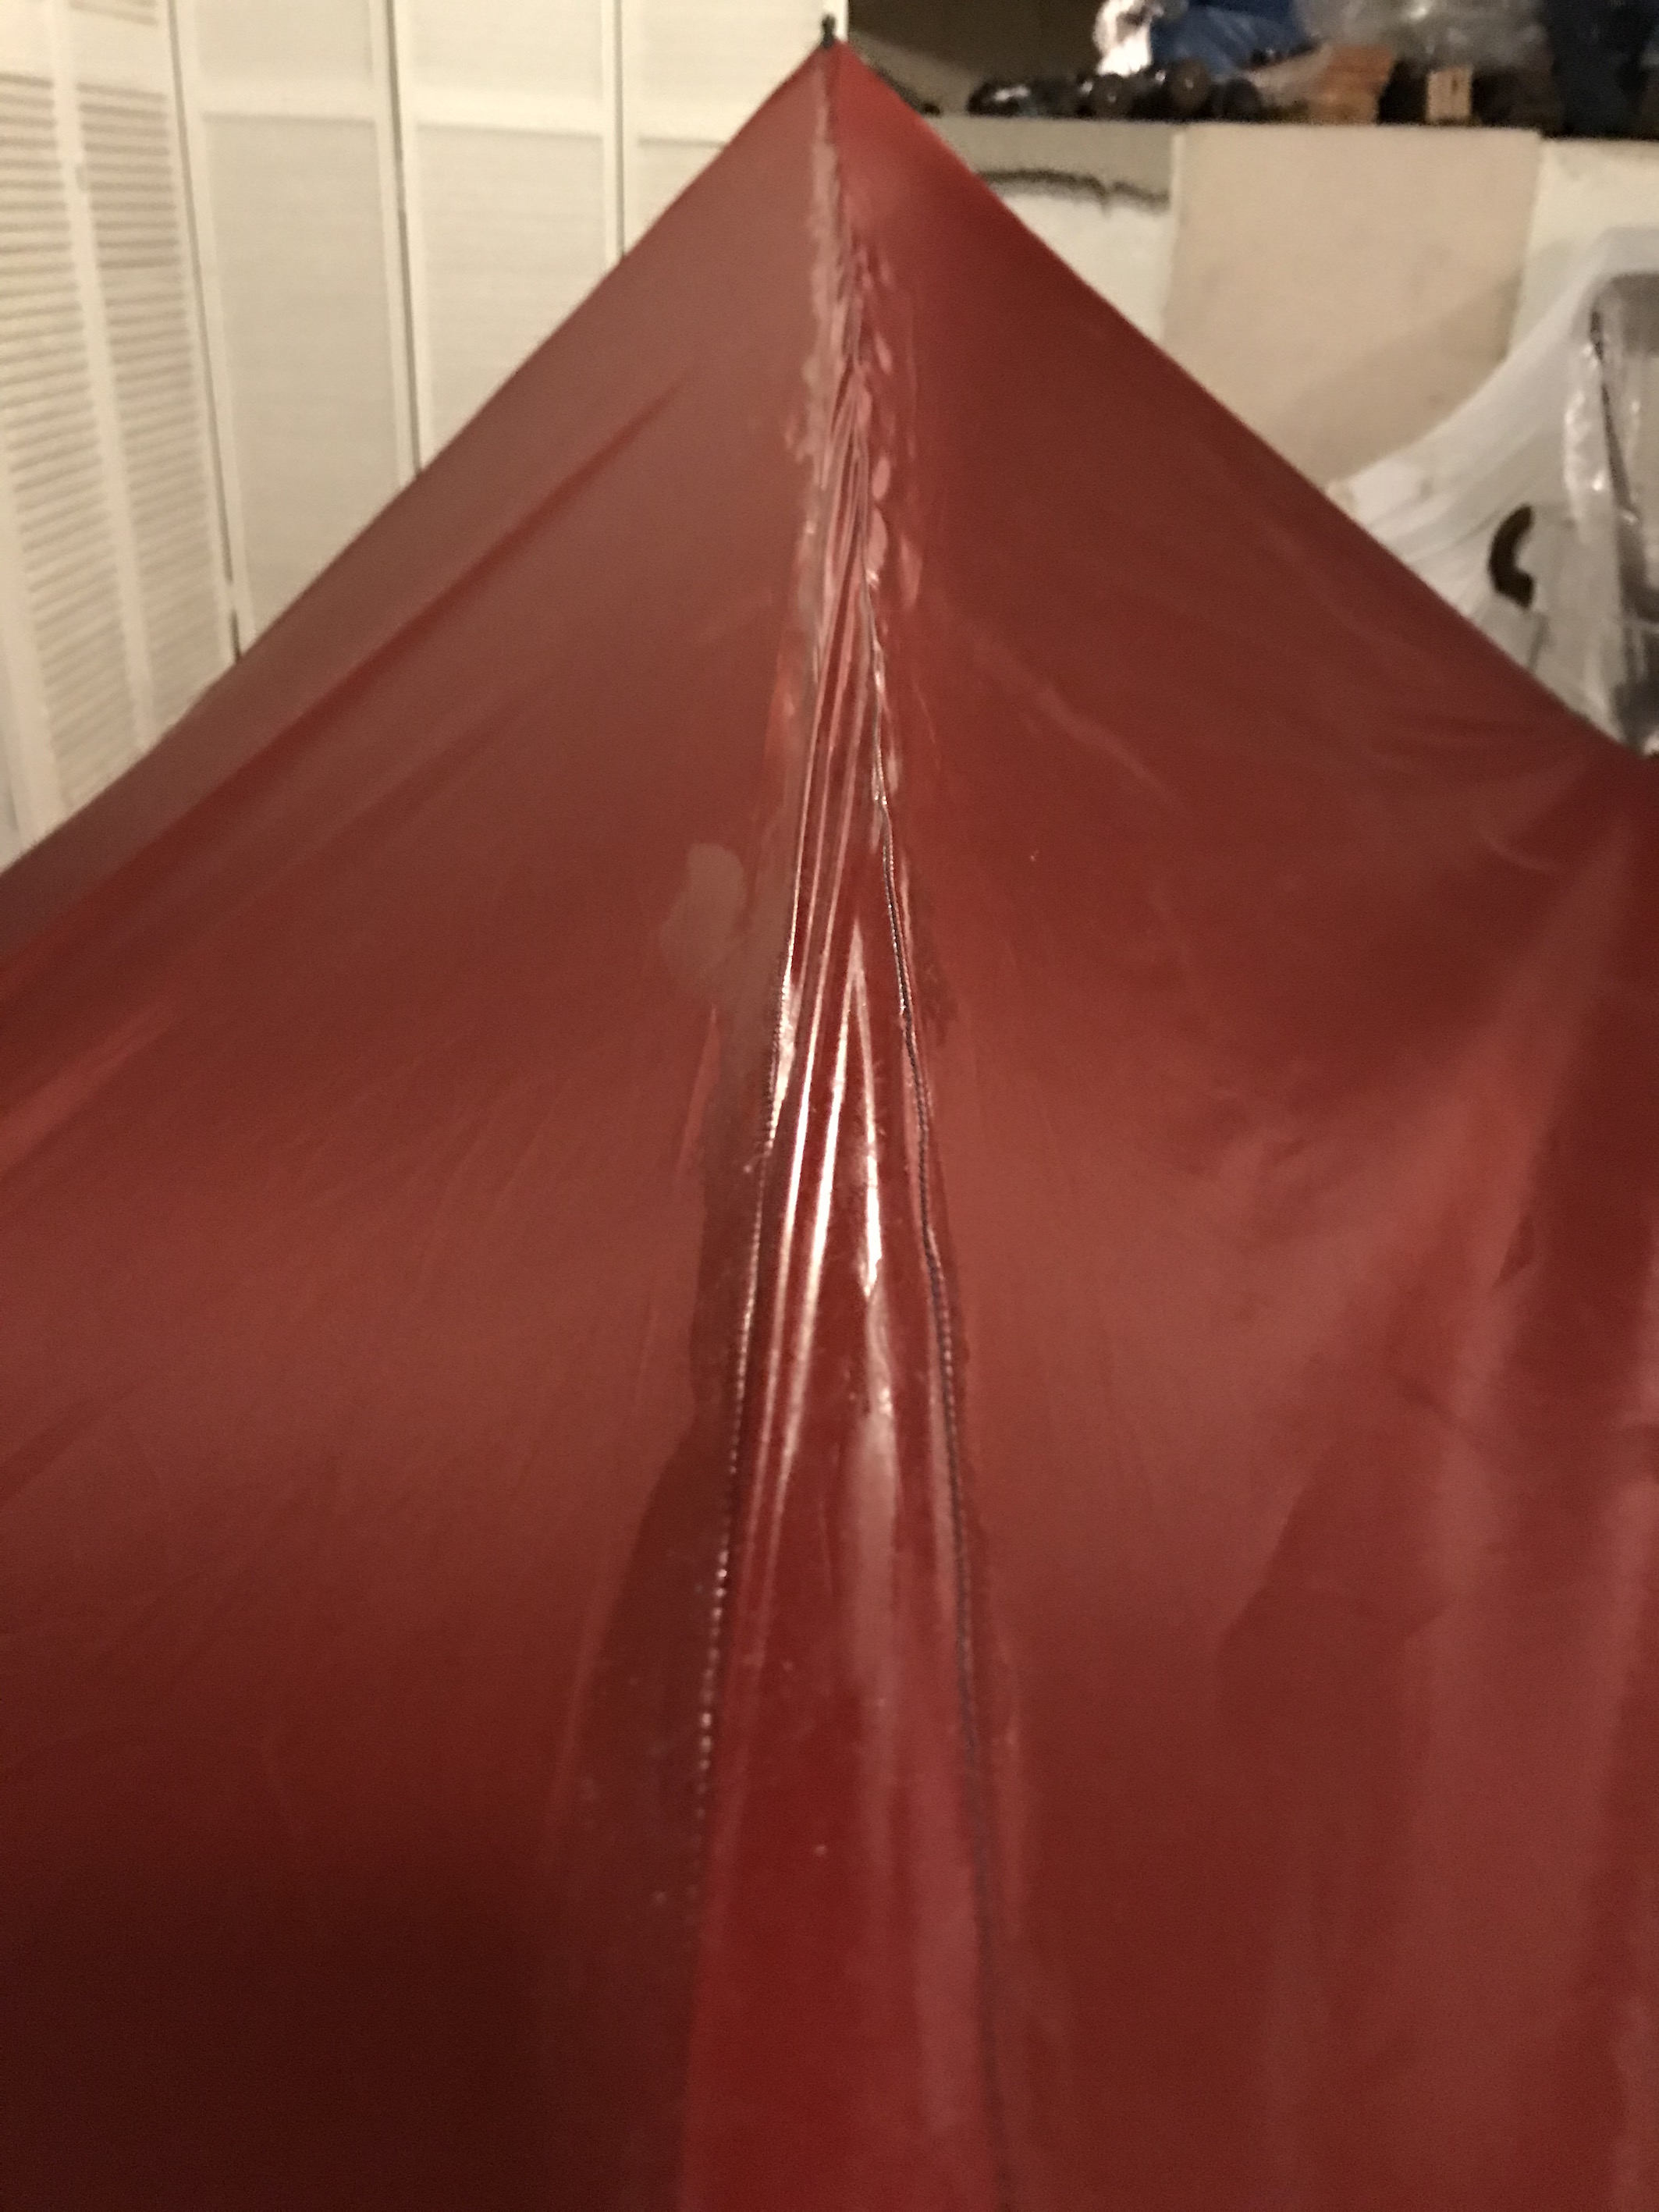
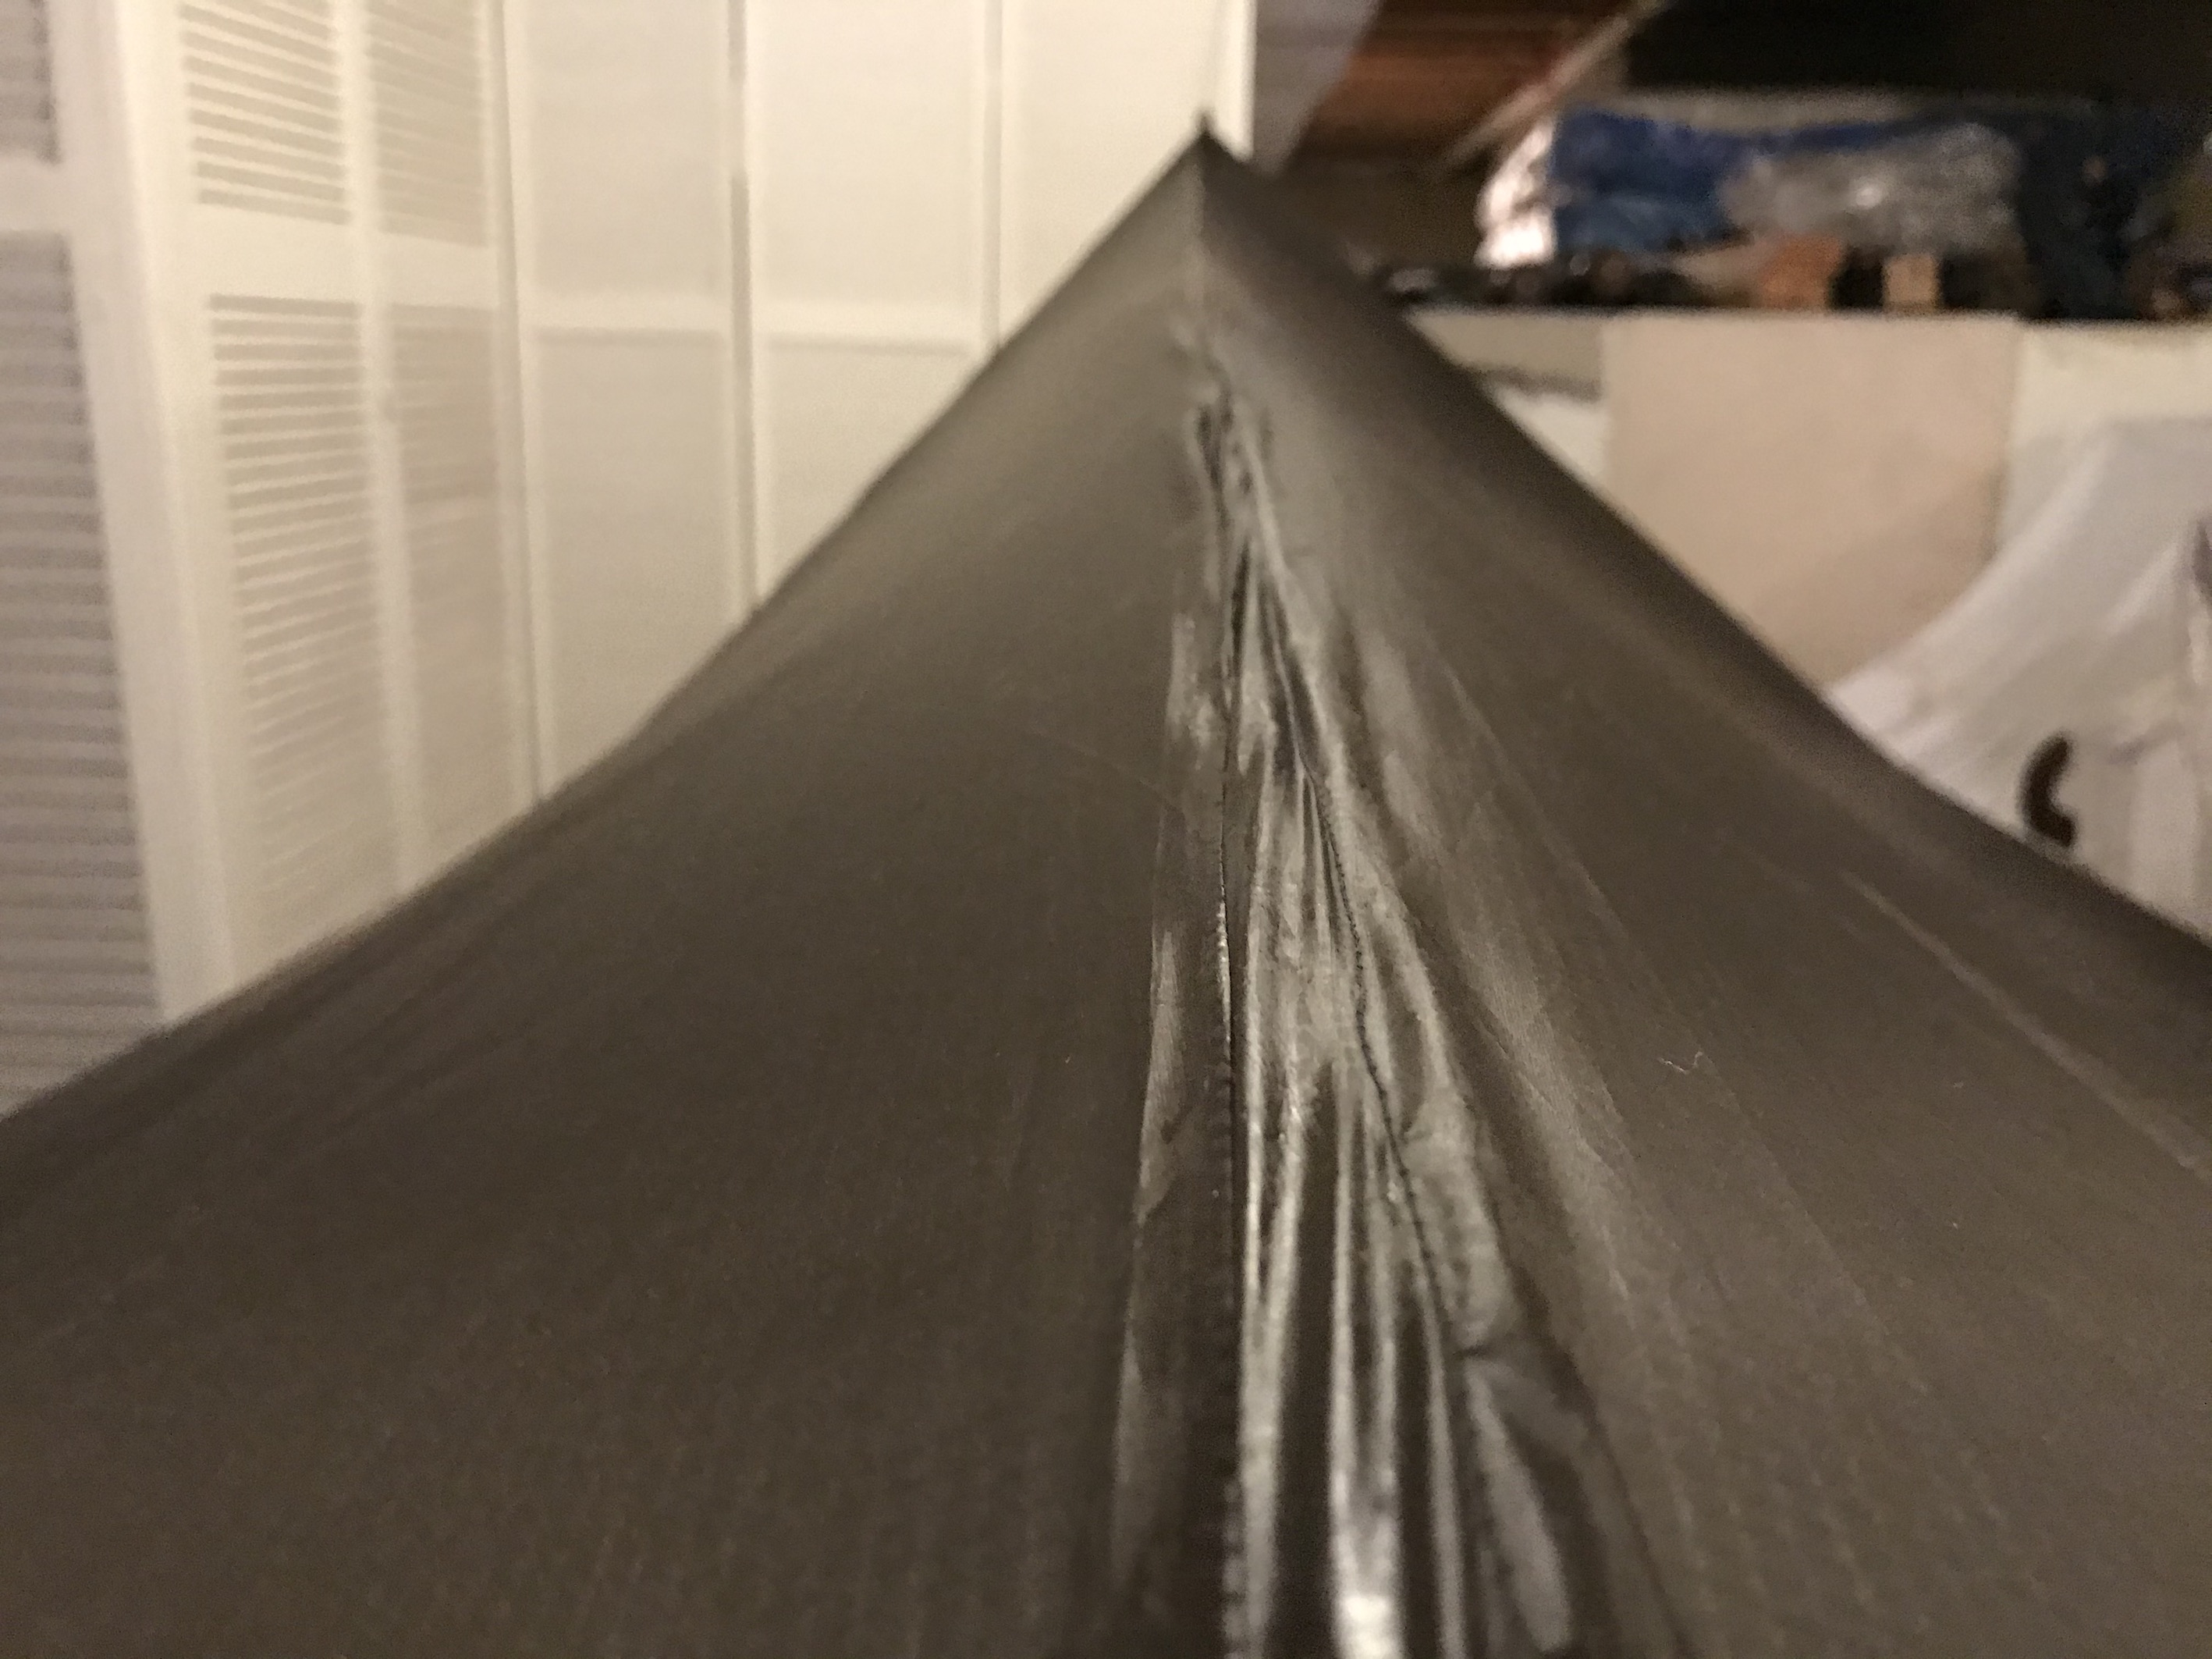
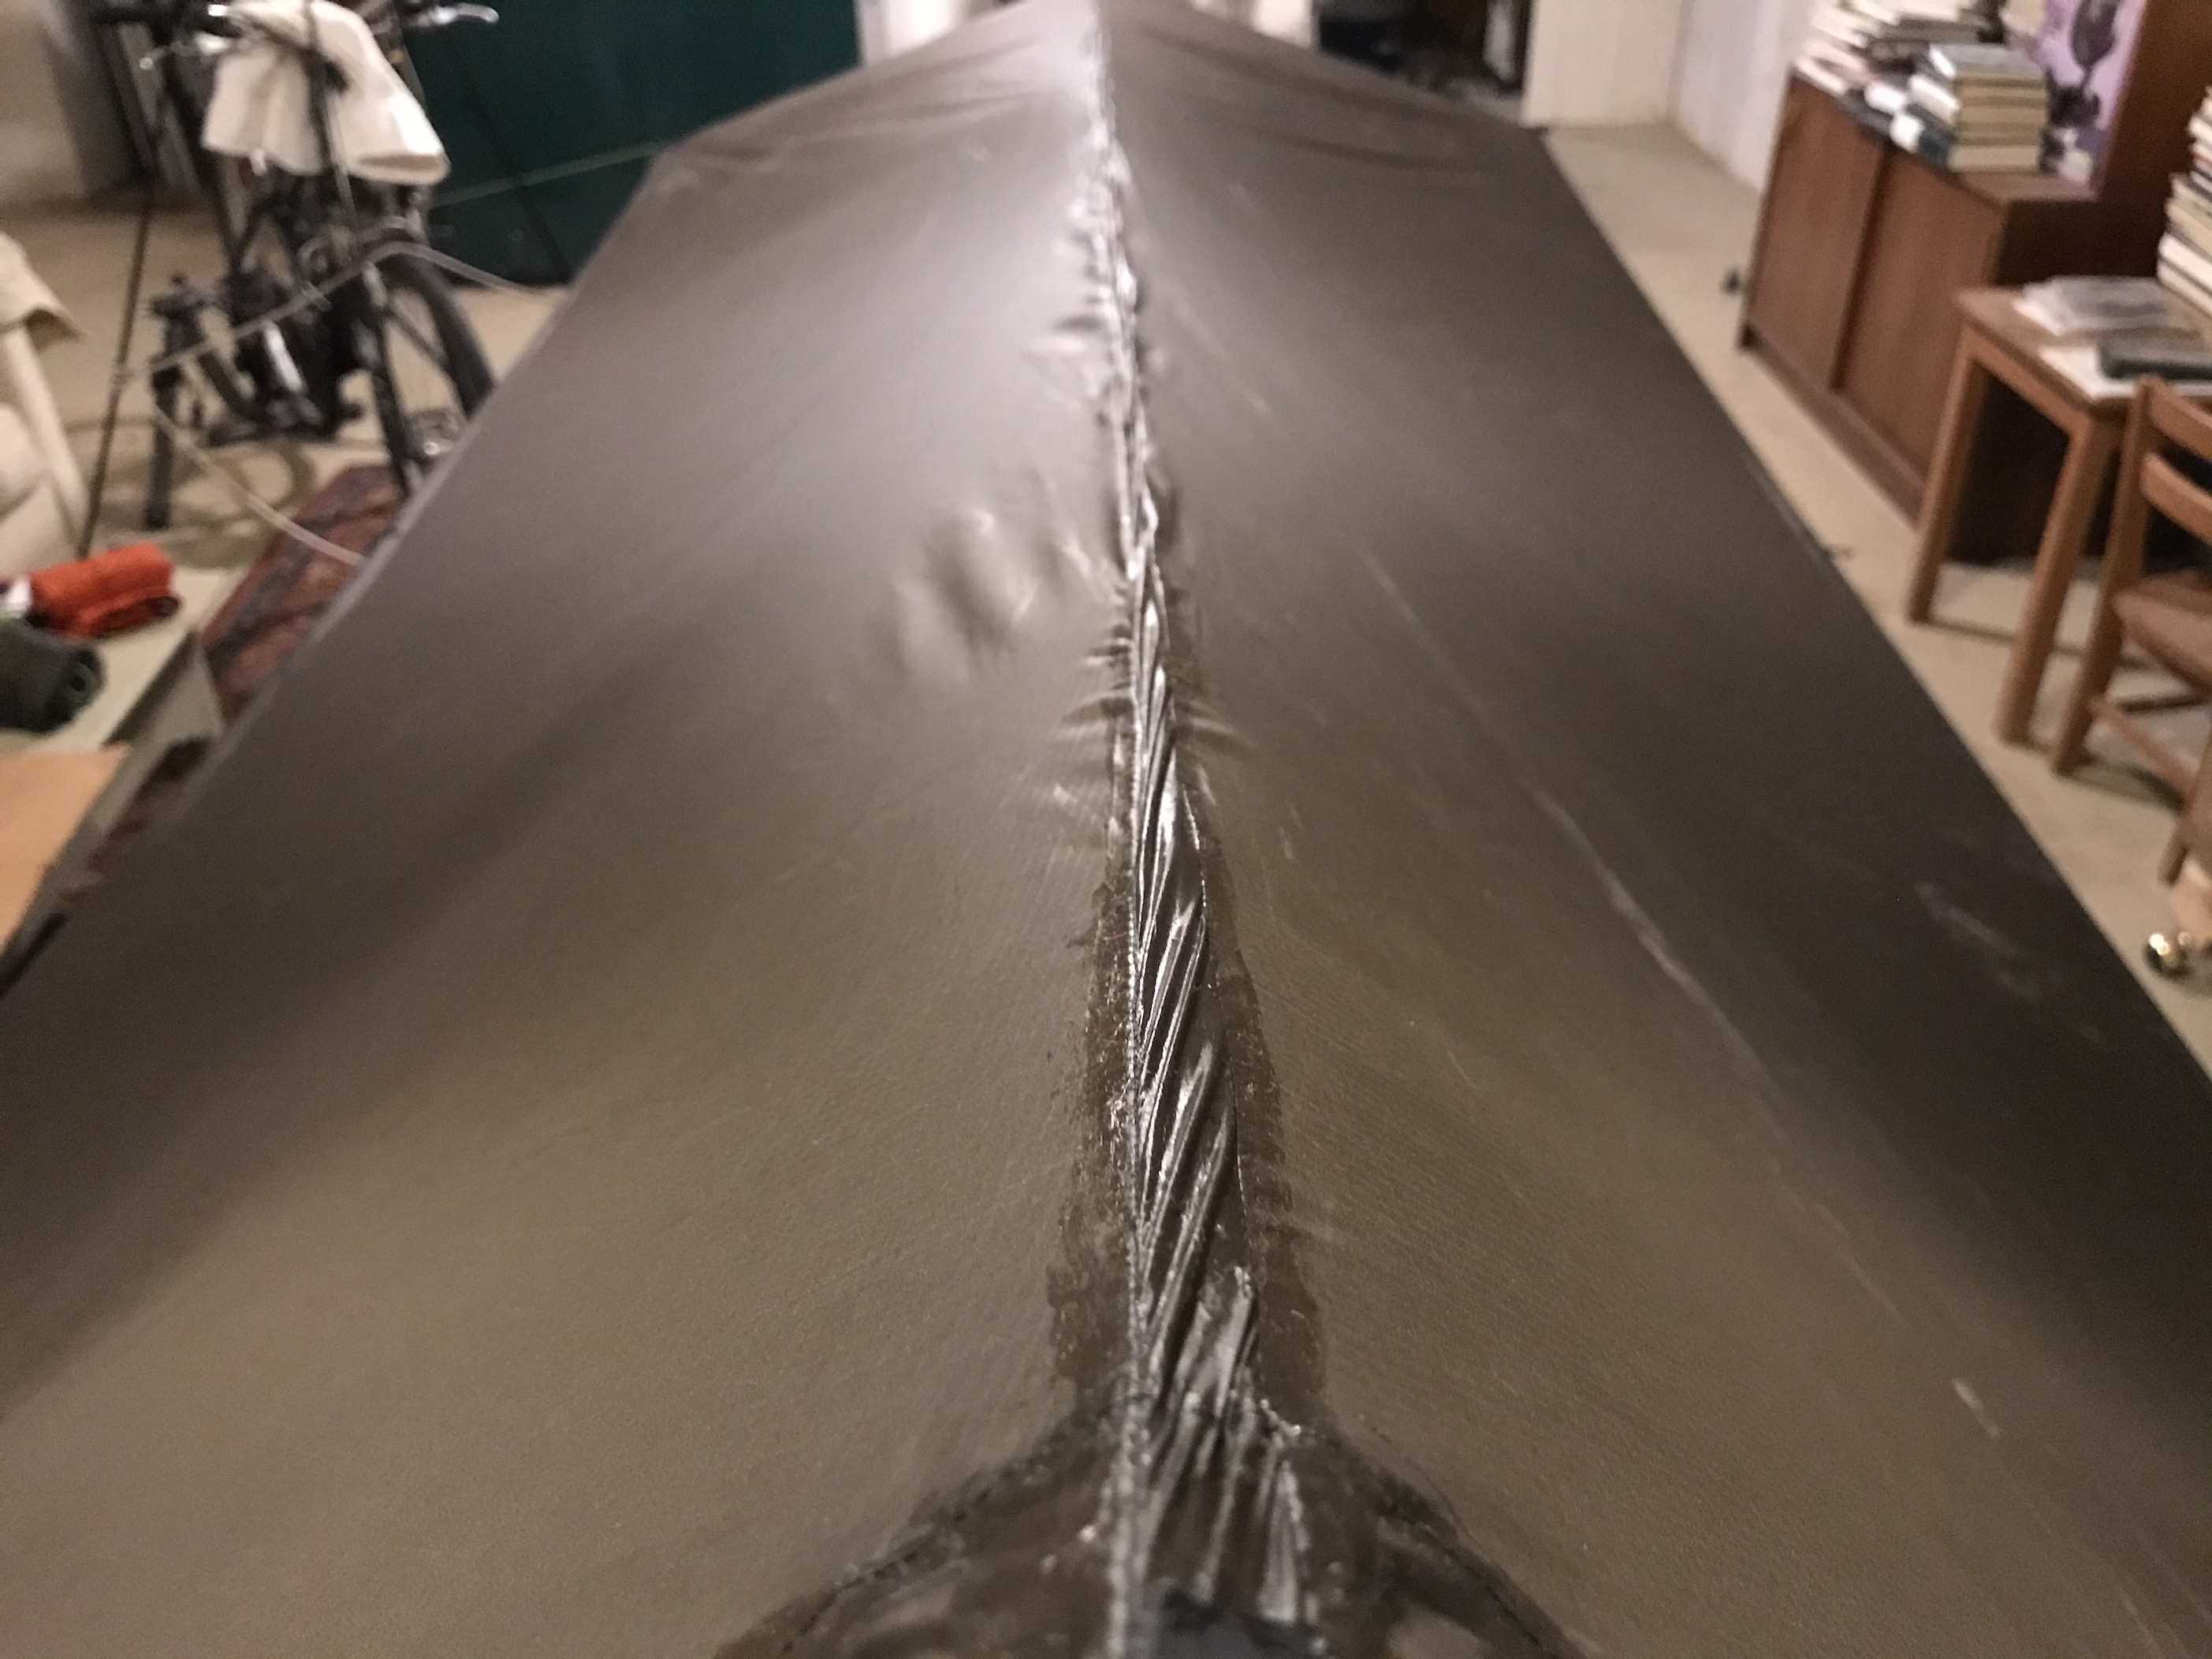
The first photo is of a silnylon MLD grace duo. The second is a 0.9oz xenon silpoly. The third and fourth are of 1.1oz xenon silpoly.
Maybe silnylon will have a nicer catcut ridgeline?
What can I do to minimize this?
I was thinking of laying it out and using pins along the entire seam before doing the third and final stitch in the ridgline. Or similarly, maybe doing the first two stitches and the laying the fold over, then bonding the fold with seam sealer before the third and final stitch. With the seam sealer one could lay it out, apply the sealer and then go back and adjust the seam before the sealer sets.
Maybe I just need to learn to sew straighter more even stitches. Probably.
Nov 14, 2019 at 9:53 am #3618651Felt tip marker to show how to align, then pins, pins and more pins in the hem region. Then sew under tension.
Cheers
Nov 14, 2019 at 2:25 pm #3618662Thanks Roger! You rock!
Nov 14, 2019 at 2:56 pm #3618669Good idea from Roger, a little different take on this:
Use whatever marker works – felt pen or a “dressmaker’s marking pencil” which is chalk I believe, from the fabric store
Lay out a line on both pieces of fabric where you want the first row of stitches. Be meticulous. I like to tape the 4 corners and pull to take out slack but don’t stretch it. Measure twice…
I prefer hand stitches to pins, but that’s somewhat arbitrary. Maybe every 2 feet or so.
When you’re sewing, make sure that first row of stitches goes through the middle of the line on both pieces of fabric. As I feed the fabric through, I’ll hold the next hand stitch, pull, and apply just a bit of pressure. The two pieces of fabric tend to slip relative to each other so when you get to the next hand stitch, they’re no longer aligned. Practice. When you get the technique correct, the two pieces of fabric will still be aligned at each hand stitch.
When you do the second or third row of stitches to complete the flat felled seam it’s easy to keep everything aligned.
I think those wrinkles are just aesthetic, won’t make any functional difference.
This is all amateur sewing technique. Professionals want to quickly do the seam and don’t have time to do all this fiddling. Maybe use a walking foot machine or something. I vaguely remember my mom sewing patterns and there are these little triangles cut out on the fabric and the triangles on the two pieces of fabric are supposed to line up.
Nov 14, 2019 at 5:49 pm #3618693A few thoughts:
MLD uses a triple stitch in that photo. Maybe running one more seam down the center of yours would reduce wrinkling?
If you just make your seam narrower, there will be less area for wrinkles to form in so they will be less prominent. After making the initial seam, trim the free edges shorter, so you don’t need to create so tall a flap with the second seam to trap them.
A felled French seam lands off center. The second stitch in the process is the one that defines the geometry because it’s where the two panels part. The third stitch, the one that holds the flap down, lands to the side of the true ridge line. If you center your guy points between the two stitches, you’re actually off center.
Nov 14, 2019 at 8:50 pm #3618719Maybe every 2 feet or so.
I am paranoid. I use a pin every 2 inches.
Yes, it makes for slow sewing, but the results are worth it.Cheers
Nov 15, 2019 at 1:45 am #3618800Hey all, thanks for the very thoughtful responses. I went ahead and made another. For the ridge line seam I did the first two stitch lines as normal. Before sewing the third I applied a thinned silicone seam sealer mix and bonded the flap down along the ridge line. Let it sit for a few hours with cardboard on top weighted down with books. I then ran it through the sewing machine. I think it actually came out great! I took the picture while it is set up for seam sealing (with a too thin sealant).
Nov 15, 2019 at 4:11 am #3618842Having sewed a number of shelters over the past 45 years, in various fabrics, with seams ranging from very nice to wrinkly as hell, and having used those shelters in all sorts of weather, I’ve had poles break, stakes pull out of the ground, have ripped stake loops out while digging out of the ice, but I have never experienced a seam failure. So while I try for a nice looking seam I would not sweat it.
Nov 15, 2019 at 5:32 am #3618895Thanks Paul! That is very reassuring to hear.
Nov 15, 2019 at 2:32 pm #3618937In addition to basting stitches or pins… For these slippery silicone fabrics (where I am trying hard to keep things aligned) I have often “glued” the edges together before sewing. While a thin smear of regular silicone will work, it takes a long time to set up. I now use Permatex Flowable Silicone Windshield and Glass Sealer (1.5 oz tube). This formula sets up pretty quick… Maybe two hours or less. I daub on small spots (or a thin line) and use spring clips to hold in place until it sets up enough to handle. I have occasionally constructed an entire seam this way and did the sewing afterwards. I’ve never had a problem sewing through the sealer.
Nov 15, 2019 at 3:06 pm #3618947+1 to Paul – it’s just aesthetic
gluing, weighting down, waiting to cure takes too long, not needed, in my opinion
Nov 16, 2019 at 12:30 pm #3619063Please understand the wrinkles can not be avoided given it’s the physical properties of the fabric, give this is a tapered tarp with felled seam and the ridge line is neither 0/90 nor 45 degrees….
-
AuthorPosts
- You must be logged in to reply to this topic.
Forum Posting
A Membership is required to post in the forums. Login or become a member to post in the member forums!

Our Community Posts are Moderated
Backpacking Light community posts are moderated and here to foster helpful and positive discussions about lightweight backpacking. Please be mindful of our values and boundaries and review our Community Guidelines prior to posting.
Get the Newsletter
Gear Research & Discovery Tools
- Browse our curated Gear Shop
- See the latest Gear Deals and Sales
- Our Recommendations
- Search for Gear on Sale with the Gear Finder
- Used Gear Swap
- Member Gear Reviews and BPL Gear Review Articles
- Browse by Gear Type or Brand.
