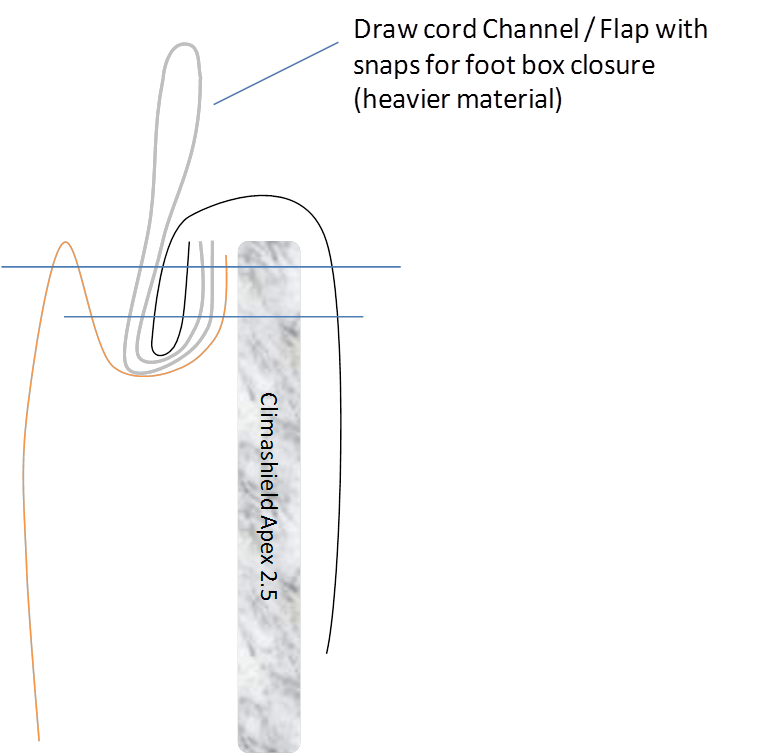
I am making a synthetic quilt using Apex 2.5 for insulation. I selected very light fabric for the inner and outer fabric – 0.66 oz/yd Membrane 10 from Ripstop by the Roll. The quilt is going to have the drawcord type design (like the Enlightened Equipment Prodigy and Enigma) and I will use a fabric flap with snaps to close up the foot box about 18″ the bottom of the quilt.
Since this fabric is so light, I wanted to reinforce the seams and use a heavier fabric that I picked up from my local fabric store for the drawcord channels since these will have some abrasion from the drawcords. The fabric is a ripstop nylon that I estimate to be about 1.5 oz/yd. I am also a bit obsessive about protecting the raw edges of fabrics so I wanted to design a seam where the raw edges are tucked inside. Here’s what I cam up with:
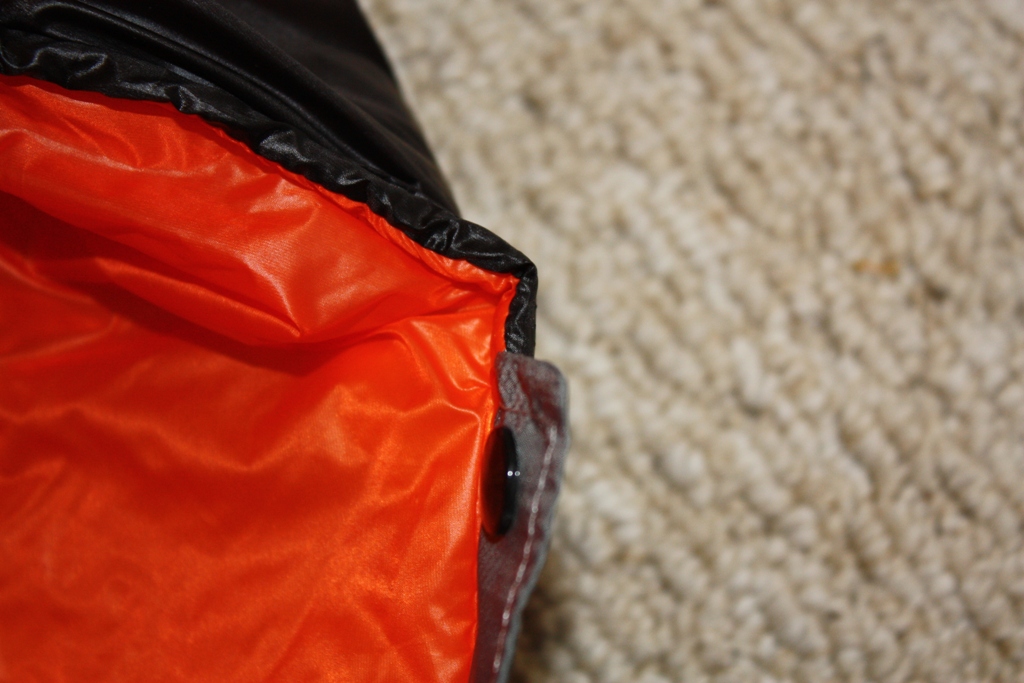
Seam for drawcord channels and the footbox flaps:
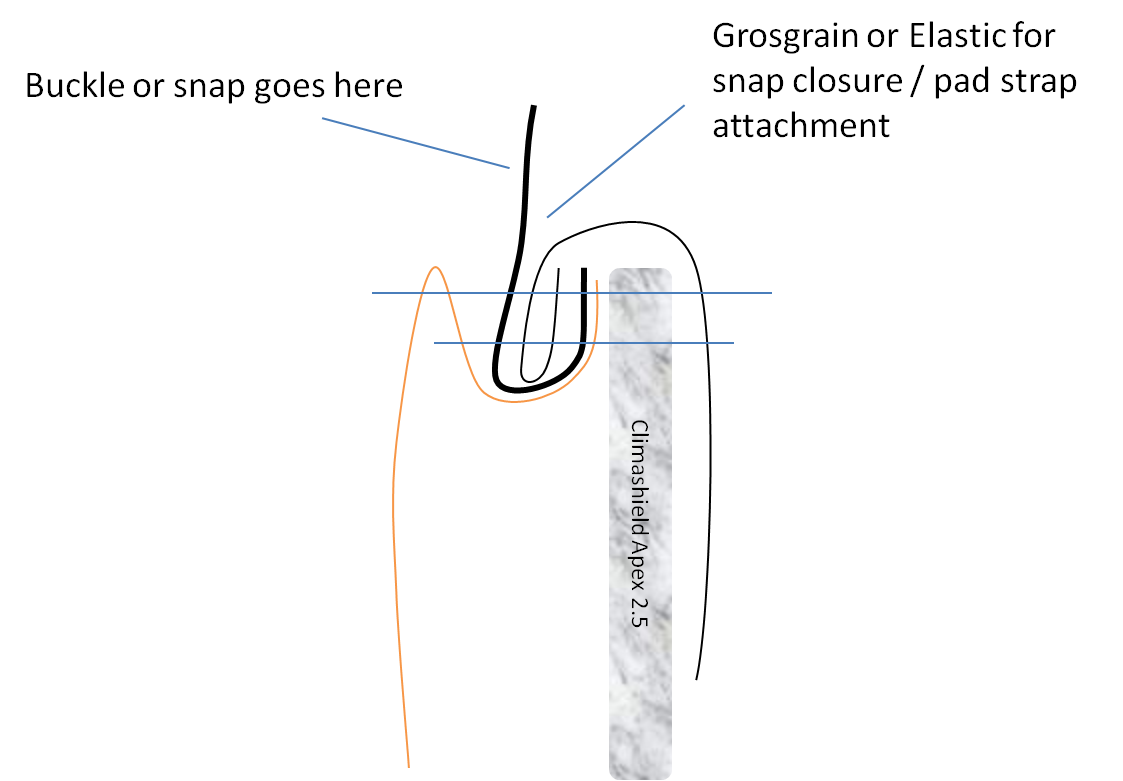
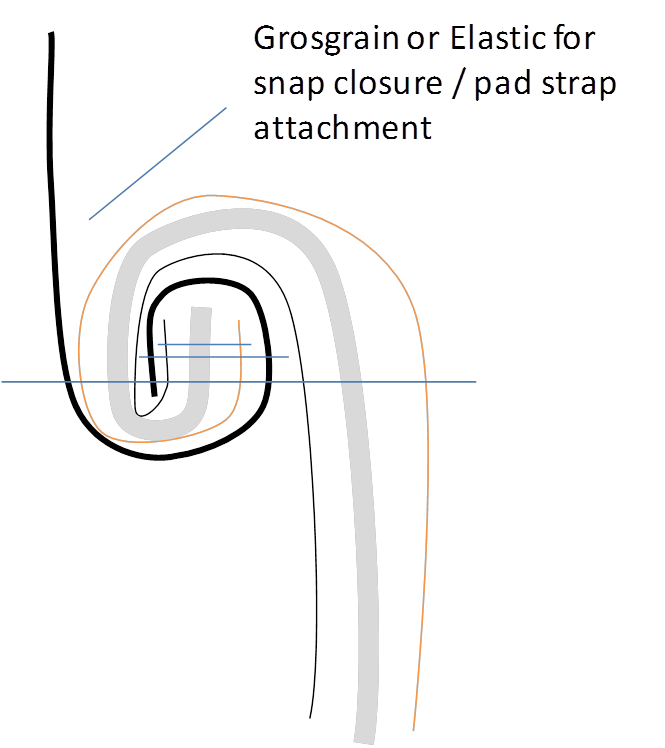
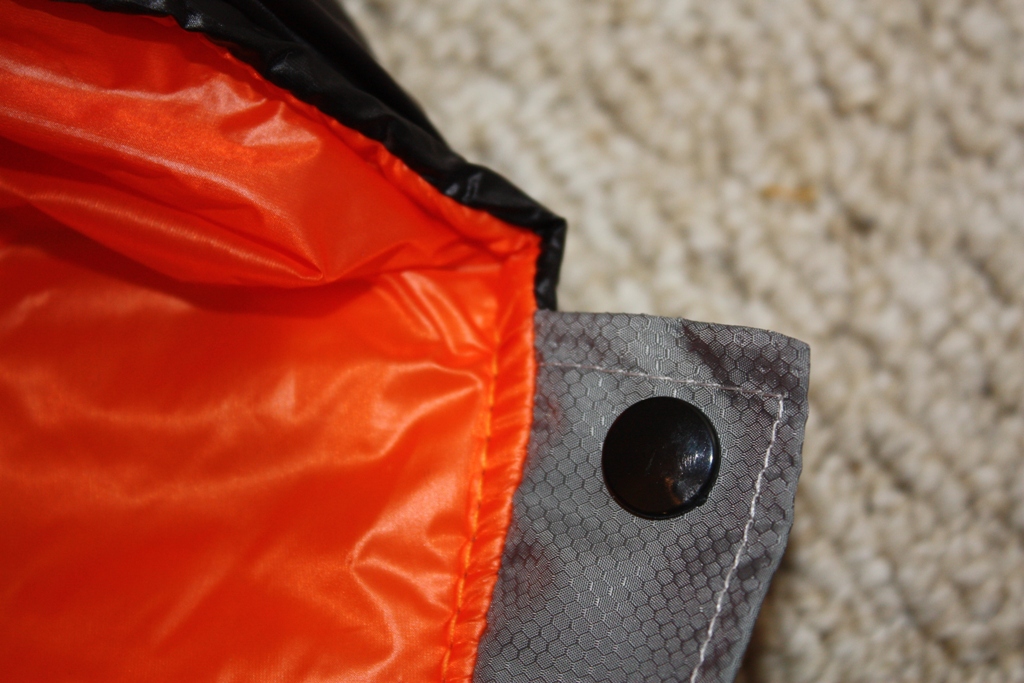
And here’s the design for where the pad straps and other snap closures will be attached (using grosgrain or elastic):
I wasn’t sure whether the two lines of stitching shown in the picture will disperse the tension on the grosgrain/elastic enough to prevent the Membrane fabric from tearing. I could sew a box with an x to provide additional reinforcement.
Hoping for feedback on this point and on the general seam design.
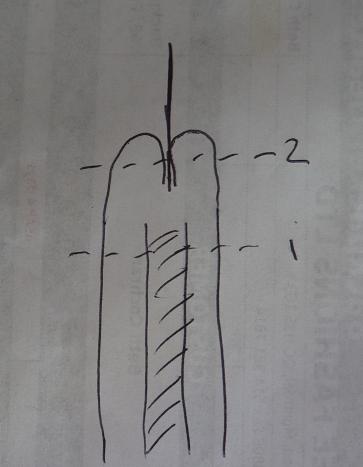
Do the first row of stitches through fabric/insulation/fabric with raw edges hanging out.
It’d difficult to keep them aligned. Use some pins, or I find it easier to do some hand stitches to keep them aligned. It’s maddening to start with everything lined up at a corner, then sew your way to the next corner and they’re all misaligned.
Then fold the raw edges under and put your draw cord channel/strap in and sew through all of them with a second row of stitches.
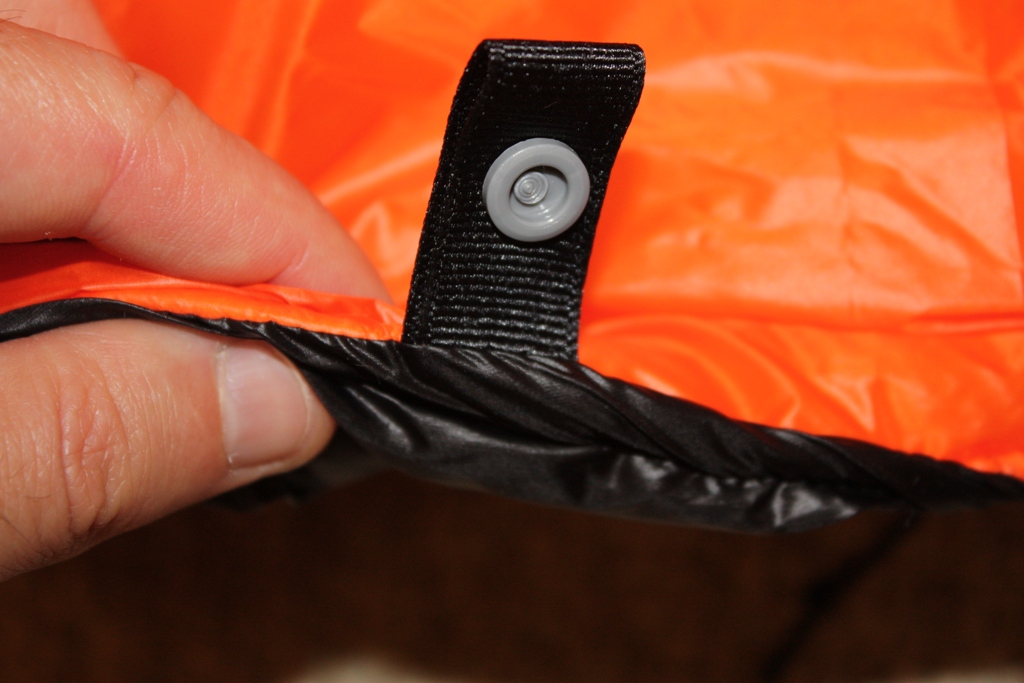
I ended up going with the seam design below. It worked out well, but was a bit difficult to pin together. The drawcord channels and various flaps and snaps are attached really securely and all the raw edges are nicely tucked away.
Backpacking Light community posts are moderated and here to foster helpful and positive discussions about lightweight backpacking. Please be mindful of our values and boundaries and review our Community Guidelines prior to posting.
This feature requires an active Backpacking Light Membership.
Premium Articles
You're currently viewing a free preview of a member exclusive premium article. Our premium articles include in depth journalism and insights from the Backpacking Light editorial team.
Get full article access by subscribing to a Premium or Unlimited Backpacking Light membership!
 .
.